Teens and tweens can make an easy DIY winter wreath with only a few inexpensive materials!

By the time Christmas is over our front door always looks a little bare. But finding non Christmas winter wreaths isn’t easy! So, when my tween daughter decided she wanted to tackle a wreath for our front door, I was all for it!
Non-Christmas Winter Wreath
There was a ton of different leftover garland on the rack – everything from bright red and green to this funky multi-colored stuff that looked more appropriate for the summer than Christmas.
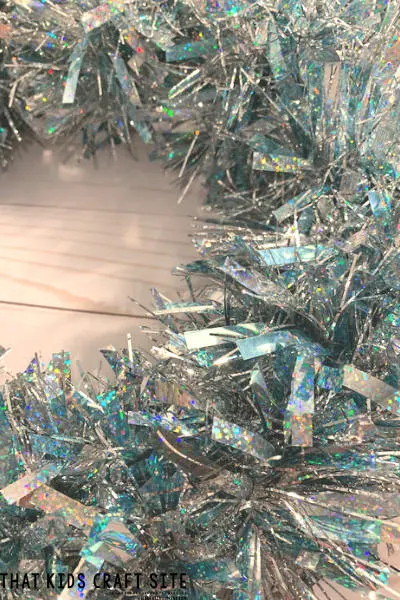
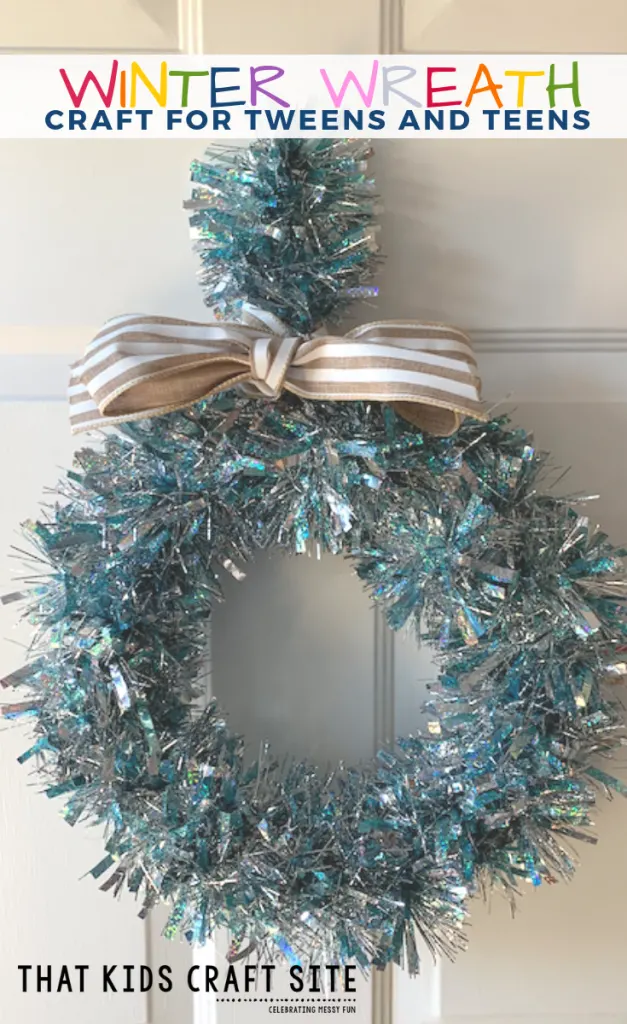
There was also the beautiful silver and blue garland that we ended up getting for our winter wreath craft. It was normally $10, but we got it for $3. Score!

Since we did a lot of online shopping for the holidays, we had a few large cardboard boxes already at home. If you don’t have any cardboard, get a tri-fold science display board instead. Our Dollar Store usually stocks them and yours might too.
Make sure you have plenty of glue sticks for your low-temp glue gun, because you’ll need them!
Warning! Since this craft requires a glue gun, it is not intended for kids to do on their own. We recommend that parents be the only ones to use the hot glue gun! Safety first!
Let’s get crafting!

How to Make a Cheap Winter Wreath
Ages: 10+ (Adult assistance required!)
Time: 20-30 minutes
Materials:
- Cardboard
- Garland
- Ribbon
- Scissors
- Hot Glue Gun & Glue
Directions:
- Cut a large circle out of a piece of cardboard. Ours had a diameter of about 18″.
- Cut a smaller circle within the large circle to make the center. The wreath can be as thick or as thin as you’d like, but will be more stable when it’s about 3-4″ thick.
- Start by gluing the end of the garland to the cardboard. Flip the cardboard over and gently pull the garland through the center. Glue the garland to the back. Flip and wrap the garland around again, gluing to the front. Continue until the entire circle has been covered with garland.
- Tie the leftover garland into a loop for hanging. Glue down any loose ends.
- Add a ribbon bow and hang on your front door!
It’s super easy to make and now I wish I’d picked up that red garland for Valentine’s Day!

Show Us Your Winter Wreath!
Did you try your hand at making one? We’d love to see how it turned out! Snap a photo and tag us on Instagram @ThatKidsCraftSite! We can’t wait to celebrate your creativity!
Take The Winter Wreath Directions with You!
Want to take these directions with you? No worries! Simply print out the card below with all of the supplies and directions by clicking on the Print button! Then you can take them with you to school, your club or scouts, or to your kitchen table where you’ll be crafting. Have a great time!
Winter Wreath Craft

This easy non-Christmas winter wreath craft is the perfect way to decorate your front door or a bedroom door after the holidays!
Materials
- Cardboard
- Garland
- Hot Glue Sticks
- Ribbon
Tools
- Scissors
- Hot Glue Gun
Instructions
- Cut a large circle out of a piece of cardboard. Ours had a diameter of about 18".
- Cut a smaller circle within the large circle to make the center. The wreath can be as thick or as thin as you'd like, but will be more stable when it's about 3-4" thick.
- Start by gluing the end of the garland to the cardboard. Flip the cardboard over and gently pull the garland through the center. Glue the garland to the back. Flip and wrap the garland around again, gluing to the front. Continue until the entire circle has been covered with garland.
- Tie the leftover garland into a loop for hanging. Glue down any loose ends.
- Add a ribbon bow and hang on your front door!
Notes
THE HOT GLUE GUN SHOULD NEVER BE USED BY CHILDREN!!


