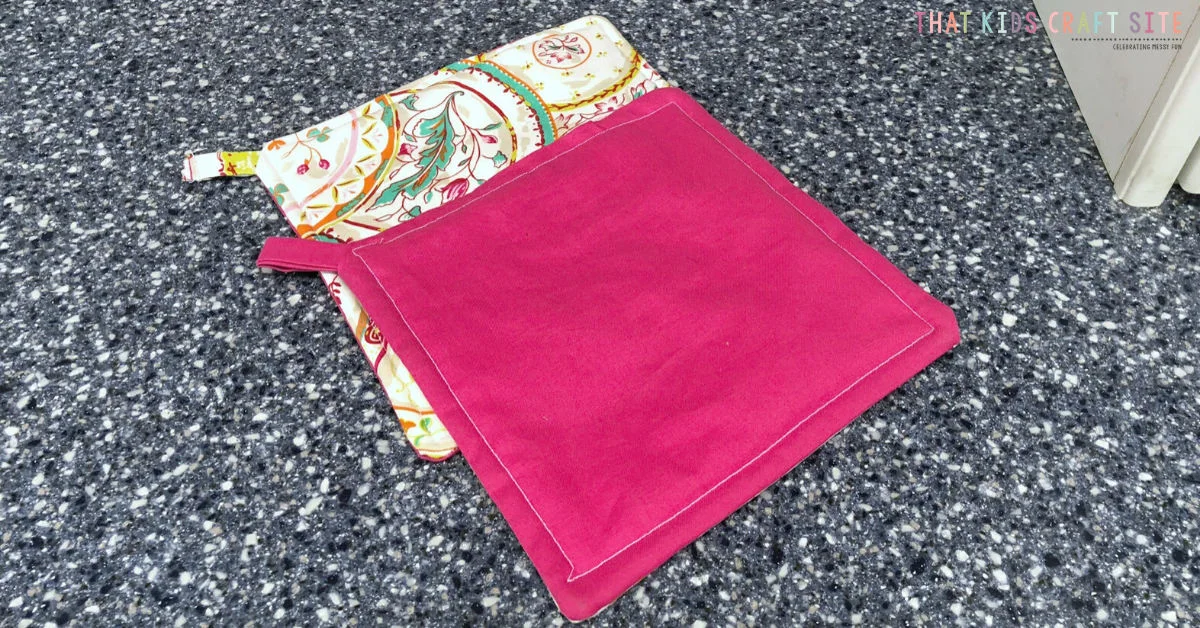
It’s a brand new year and what better way to celebrate than to start a new sewing project?
This super easy step-by-step DIY Pot Holders Tutorial is the best way to start all of your yearly sewing projects!
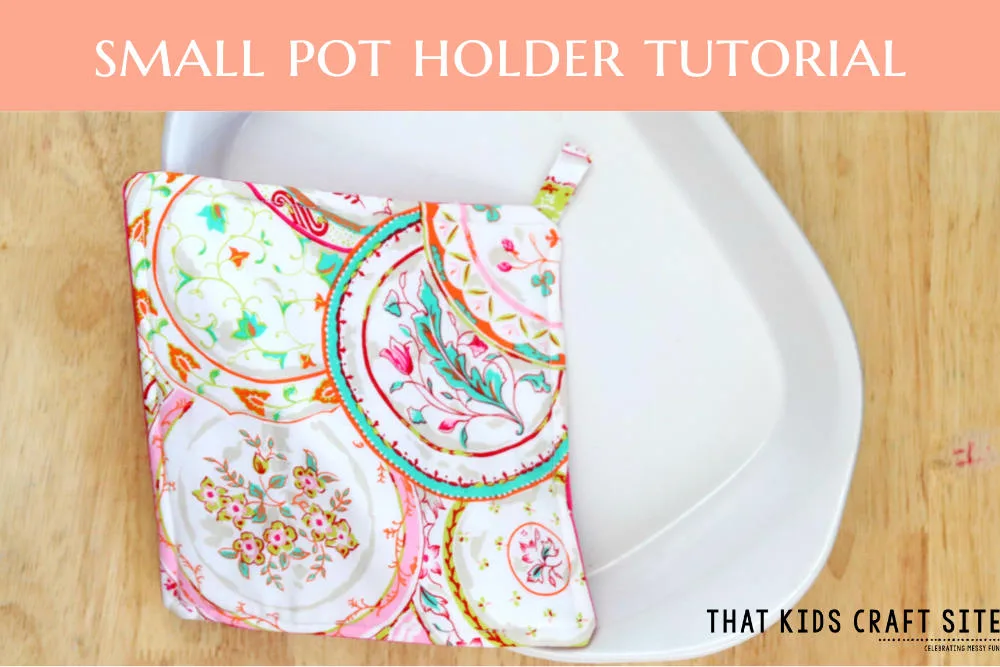
DIY Small Pot Holder Tutorial
Sewing can seem super daunting at first; I know how scary it feels! But don’t worry.
There’s no need to be a sewing expert to follow this DIY Pot Holders Tutorial.
This is a super beginner-friendly tutorial with simple and easy step-by-step instructions.
I actually made it with beginners and kids in mind, and I made sure to make it a fantastic pattern for your first sewing project.
One thing I absolutely adore about these potholders is that my older kids can make them, too.
Plus, it’s a fun way to sneak in learning when they least expect it! (Measuring, anyone?!)
I don’t know about you, but sometimes I struggle a bit coming up with activities I can do with my older kids. Through trial and error, I’ve learned sewing projects are a fantastic way to get them involved in something they enjoy.
The whole sewing process is fascinating already but what makes it an amazing craft project for tweens and teens how creative it can be!
It requires attention and tons of imagination so your kids are going to be super entertained. They’ll have a blast and proudly show-off their DIY Potholders.
It’s also a great way to use leftover fabrics you have tucked away around the house. Win-win!
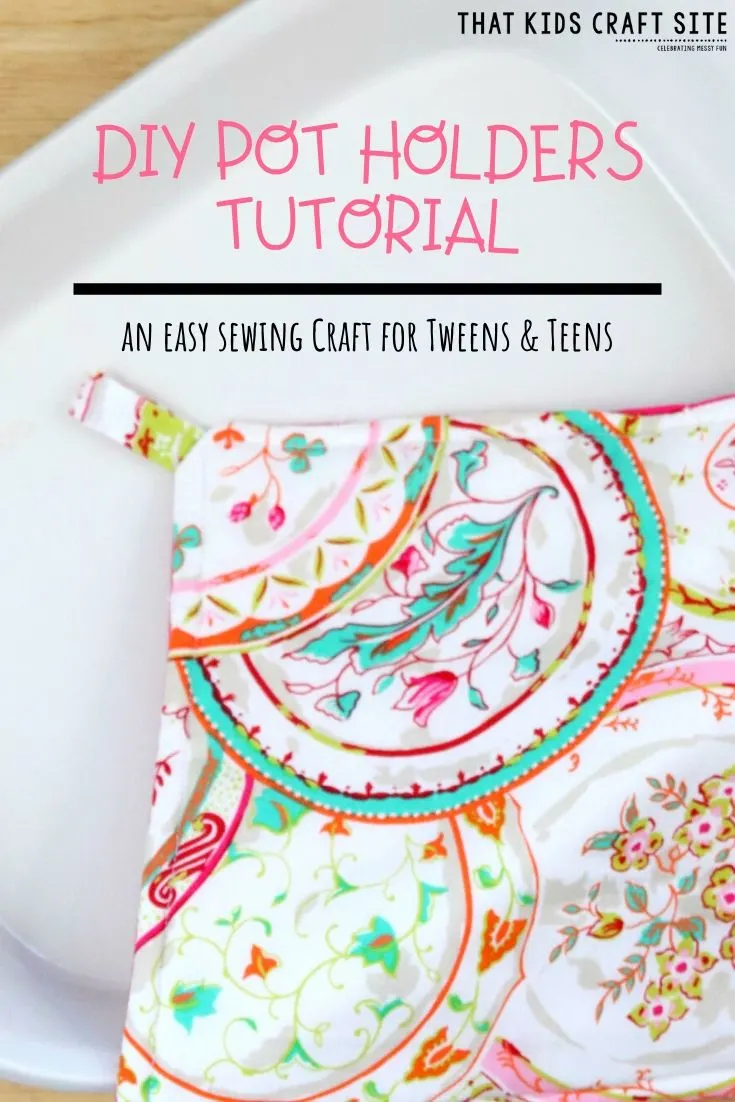
Pot Holder Patterns
Gather everything you need to start the project and follow the instructions down below. Happy sewing!
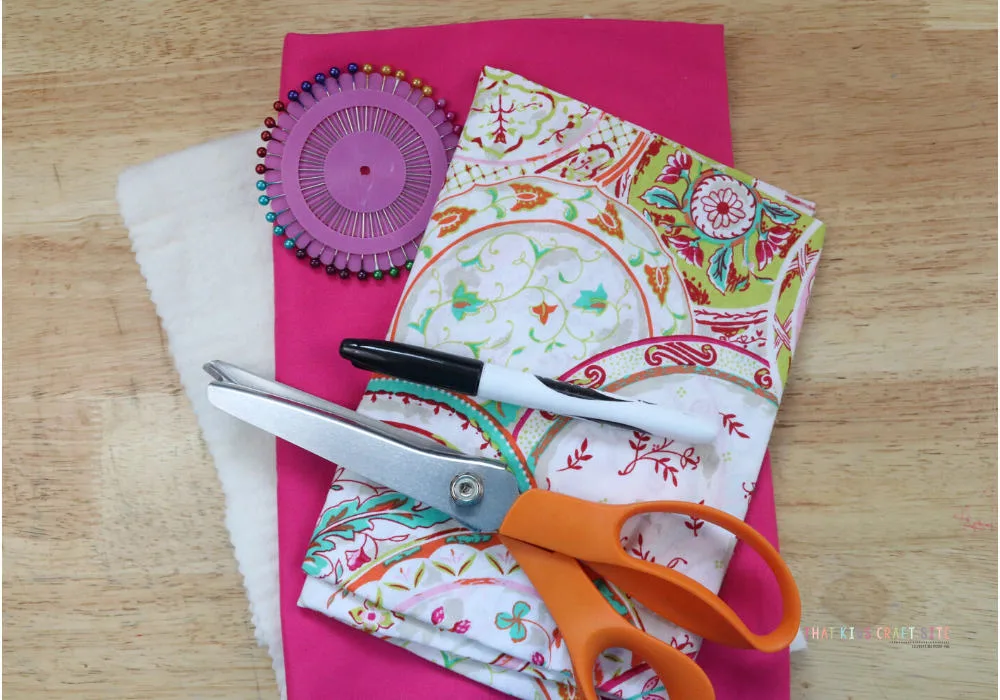
SUPPLIES:
- 1/4 yard of main cotton fabric
- 1/4 yard of heat-safe fabric like Insul-Bright or cotton batting
- 1/4 yard of a complimentary cotton fabric
- Washable fabric pen
- Rotary cutting mat set
- Scissors (I prefer pinking shears)
- All-purpose thread
- Wonder sewing clips
- Sewing machine
How to Make Potholders from Fabric
Step 1: Measure, mark and cut one 9” x 9” piece of your main, one 9″ x 9″ piece of the complimentary fabric, one 2” x 4” piece of either of the cotton fabrics for the handle, and one 9″ x 9″ piece of heat-safe fabric or cotton batting.
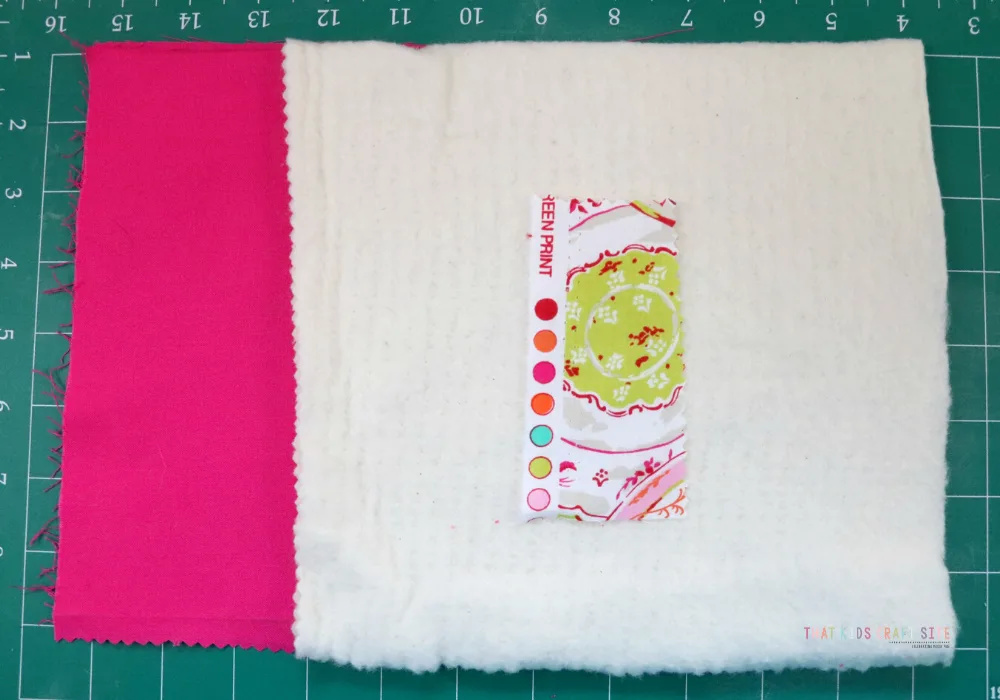
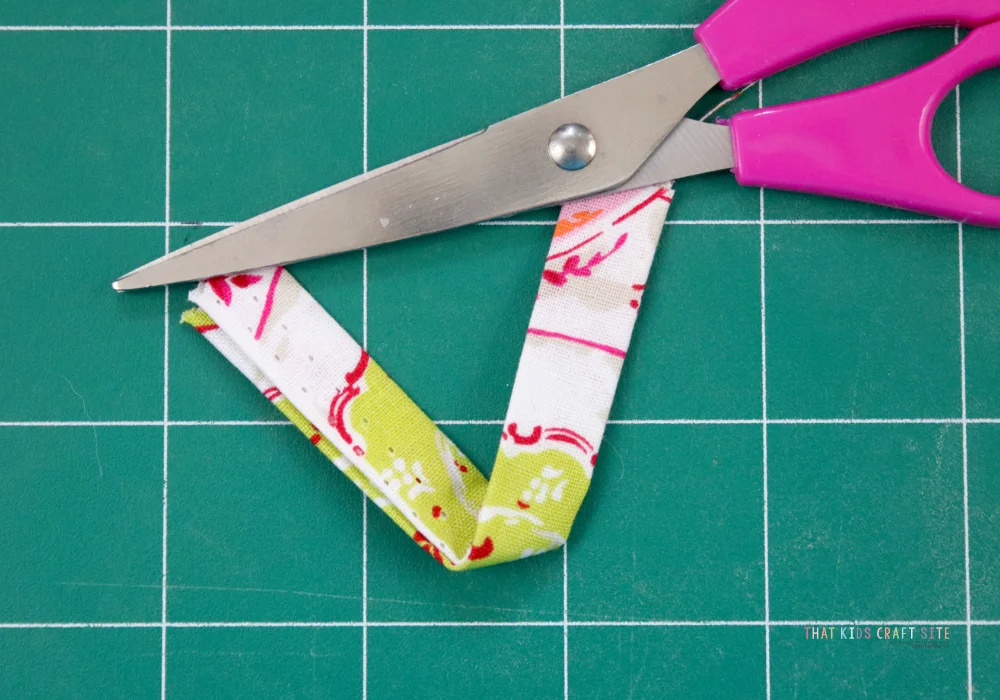
Step 2: Fold your 2” x 4” in half and press. Next, fold each side to touch the middle fold and press together and then fold in half and press. This will be your loop to hang your potholder.
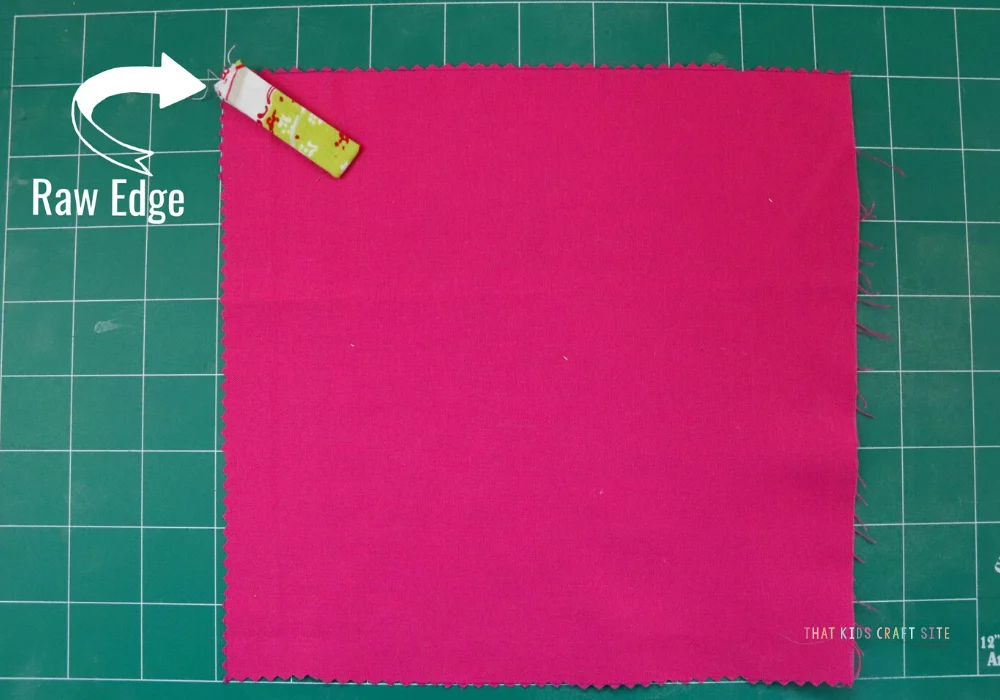
Step 3: Place one piece of your cotton fabric right side up, place loop piece in one corner, with the raw edge facing the corner.
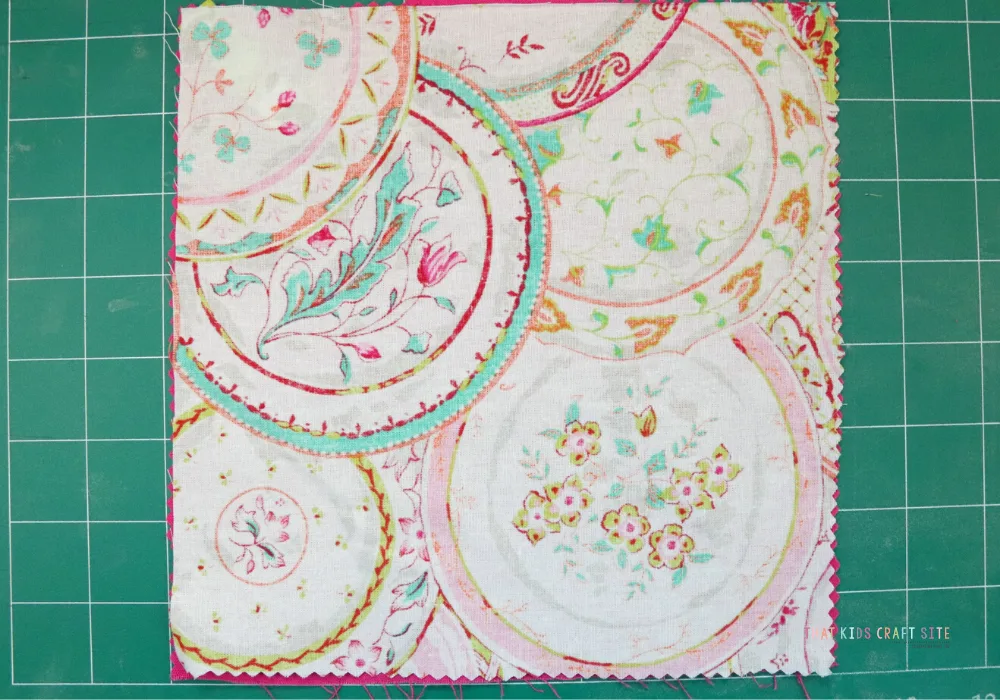
Step 4: Lay the second piece of cotton fabric on top of the first piece, right side down.
Step 5: Lay the heat-safe fabric or cotton batting on top of the cotton fabric pieces.
Step 6: Pin your pieces together, leaving a 4” opening.
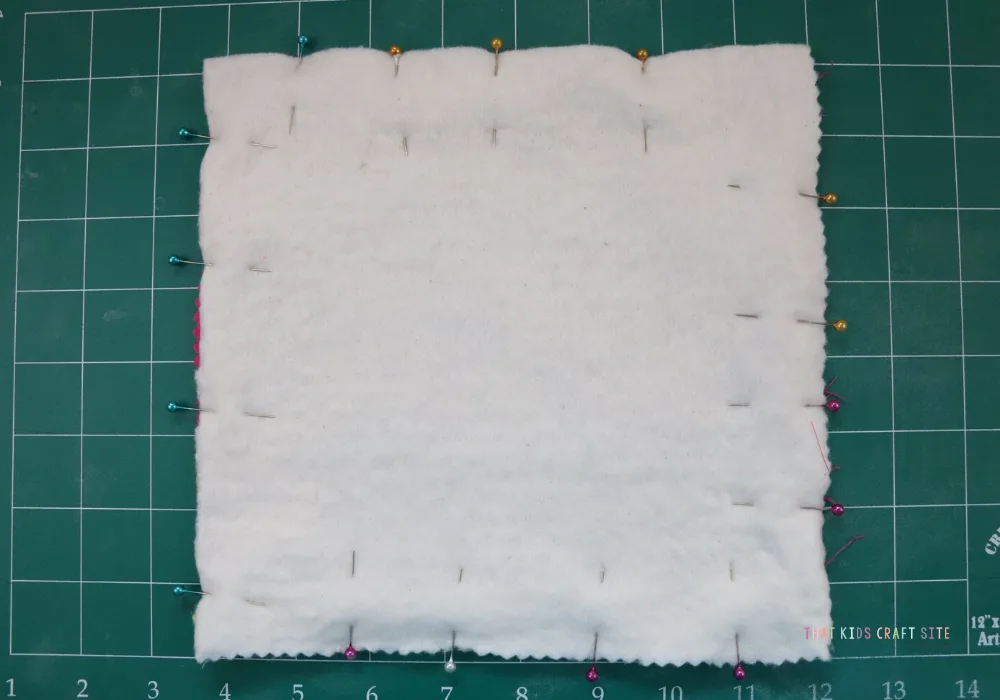
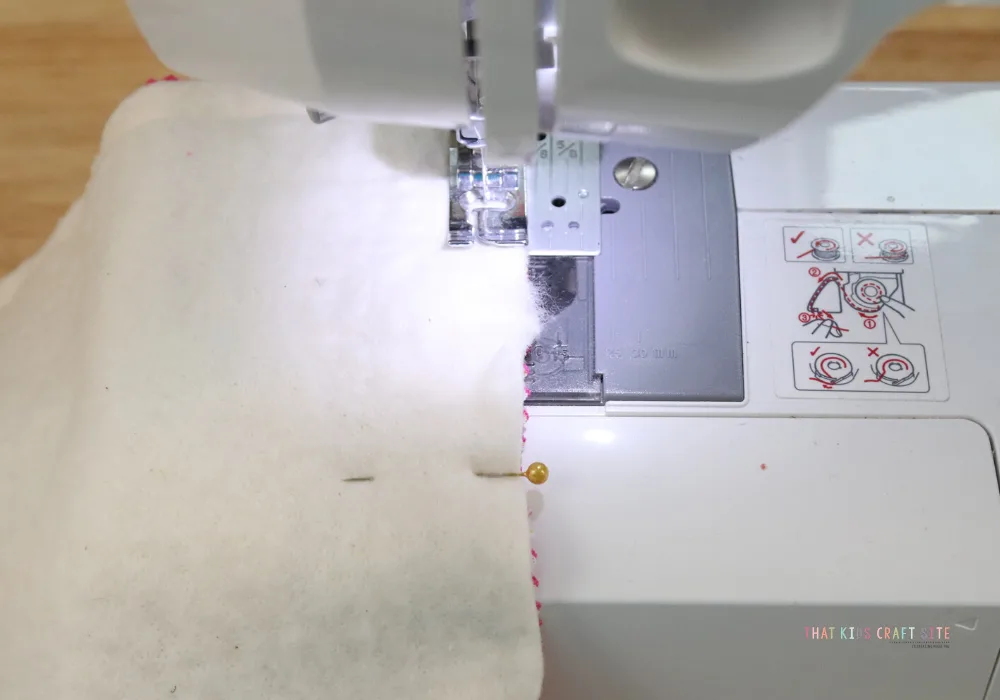
Step 7: Sew a 1/2” seam allowance around all four sides. Secure either side of the opening by going back and forth a few times. This will prevent it from coming apart when you turn it.
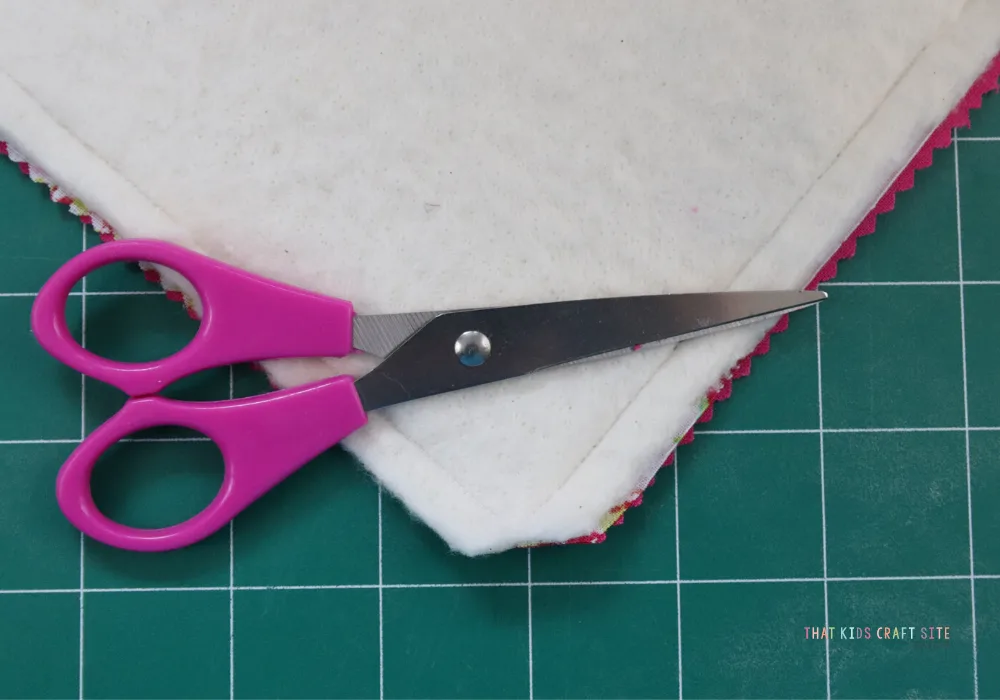
Step 8: Clip each corner, but be careful not to snip into the stitching.
Step 9: Carefully turn the pot holder right side out.
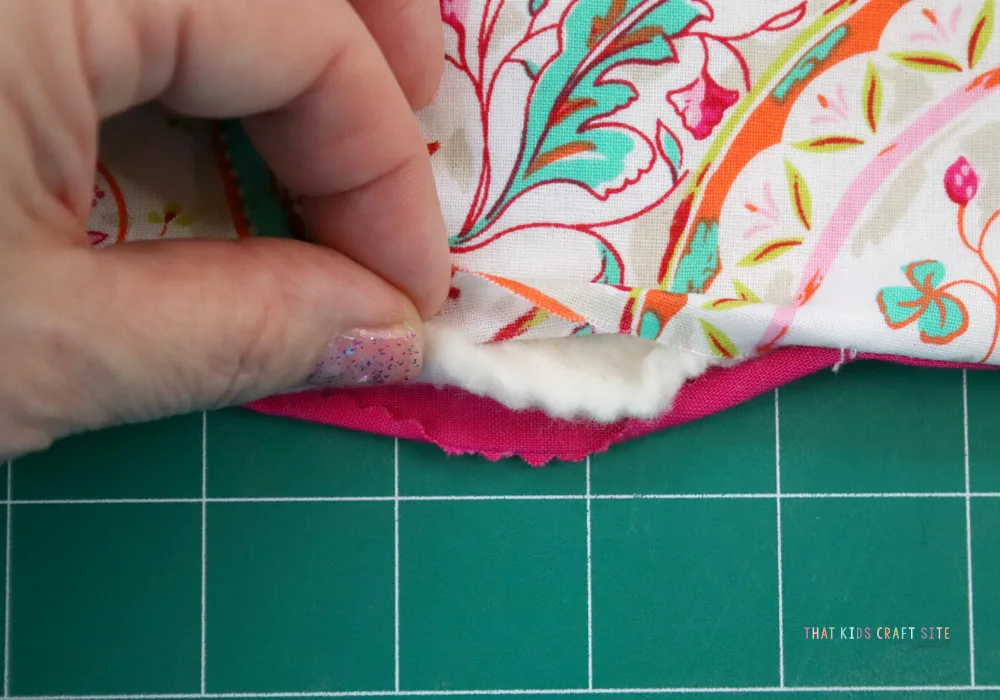
Step 10: Press all four sides. If you like, you can sew a 1/4” seam allowance around all four sides. This will also close the opening you created and provide a bit more texture.

Enjoy!
More Tween Crafts You Might Enjoy:
