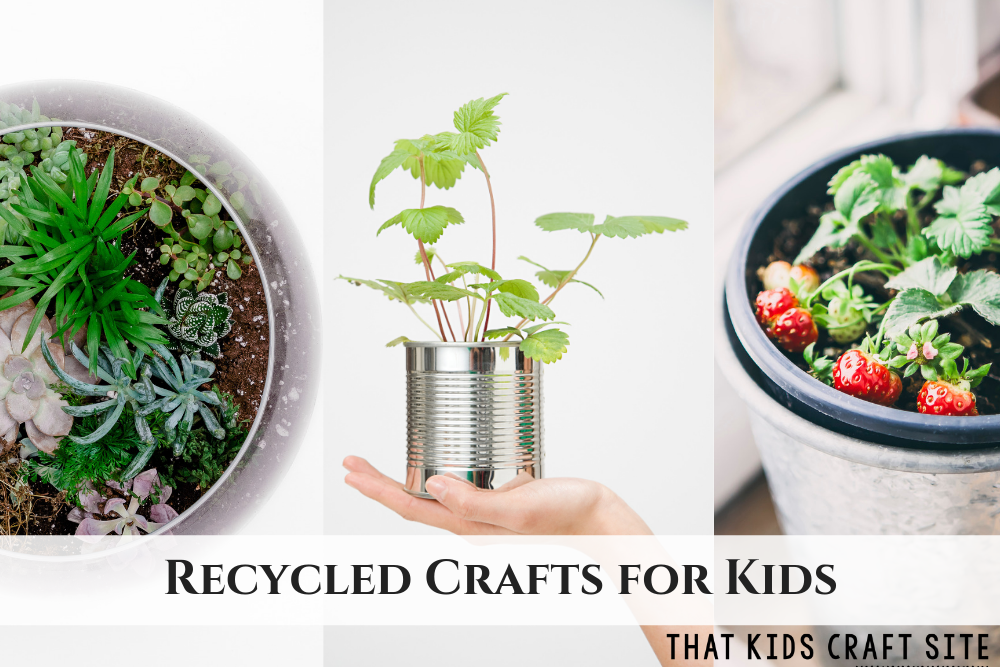
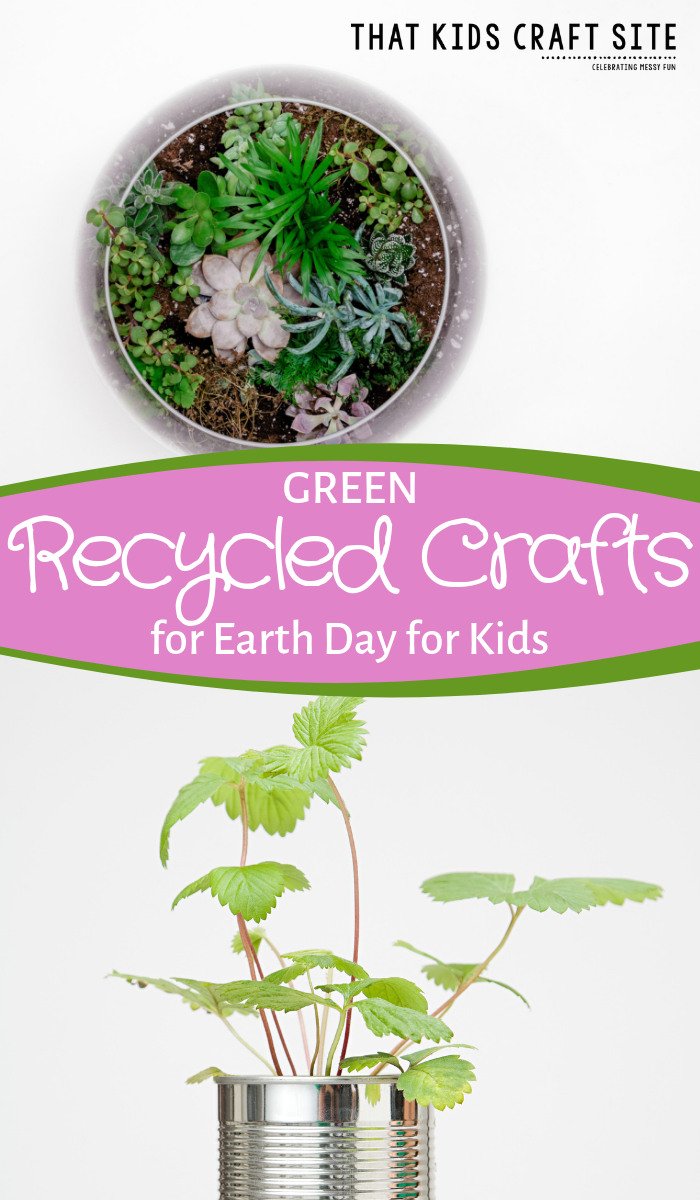
Recycled Crafts for Kids
Whether you’re looking for Earth Day crafts for kids or just want some recycled craft ideas, these recycled crafts for kids are a great place to start!
For a long time, we were a one-income family and that one income wasn’t very substantial. That meant that craft supplies were a definite luxury that we couldn’t afford.
So, we adapted and found a different way to create kids’ crafts without spending a lot – recycled crafts.
What is a Recycled Craft?
Basically, recycled crafts are crafts that use leftover material and turn them into something new. Some people call it upcycling, so you may hear that term as well.
To make recycled crafts, take a good look at the things you’re throwing away.
That coffee can? Save it! It can make a great drum!
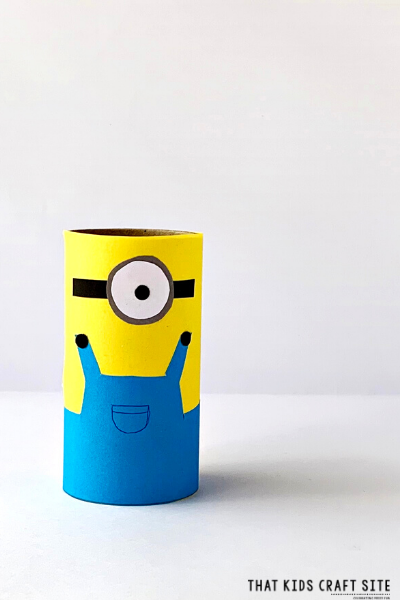
Those toilet paper rolls? Oh my goodness, those are crafting gold!
The empty pasta sauce jars? Keep them for memory jars and more!
The empty tin can from a can of beans? Recycle it and turn it into a pencil holder or old-school walkie talkies!
This post contains affiliate links to products that will help make these crafts.
The sky is the limit in terms of what you can use for a recycled craft. Even junk mail can be turned into fun and colorful paper collage crafts! The best part about making a recycled craft? It costs little to nothing to make!
Recycled Crafts: Craft Ideas for Kids
These crafts are some of our favorites and can be used for Earth Day crafts or whenever! They can actually make adorable Mother’s Day crafts as well!
We hope you enjoy!
1. Make an Easy Terrarium
Terrariums are great for teaching kids about how an ecosystem works and giving them first-hand experience in creating one. If you homeschool or your kids love science, this terrarium craft is a must-try!

Ages: 6+ (with adult assistance)
Time: 30-45 minutes
Supplies:
- Empty, clear 2-liter plastic bottle
- Small fairy garden size accessories (here are some of our favorites)
- Pea-sized gravel
- Potting soil
- Small plants or seeds (even grass seed works great!)
- Scissors or sharp knife
Directions:
- This step should be done by an adult! Using the scissors or knife (a serrated bread knife works best), cut the bottom off the bottle.
- Place some of the pea gravel in the bottom of the container to help with drainage.
- Next, add the soil and plant the plants or seeds.
- Put tiny figurines or houses in the dirt around the plants (if you’re using seeds, these fun additions can be added later after the seeds have grown).
- Water the seeds or plants well, then place the top of the bottle over the container.
- Put the cap on the bottle and place it in a sunny spot.
- Watch the water condense, evaporate, and water your plants!
2. DIY Herb Planters
Remember those soup and canned veggie cans you saved? It’s time to turn them into an indoor herb garden! If mom loves to cook, these are a great addition to the kitchen windowsill!
Ages: 6+ (with adult assistance!)
Time: 30-45 minutes
Supplies:
- Herb seeds or seedlings (think parsley, basil, mint, or chives)
- Potting soil
- Large nail
- Hammer
- Hot glue gun
- Objects such as beads and buttons that can be glued onto the outside of the cans (here are our favorites)
- Paint or stickers if desired
Directions:
- Soak the can in warm water and remove the labels.
- This is an adult step! Punch three or four holes in the bottom of each can using the nail and hammer.
- Decorate the cans with paint, stickers, or by gluing on beads and buttons. Remember only adults should use the hot glue gun!
- Fill the cans about 3/4 of the way with the potting soil.
- Plant the seeds or seedlings and place in a sunny window or outdoors.
- If making as a gift for Mother’s Day or Father’s Day, plan to plant the seeds a few weeks before the holiday so that they have time to grow.
Teacher Tip: If your students are planting seeds instead of seedlings, always make a few extra just in case the seeds don’t sprout in time!
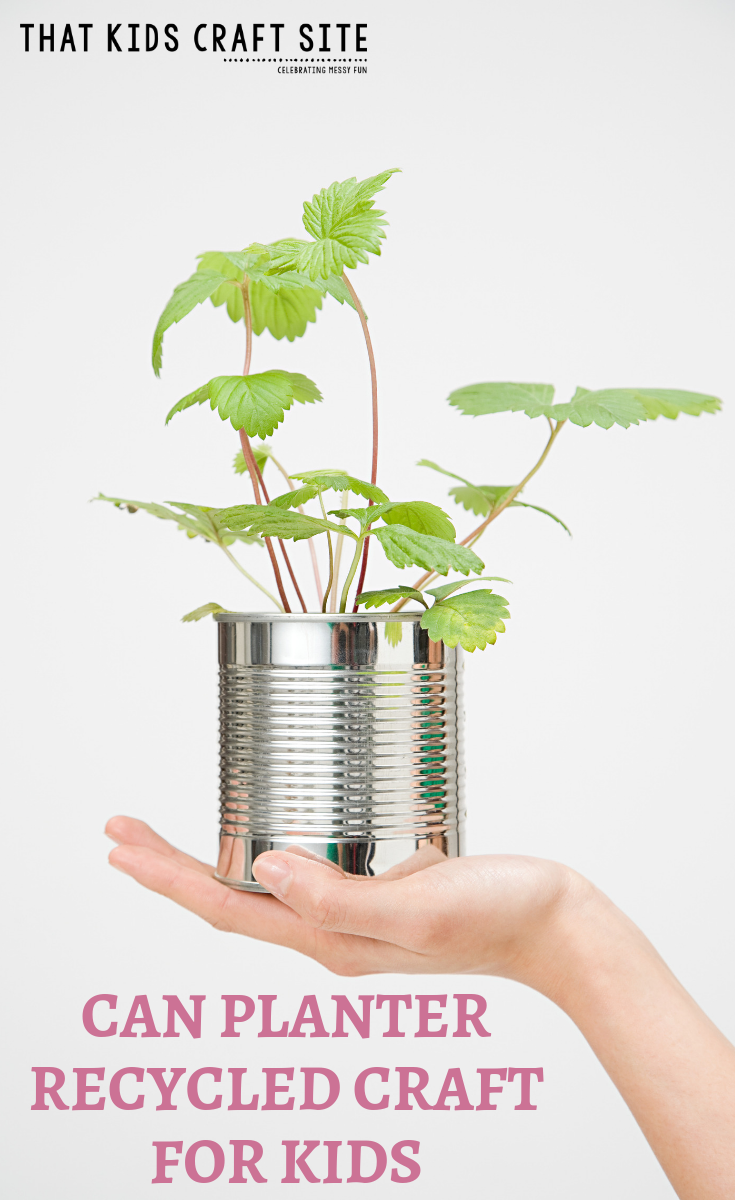
3. Make a Strawberry Container Garden at Home
Container gardening is all of the gardening fun without all of the tedious gardening chores! No weeds to pull? That’s my kind of gardening! Many fruits and vegetables do great and thrive in containers, but strawberries seem to do really well. You can use old coffee cans (just poke holes in the bottom of the can) or really any large plastic container you have to make this the ultimate recycled craft.

Ages: 5+ (with adult assistance)
Time: 30 minutes
Materials:
- Large, plastic containers to use as pots (coffee containers, large snack jugs, etc.)
- Potting soil
- Strawberry “plugs” (aka seedlings)
- Compost
Directions:
- Thoroughly clean and rinse the containers you’ll be using. Make sure to rinse out any soap!
- Fill the container with potting soil and make a well in the center for the strawberry plant.
- Plant a strawberry plug in the container making sure that the entire root system is under the soil. Plant only one strawberry per container!
- Water your strawberry plants and feed them periodically through by working compost into the soil.
Show Us Your Recycled Crafts!
Did you make one of the crafts above? We’d love to see it! Snap a photo and tag us on Instagram @ThatKidsCraftSite! We can’t wait to celebrate your recycled crafts!
After You Make These Fun Recycled Crafts, You Might Also Like to Try These Crafts for Kids…
[one-half-first] [/one-half-first][one-half]
 [/one-half]