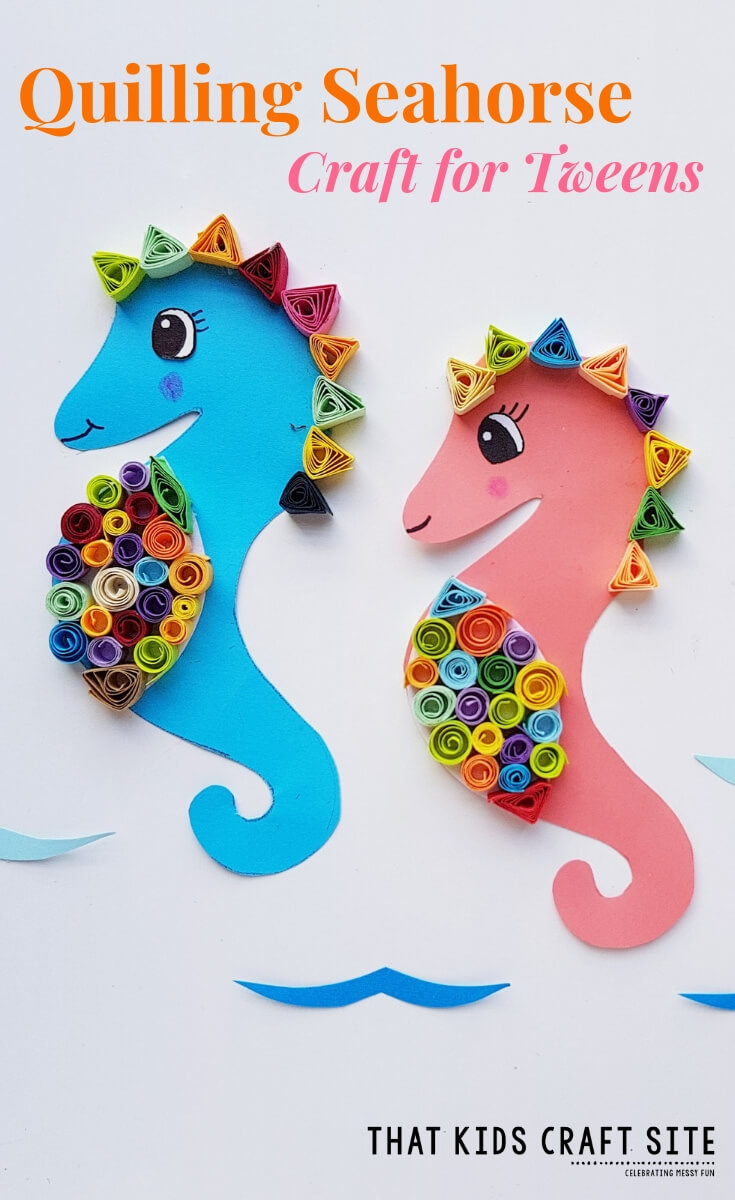
Quilling Seahorse Craft for Kids
Go under the sea with this adorable paper quilling seahorse craft for kids!

Simple Quilling Seahorse Craft
We’re super excited about summer coming and the trips we have planned for the beach. Although we probably won’t see any seahorses, it doesn’t stop us from associating them with everything under the sea. That makes this simple quilling seahorse the perfect pre-beach trip papercraft!
If you’re driving to your beach destination you could also take your quilling supplies along with you and make your quilling seahorse at your beach house. I just wouldn’t try to take a quilling tool on a plane if I were you as it will probably end up with TSA! Maybe if you packed it in your luggage as opposed to carrying it on it would be okay? You never know!
You Might Also Like: Quilling Heart Balloon Card Craft
This article contains affiliate links to products that will help you complete the craft.
What is Quilling?
Quilling is the art of rolling paper and then bending or smushing it (that’s not really the technical term, but that’s what you do!) to make shapes. It’s a great craft for tweens and teens, but may be a bit too intensive for younger kids. Little ones just might not have the patience to do it – I know mine wouldn’t have!
Since it can take a long time to make all of the shapes needed to complete a piece, it’s a good craft to do over the course of a weekend or while on vacation.
If you homeschool or are looking for a middle school art project for your students, quilling is a great option.
How to Make a Quilling Seahorse Design
Ages: 10+
Time: 60 minutes
Materials:
- Quilling Seahorse Template <— DOWNLOAD THE TEMPLATE HERE
- Colored construction paper
- White copy paper
- Pencil
- Scissors
- Craft glue
- Quilling strips
- Slotted quilling tool
- Black Sharpie
Instructions:
Step 1:
Select a piece of colored construction paper and grab a sheet of white copy paper. Print out the template and cut out the pattern pieces. Trace and cut out the body part from the colored construction paper and trace and cut out the rest of the pieces from white copy paper.

Step 2:
Select different colored quilling strips and create loose coils and triangle shapes with them. We created 10 triangles and 17 circles.
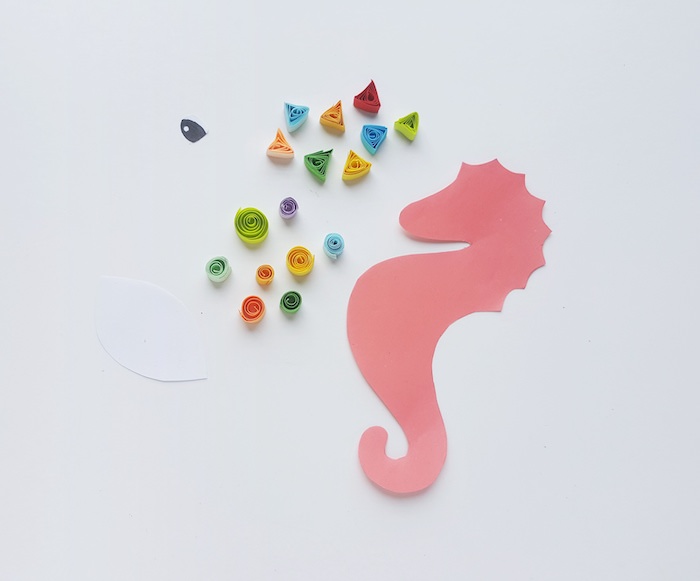
Step 3:
Take the eye cut-out and use a black sharpie to fill in the eye.

Step 4:
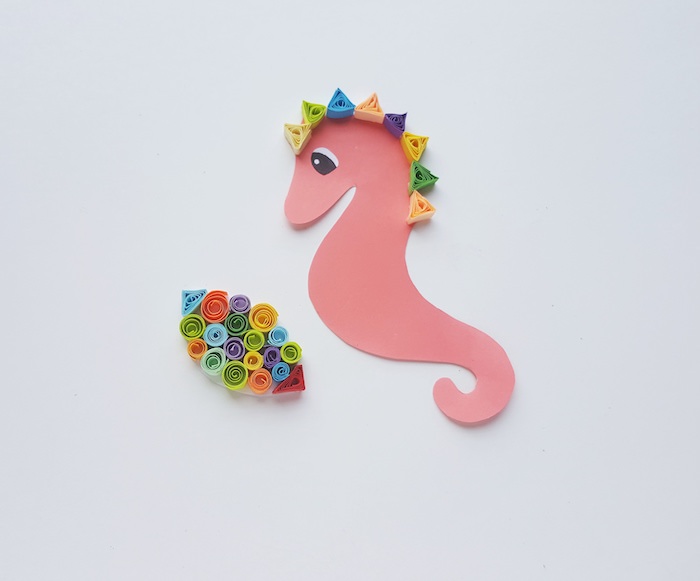
Take the quilled triangle shapes and attach them along the spiked edges of the seahorse pattern.

Step 5:
Take the leaf-shaped cut-out and fill it with the quilled circles. We attached 2 quilled triangle shapes on each corner to make the circles fit better in the space.

Step 6:
Keep adding the quilled circles until the leaf-shaped cut-out is filled in completely.
Step 7:
Attach the leaf-shaped piece on the main body pattern of the seahorse as the belly. If you’d like to add more details, go for it!

You’re Quilling Seahorse is Complete!

Show Us Your Quilling Seahorse Craft!
Did you try making your own quilled seahorse craft? Show us! Snap a picture and tag us on Instagram @ThatKidsCraftSite. We can’t wait to celebrate your creativity!