Make the coolest back to school Perler bead patterns!
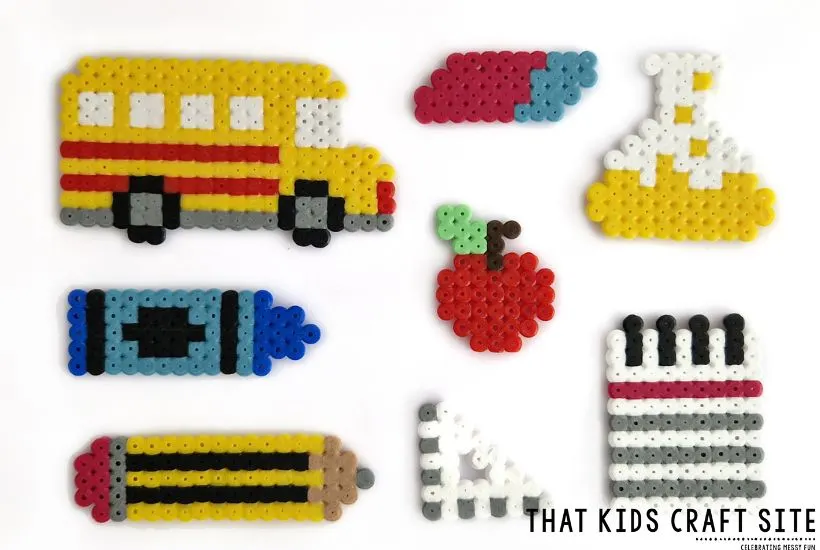
As the back-to-school season approaches, it’s time to gear up with exciting projects.
Activities that inspire creativity, imagination, and encourage learning are perfect.
In fact, Perler beads, or fuse beads, offer excellent opportunities that are fun and educational.
Even if you homeschool, these fun patterns are perfect for the beginning of the school year!
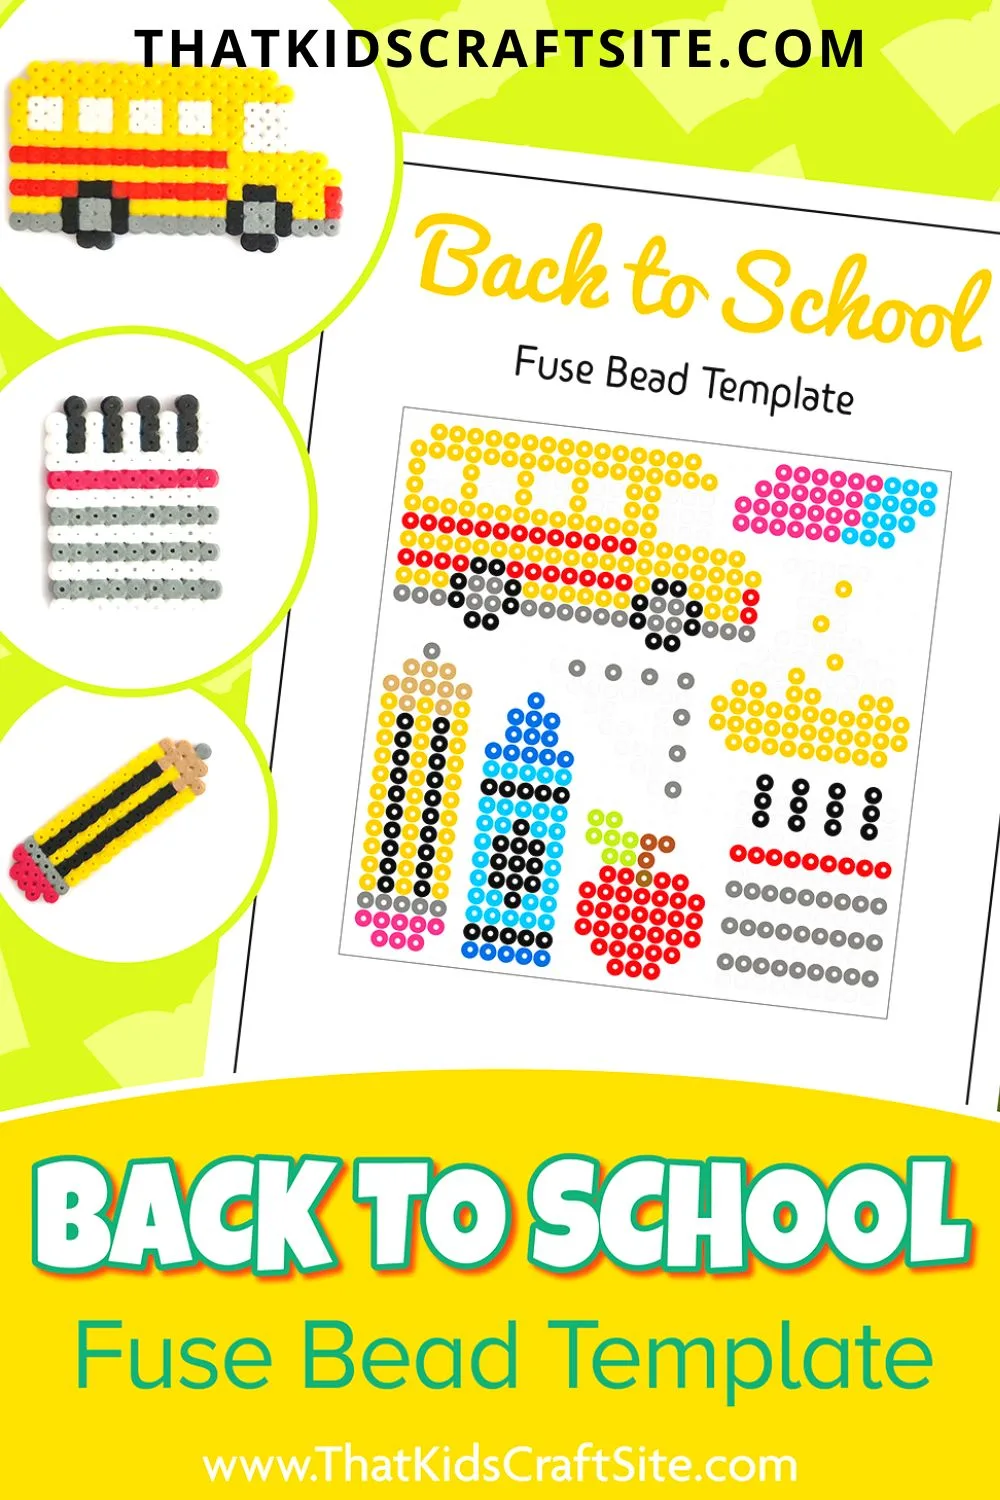
Creating these awesome bead patterns is super simple when using our handy template.
So, let’s go!
Let your imagination run wild and watch as back to school Perler bead designs come to life!
This article contains affiliate links to products that you might like.
Creating Back to School Perler Designs
Back to School Perler designs are easy and exciting projects.
Gather the materials below and let’s begin!
Materials Needed:
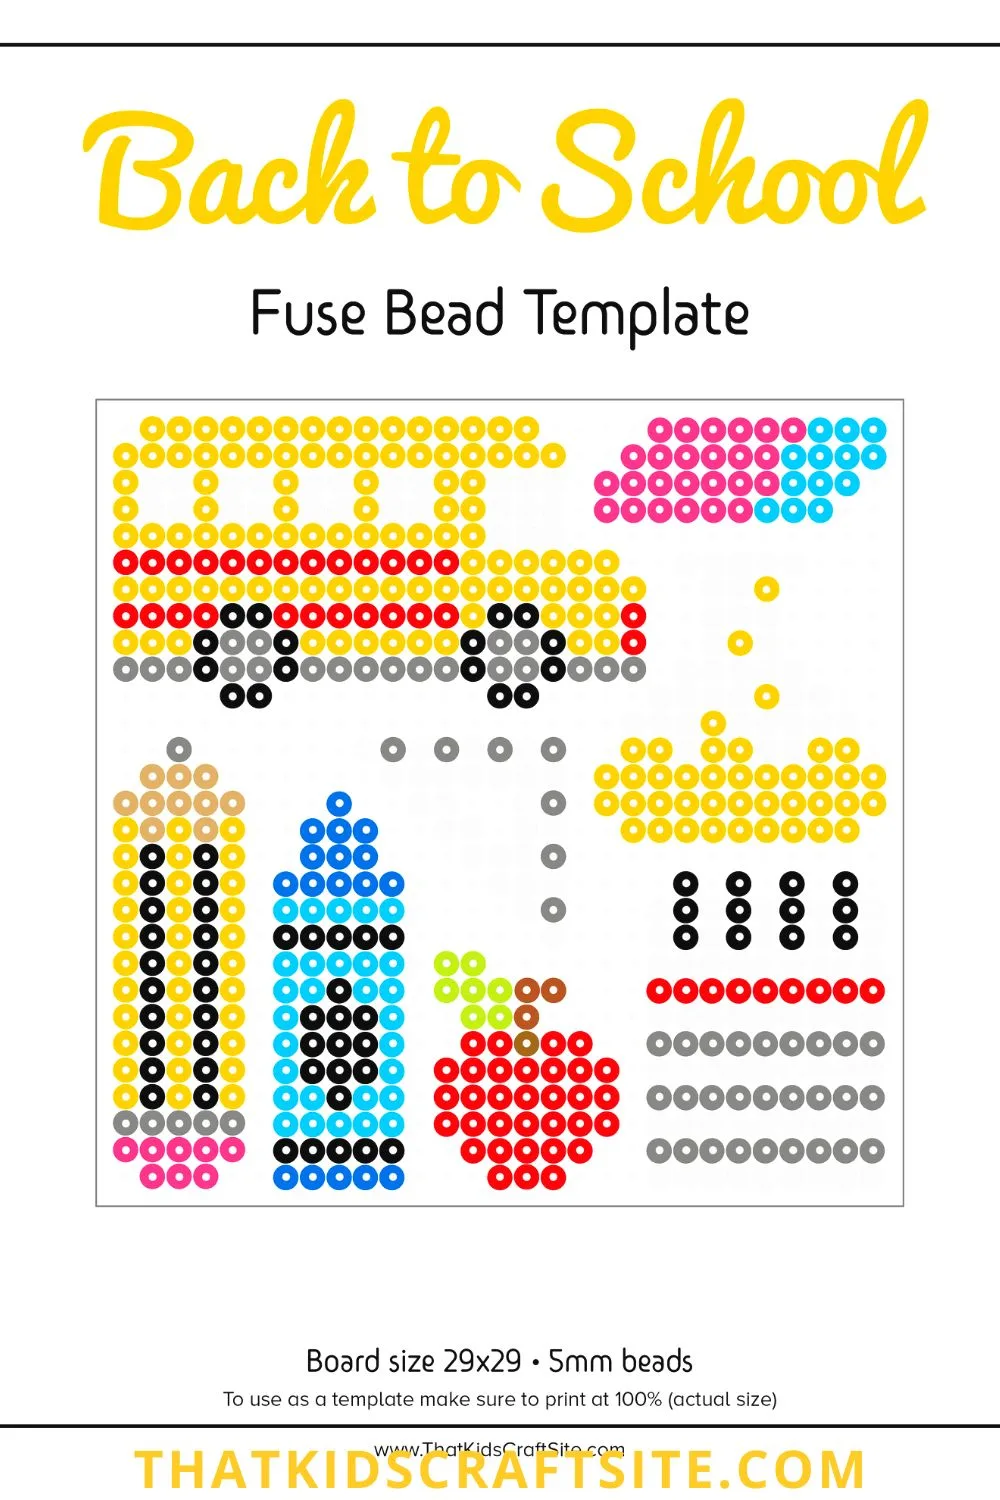
- FREE Back-to-School Fuse Template (downloadable from our Freebies Library)
- Perler beads in various colors
- Perler bead pegboards
- Ironing paper
- Iron
- Tweezers (optional for easier bead placement)
- Craft Vacuum (optional, for quick clean up)
How to Create a Back-to-School Perler Project
Step 1: Gather Your Supplies
Before starting the project, make sure you have all the necessary materials ready.
Download the Back to School Perler Bead Patterns template from the Freebies Library.
And print as many as you would like.
Organize your Perler beads by color for easy access.
Step 2: Prepare the Perler Bead Pegboard
Place the Perler bead pegboard on a flat surface.
If creating a large design from the template, multiple pegboards may be needed.
Arrange the pegboards based on the pattern’s size and shape.
Step 3: Follow the Template
Refer to the Back to School Perler Bead Patterns template and select your desired design.
Start by placing the appropriate colored beads on the pegboard by copying the pattern.
Be careful to align the beads correctly to create a crisp and clean design.
Step 4: Iron the Beads *parent/teacher/guardian supervision required*
Once you have completed the design, it’s time to fuse the beads together.
Preheat an iron to a medium setting, without steam.
Place a sheet of ironing paper over your design.
Start ironing the beads in a circular motion for about 10-20 seconds.
Be sure to apply gentle pressure to ensure the beads fuse together properly.
Lift the iron occasionally to check the progress, but try to avoid excessive ironing.
Step 5: Cooling and Removing the Design
Allow the fused design to cool for a few minutes before removing it from the pegboard.
Once cool, carefully peel the design off the pegboard.
Flip it over and place it back on the ironing paper.
Cover it with the paper and iron the reverse side for a few seconds to ensure a solid bond.
Step 6: Display and Enjoy
Congratulations!
Your Back to School Perler bead pattern is now complete.
Attach it to a corkboard, frame it, or turn it into a magnet.
Let your creativity guide you in showcasing your unique creation proudly.
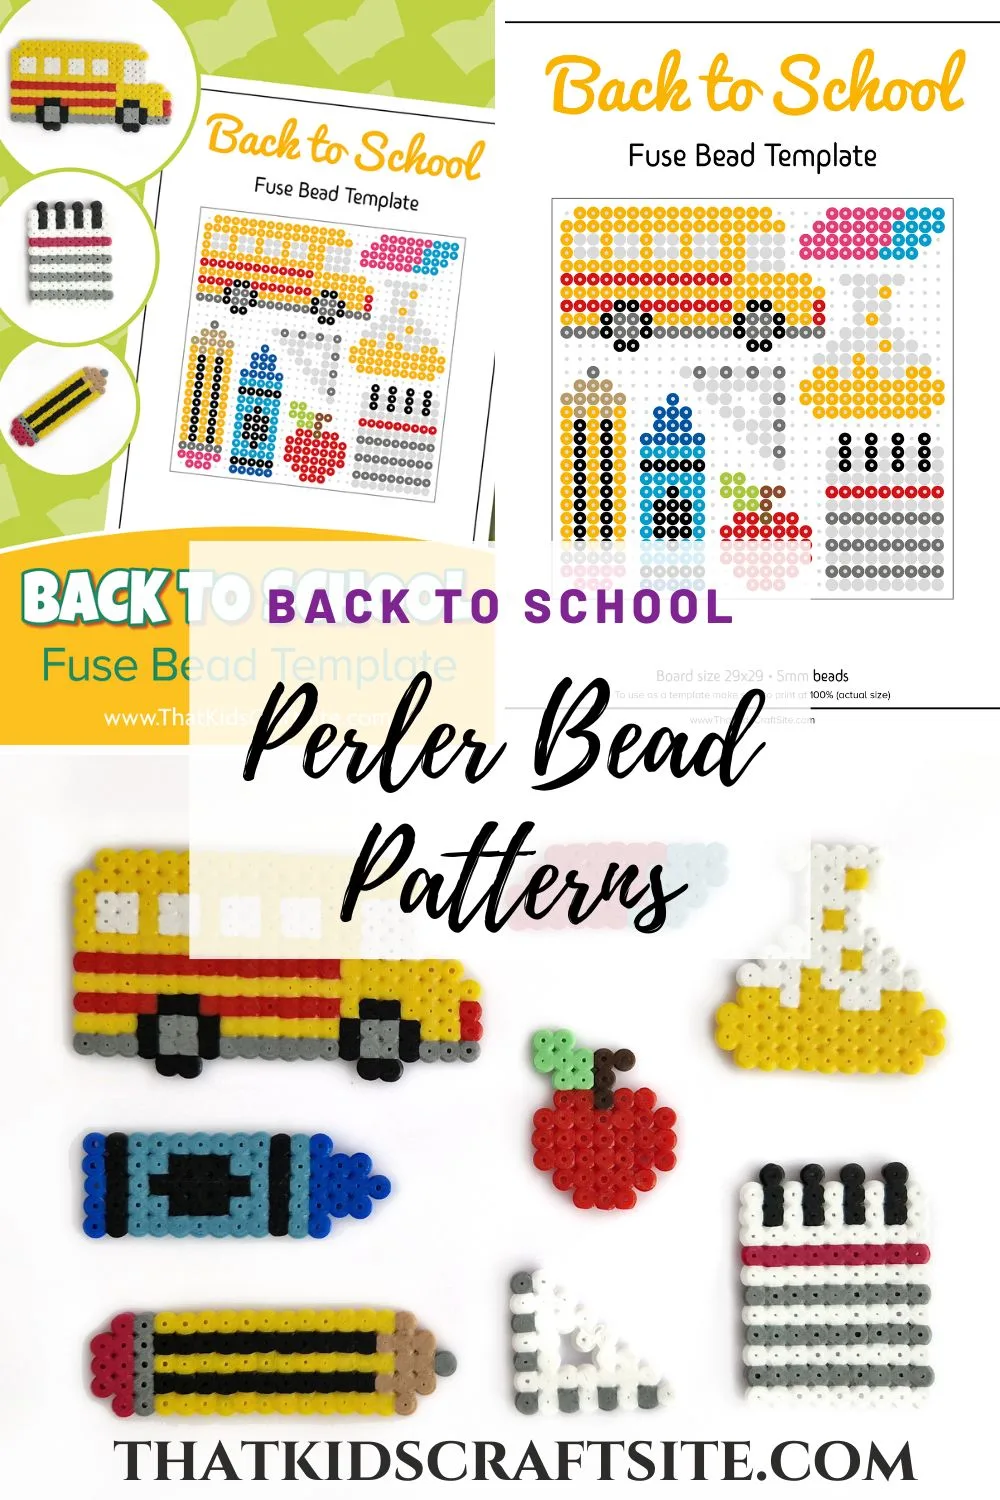
Back to School Perler Bead Patterns
Making Back to School Perler bead patterns is an enjoyable art.
It’s also a great way to celebrate the back-to-school season.
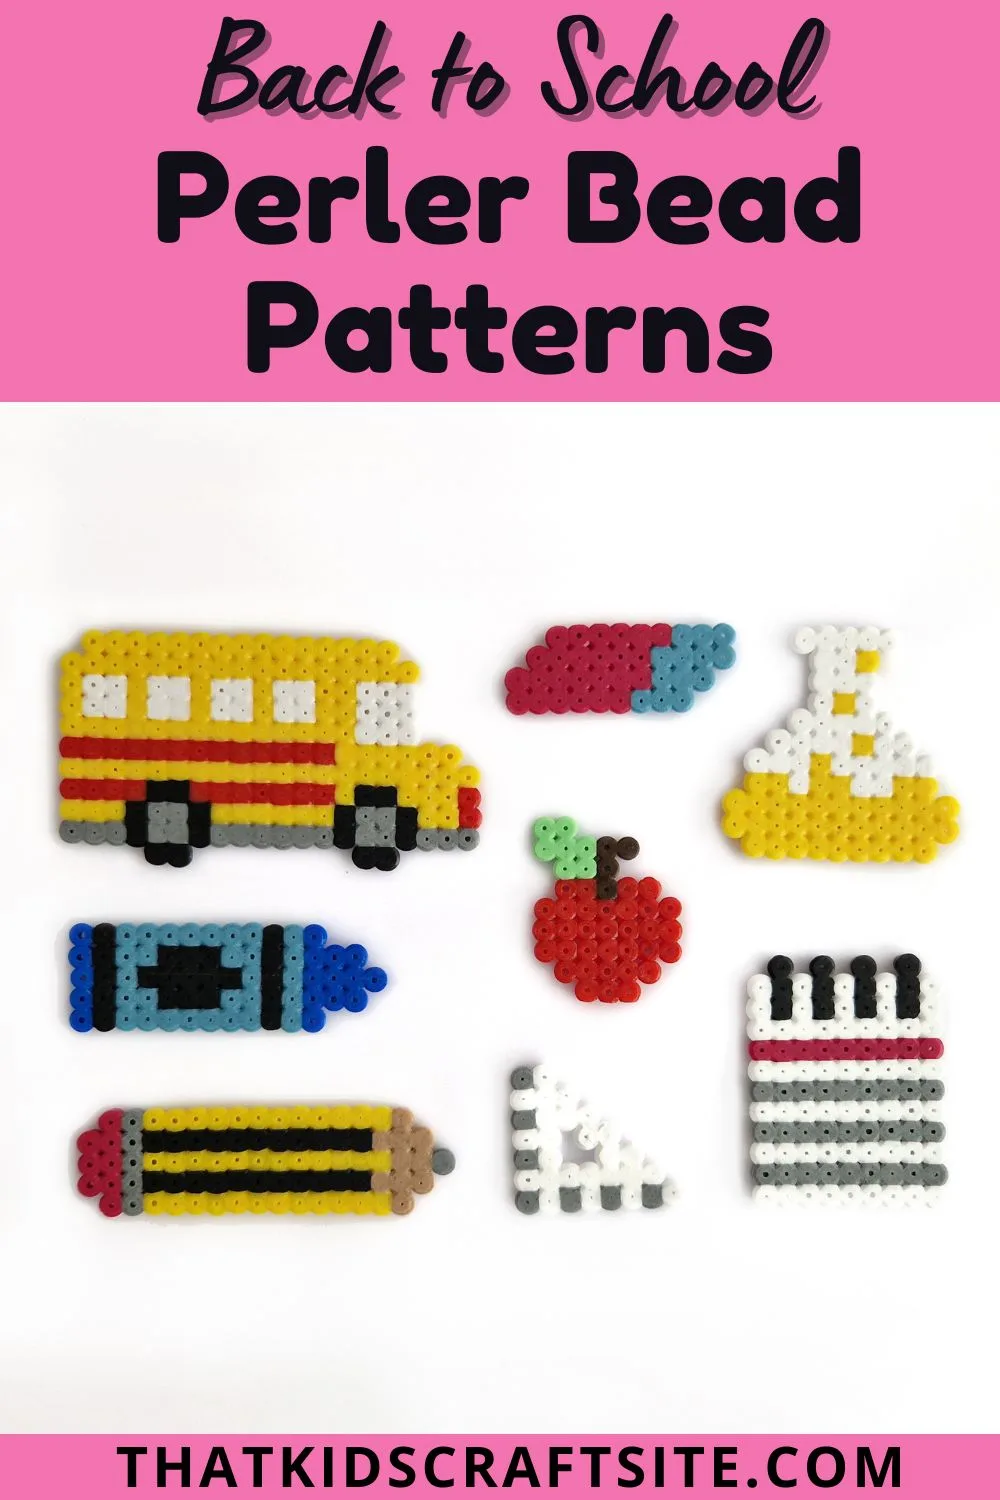
By following our awesome template, a variety of exciting designs can be made.
So, gather the materials and let imaginations flow as Back to School designs come to life!
