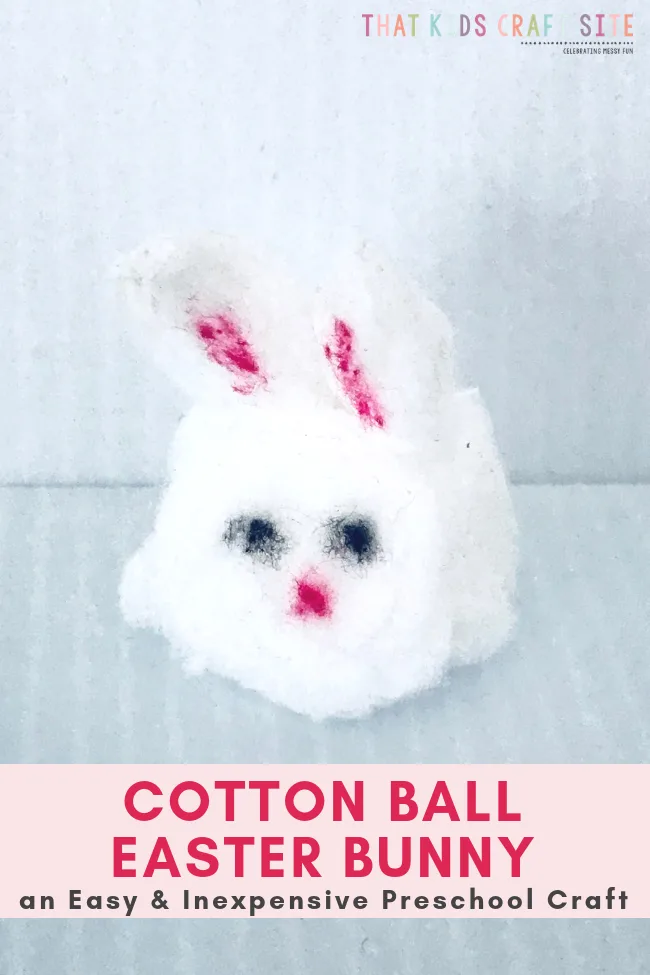
Make a delightful pocket-sized cotton ball bunny craft activity for the Easter holiday.
Easter Crafts
“Here comes Peter Cottontail, Hoppin’ down the bunny trail. Hippity hop hop, Hippity hop hop, Easter’s on its way”
We all know and love this little jingle we learned as children. Hearing and singing this itty bitty ditty was a sure sign that Easter was coming!
And with Easter on its way, so are some enjoyable goodies that will be delivered by Peter Cottontail himself. Usually consisting of some type of treat in a colorful basket, children are excited to search for this hidden delight early Easter morning. Whether it’s a small gift, piece of chocolate or a handful of jellybeans, whatever is in the basket is always a cheerful surprise!
So, what happens after the Easter basket is found and the excitement dies down? Well, we’re glad you asked!
We are pretty sure that we have a great idea to keep the children busy… Why not make an Easter cotton ball bunny!
Crafting this delightful pocket-sized rabbit can be another fun activity for the little ones to enjoy on Easter day.
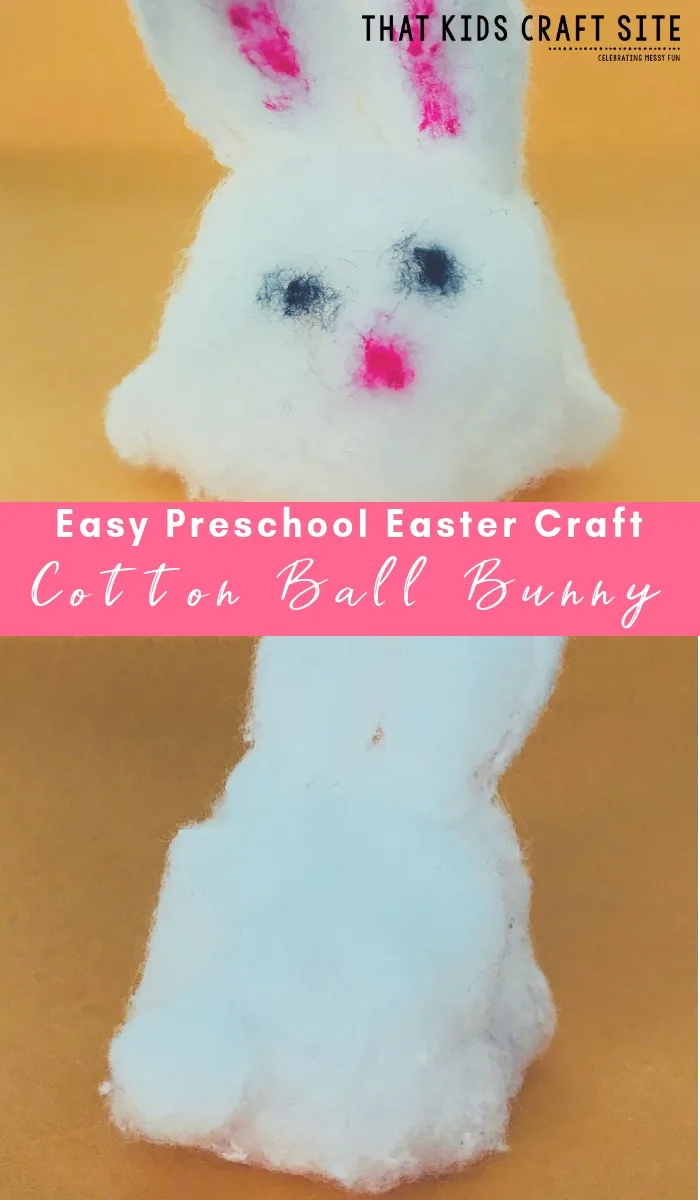
Cotton Ball Bunny
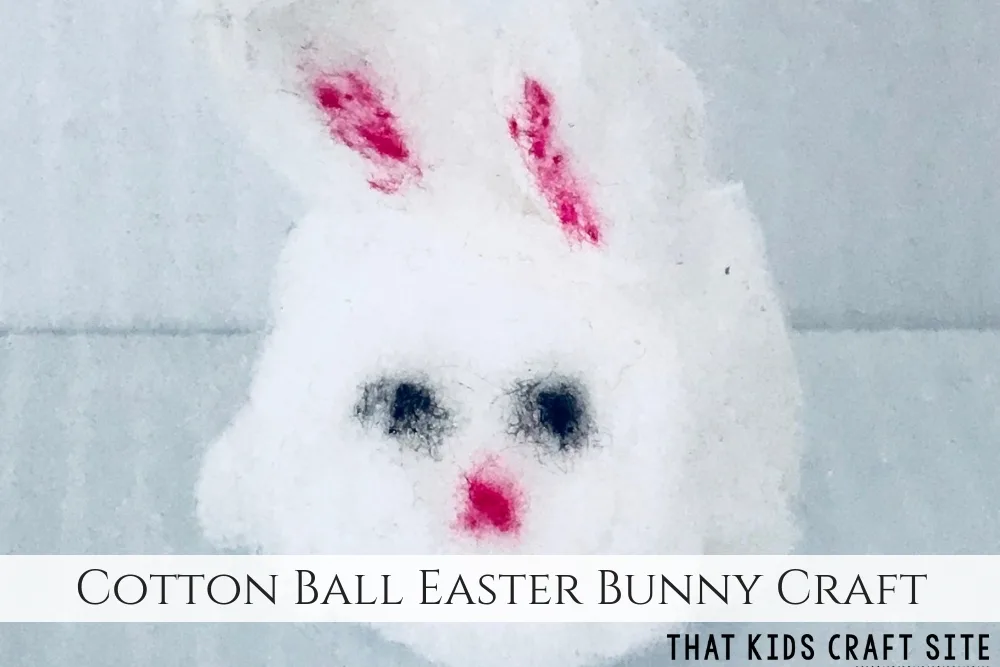
With this cotton ball bunny craft for children, we have reinvented Sir Peter Cottontail himself! How fun!
Super cute and easy to make, these adorable little bunny balls can be created in a snap with just a few materials.
Using only a couple cotton balls, some glue, and a few markers, you and the kids can put together this Easter cotton ball bunny in no time.
Once completed, children can take these sweet pocket-sized rabbits anywhere.
They’re the perfect size if you’re thinking about how to make a diorama for Easter; they fit perfectly inside a shoe box scene!
This project is sure to be a winner when it comes to Easter activities!
Getting all the attention this Easter holiday, these tiny cotton ball bunnies are a must on the to-do list! So, let’s get started!
Cotton Ball Bunny Easter Craft
Ages: 2+ (with adult supervision)
Time: 15 minutes
Materials:
- 2 cotton balls
- Glue
- Markers (pink & black)
Instructions:
- Take the first cotton ball and fluff it up. Put to the side. This will be the body of the bunny.
- Take the second cotton ball and pull off 3 smaller pieces.
- Roll one smaller piece between your palms like you’re making a meatball. This will be the bunnies’ tail.
- Roll the two remaining smaller pieces back and forth in your palms to make oval-like shapes. These will be the bunnies’ ears.
- Glue the tail and ears to the bunny body (the first cotton ball you fluffed up). We used school glue to keep it safe for the little ones, but hot glue (used only by an adult) will work too.
- Once the glue has dried, make eyes with the black marker.
- Using the pink marker, color the ears and make a bunny nose.
- There you have it! An Easter cotton ball bunny!
Make one bunny or hundreds! Once you start making them it may be hard to stop!
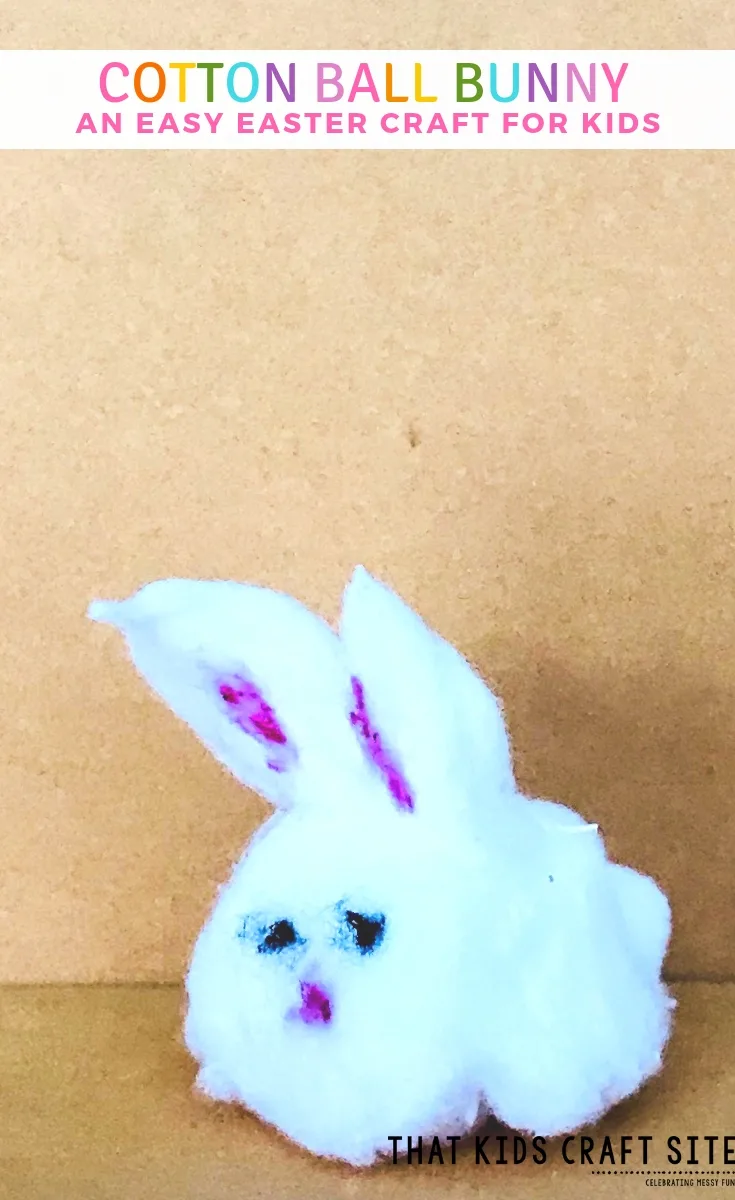
Show Us Your Cotton Ball Bunnies!
Did you make a cotton ball bunny? Share it with us! Snap a picture and tag us on Instagram @ThatKidsCraftSite. We can’t wait to see how your Easter bunnies turned out!

