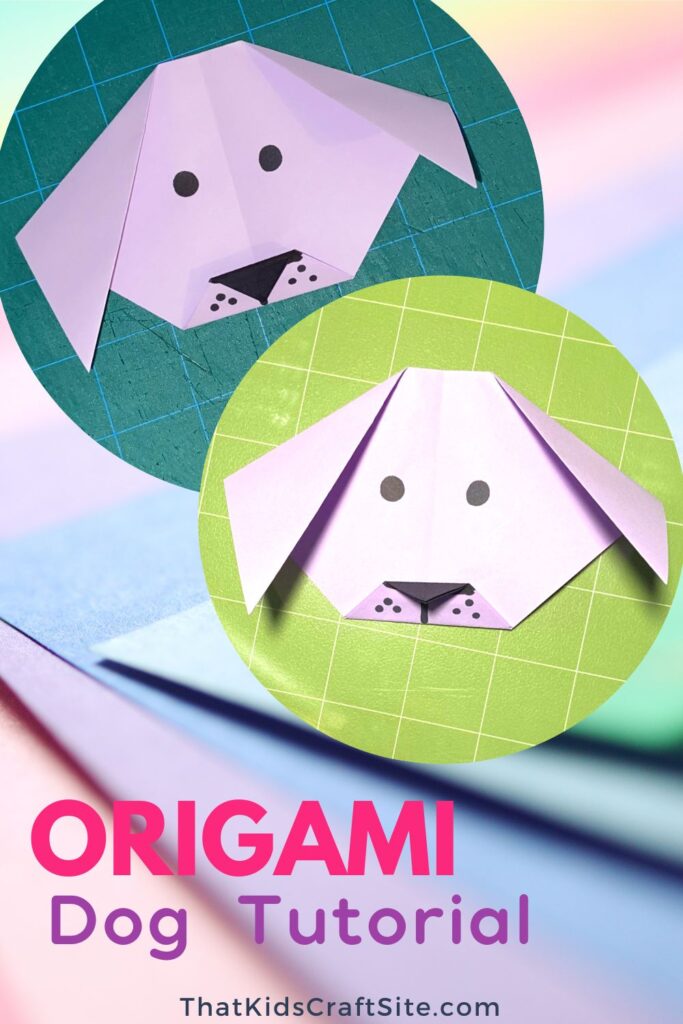
Origami Dog Tutorial
Let the dogs out with this super cute origami dog tutorial!
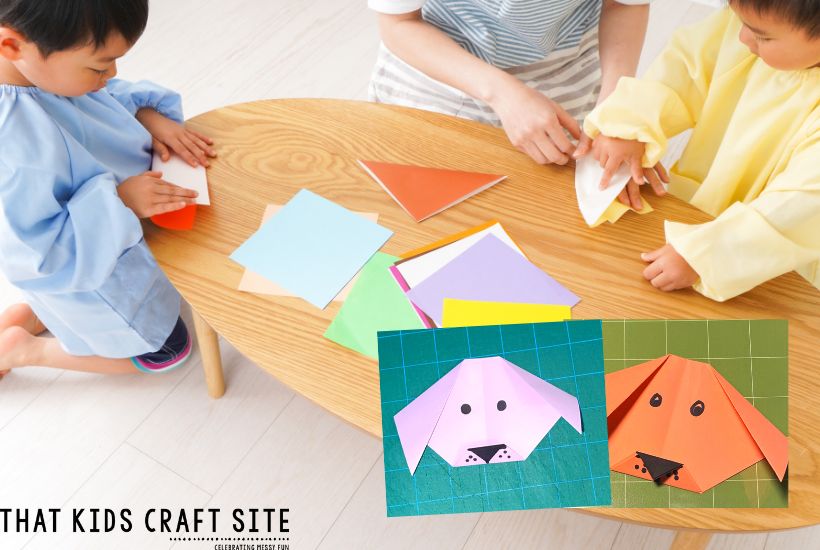
A stunning form of Japanese art, origami is an ideal craft for all ages to learn. The basic idea of origami is to fold paper into decorative shapes and figures. Little ones as young as 4 years of age can complete an origami project with the help of an adult rather easily. Older children (8 years +) should be able to follow origami instructions independently for the most part, only having questions with the more challenging steps. Really fun and rather simple, origami is a rewarding activity for both kids and adults!
Learning origami is a worthwhile and valuable craft to take on. While teaching basic math skills and strengthening fine motor abilities, origami also fosters patience, creativity, and concentration. For those who are ready to dive into this fabulous paper folding art, we have a beginner project that is just perfect for newbies, both young and old.
So, let’s grab some origami paper and get to folding!

The Art of Origami for Kids
Below, we have step by step instructions to make a really adorable origami dog! There may be a couple tricky folds, but once you and your tiny crafter get the hang of it, you’ll both become masters at making origami dogs. In just a few fantastic folds, you’ll have your own perfect paper puppy.
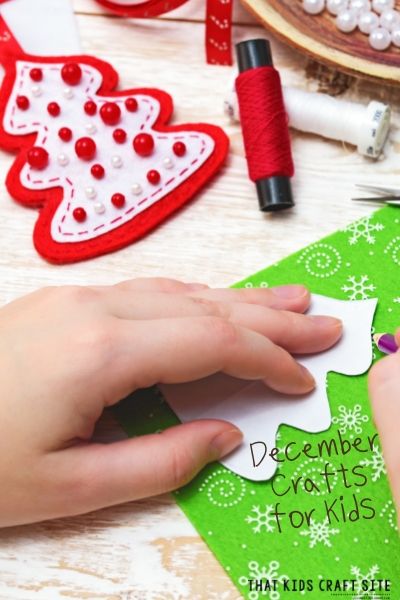
Making an origami dog requires only two supplies: origami paper and a black marker! Once you have these two things, we can begin.

How to Make an Origami Dog
Step 1: Start with a piece of origami paper tilted so it looks like a diamond.
Step 2: Bring the top corner down to the bottom corner to form a triangle, and press to create a fold.
Step 3: Now bring the left corner to the right corner, folding the paper into a smaller triangle.
Step 4: Unfold the smaller triangle so only a crease remains.
Step 5: Fold both top corners of the triangle down at an angle leaving a small gap at the crease. These are the dog’s ears!
Step 6: Now fold the bottom point up just a bit towards the top of the head to form a small triangle.
Step 7: Take the top of the small triangle that was just made, fold it down to make a smaller triangle, bringing the top point to the bottom edge of the dog’s face. This will be the dog’s nose.
Step 8: Color both sides of the nose with the black marker.
Step 9: Unfold the nose and draw a line from the bottom of the nose to the bottom of the dog’s face.
Step 10: Draw three dots on either side of the line for the dog’s freckles.
Step 11: Lastly, flip the nose back down and draw on the eyes.
Step 8: There you have it! A simple origami dog!
Kid-friendly Tutorial for an Origami Dog
Origami, the ancient art of paper folding, engages crafters while enhancing a number of brain and body skills. This kid-friendly tutorial for an origami dog is a great way to keep little hands busy and young minds learning.
Happy folding!