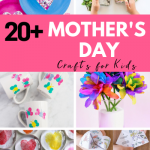
The Most Adorable Sloth Craft You’ve Ever Seen for Mother’s Day
Mother’s Day will be here before you know it and this adorable sloth craft is the cutest thing you’ll ever see!
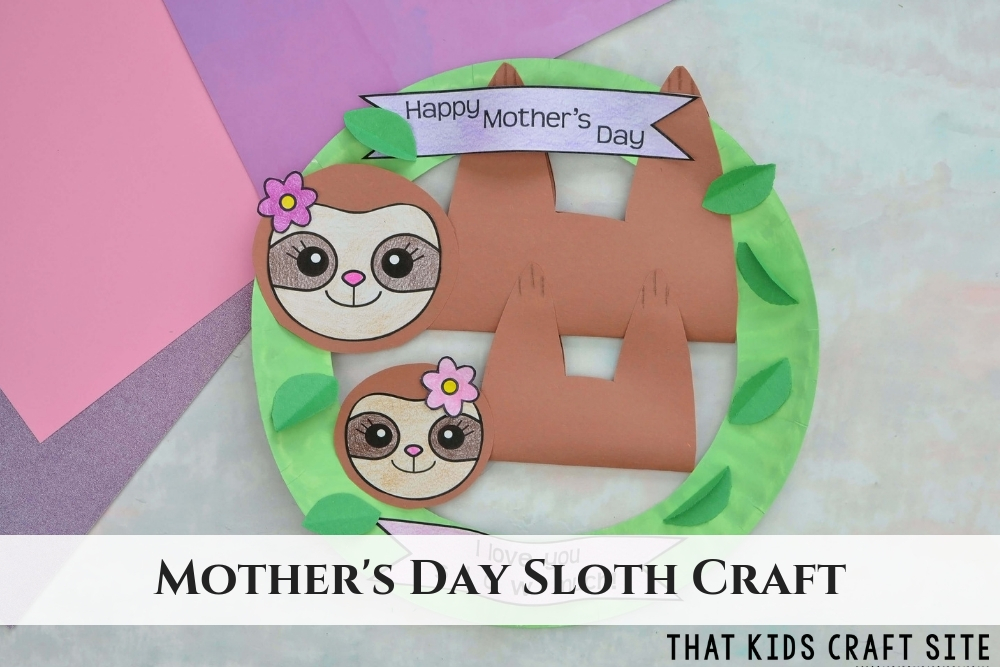
Saving time and getting things done quickly may not be the sloth’s way, but around here time is precious! That’s why we created this printable sloth template for you to use when creating the most adorable sloth craft you’ve ever seen. Seriously, it’s precious!
Not only will the craft save you time, but it’s also sure to be a hit with mom on Mother’s Day!
Making and giving a handmade card or craft is one of our favorite nice things to do for your mom for the holidays or any day!
How to Make a Mother’s Day Sloth Craft
Ages: 3+
Time: 30 minutes
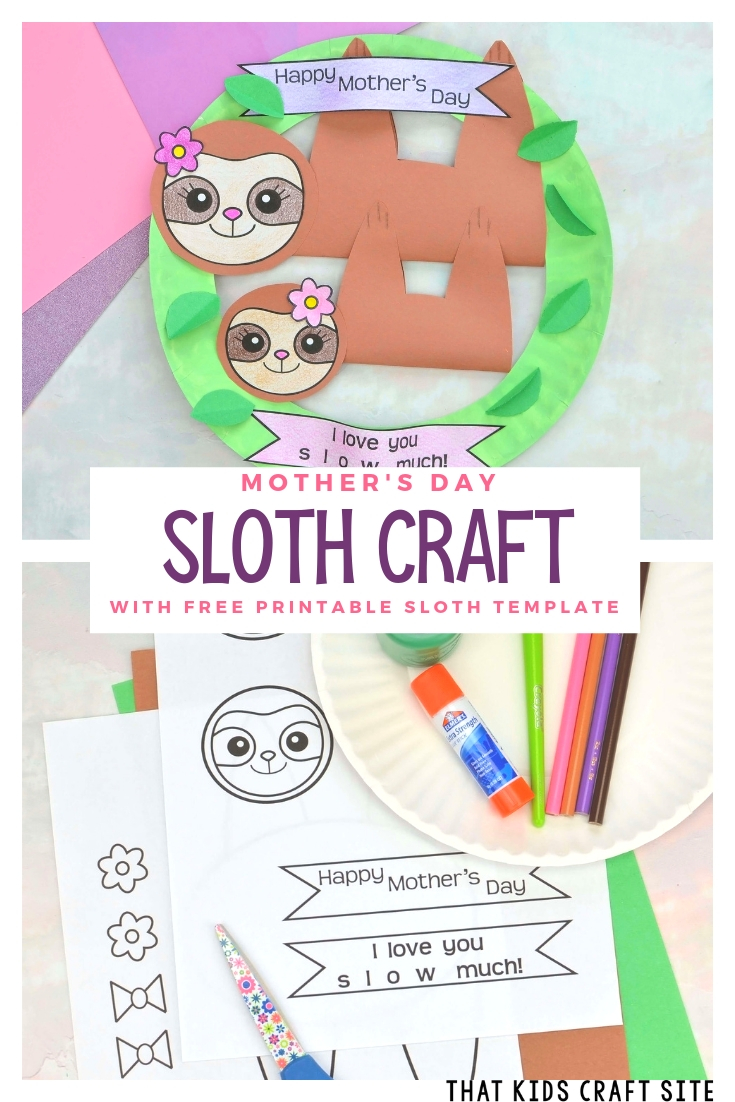
MATERIALS:
- sloth craft template <— PRINT OUT THIS TEMPLATE
- 2 sheets of tan or brown construction paper
- 1 sheet of green paper
- Light green paint
- Paintbrush
- Paper plate
- Colored pencils
- Glue stick
- Scissors
INSTRUCTIONS:
1 – First, fold the plate in half and cut out the center circle, leaving just the border for the wreath shape. Paint the paper plate light green.
2 – While that dries, cut the Mommy and Baby sloth bodies out of the template. Trace the body templates on tan or brown construction paper and cut out.
3 – Cut the Mommy and Baby sloth heads out. Color the eyes and face shape with the colored pencils. Trace the heads onto tan or brown construction paper. Cut out the construction paper circles and cut out the face shape from the sloth heads. Finally, glue the sloth faces to the construction paper heads.
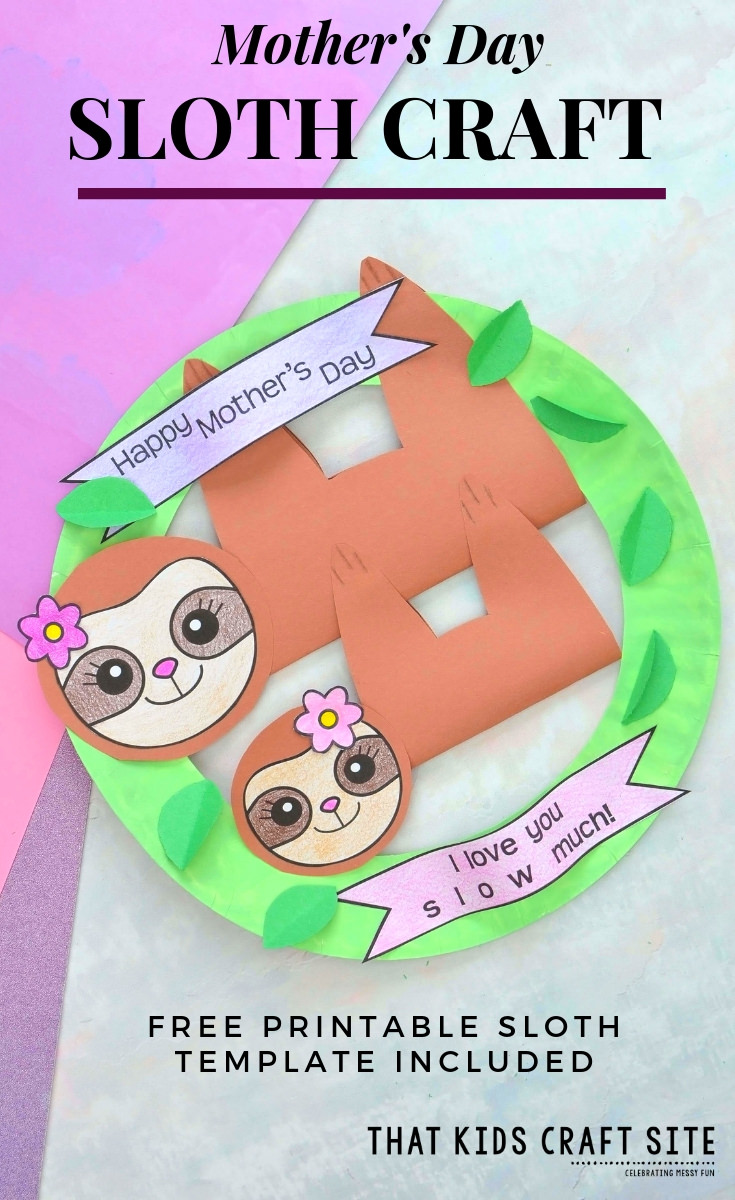
TIME TO ASSEMBLE YOUR SLOTH CRAFT
4 – To start assembling the Mother’s Day Sloth Craft, take the Mommy sloth body and fold it in half hotdog style so the hands and feet are touching each other. Now, place the sloth body on the top of the wreath so it looks like it’s hanging down. Put a bit of glue on each hand and foot to secure the Mommy body to the plate. Then complete the Mommy sloth by gluing on the head.
5 – Repeat this same process with the baby sloth, attaching the arms and legs to the Mommy’s body instead of the paper plate.
6 – Give your sloths some accessories by adding the bows or flowers to their hair. Simply color, cut and glue them to the top of each sloth’s head.
7 – To add a little detail, use a brown colored pencil to add some nails to the end of each arm and leg.
8 – Then, color and cut the banners. Glue them to the top and bottom of the plate.
9 – Next, take the green construction paper and fold it in half 3 times, rotating the direction of the fold every time. Draw two leaves and cut them out (going through all the layers of the construction paper). Take each leaf and fold it in half to give it a 3D effect.
10 – Glue the leaves around the plate in a random pattern to finish the craft.
YOUR MOTHER’S DAY SLOTH CRAFT IS COMPLETE!
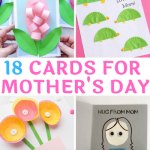
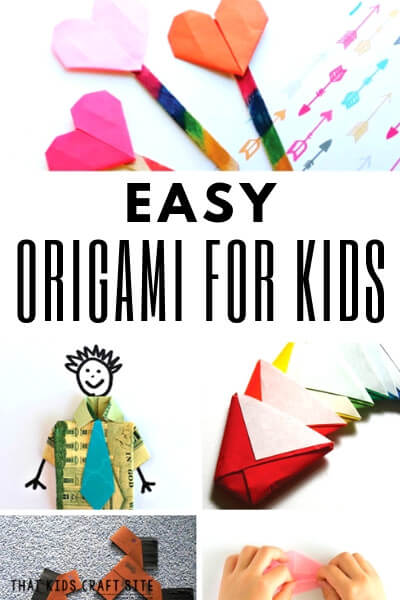
MORE MOTHER’S DAY CRAFTS TO TRY