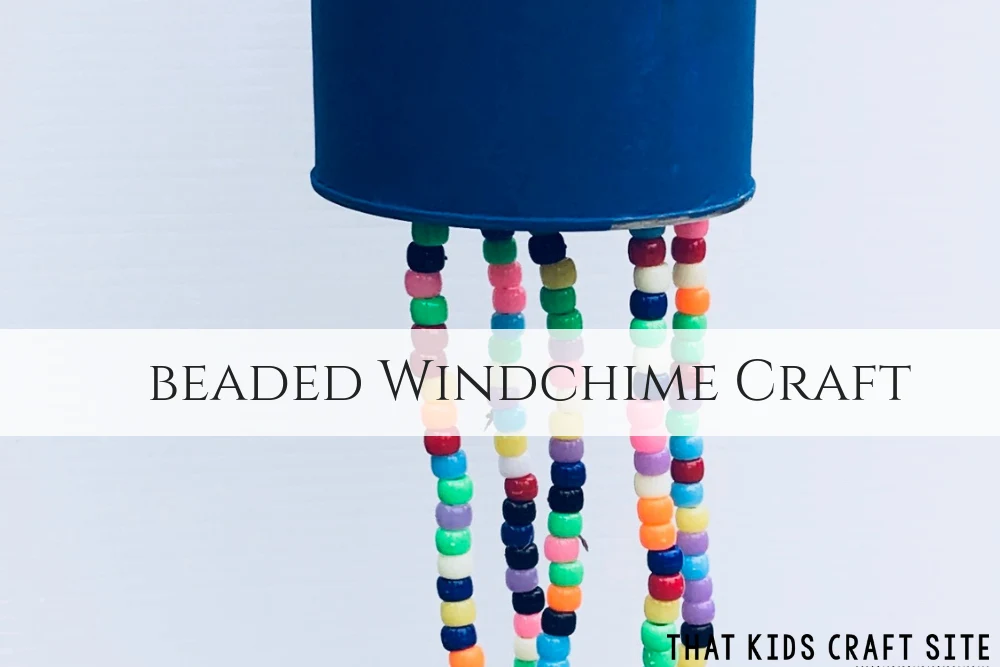
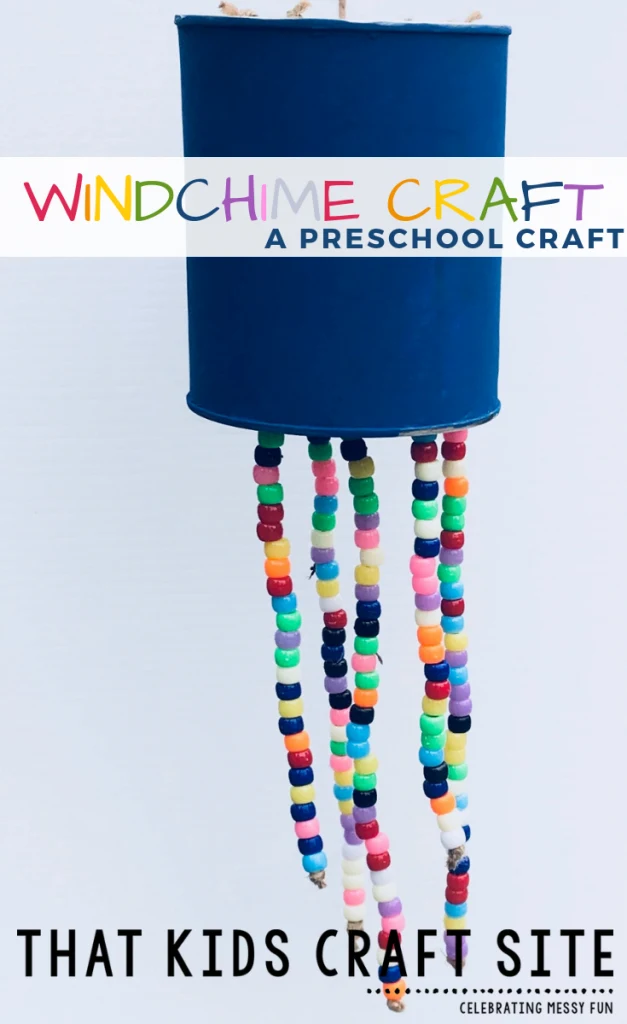
Make music in nature with this easy beaded windchime craft.

This article contains affiliate links to the items that will help you make the craft.
Looking for an easy-peasy activity to save the kids from going stir crazy during these long winter days? This homemade windchime craft for kids is just the project to occupy their time.
Make Your Own Windchime
This craft, like most of the others we do, is super simple and inexpensive.
Using recycled materials kept the cost to a minimum.
The other supplies used for the windchime were items that we already had on hand from previous activities.
All in all, this homemade wind chime craft proved to be quite the frugal – and fun! – activity.
It was also a great opportunity to teach some wind science without the kids realizing they were learning!
Handmade Windchimes
For the main piece of our wind chime, we checked out our recycle bin and found an empty can of peanuts (or two, or three– no judging now – we are a family of peanut lovers) that we used for the top of our wind chime.
If your family does not enjoy peanuts
Break out the paints and brushes and let the little ones go to town. While the paint is drying, string up a few strands of colorful pony beads. We did five altogether: one in the middle and four around the edges.
Once the paint is dry, attach the bead strands, and hang outside. There you have it! The best homemade beaded windchime craft for kids.
Wind Chime Warnings
Just a warning: kids will have so much fun creating handmade windchimes that they might want to make more than one – so be prepared. You’ll either end up with a very colorfully decorated yard full of wind chimes or everyone in the family will be gifted a handmade wind chime. Maybe both… who knows?!

Beaded Wind Chime Craft
Ages: 4+ with adult assistance
Time: 20 minutes
Materials:
- Recycled can (we used a peanut can)
- Paint and paintbrush
- Twine or string
- Beads (we used pony beads)
- Scissors
- Hammer
- Nail

Directions:
- Choose your recycled can. Make sure it is clean and dry before continuing.
- Paint the can and let it dry completely.
- ADULT STEP: Using the hammer and nail, poke 5 holes into the bottom of the can (1 in the center and 4 around the outside). The holes will have sharp edges on the inside. Be careful!
- Cut 5 strands of twine, roughly 3-4 times as long as the can.
- Tie a knot at the end of each strand, making one strand with a loop. This will be for the center hole and how it is hung up. Thread 1 strand through each of the holes in the can from outside to in.
- Bead up each strand, leaving enough room to tie off. We did double and triple knots so our beads wouldn’t fall off.
- Trim up twine and hang!
Show Us Your Windchime Crafts!
Did you try your hand at making one? We’d love to see how it turned out! Snap a photo and tag us on Instagram @ThatKidsCraftSite! We can’t wait to celebrate your creativity!
Take the Windchime Craft Directions with You!
Want to take these directions with you? No worries! Simply print out the card below with all of the supplies and directions by clicking on the Print button! Then you can take them with you to school, your club or scouts, or to your kitchen table where you’ll be crafting. Have a great time!
Beaded Windchime Craft

Make your own windchime with this easy preschool craft! The beaded windchime craft uses the materials you already have around the house to create an inexpensive and fun outdoor decoration!
Materials
- Recycled Can
- Paint
- Pony Beads
- Twine or String
- Nail
Tools
- Paintbrush
- Hammer
- Scissors
Instructions
- Choose your recycled can. Make sure it is clean and dry before continuing.
- Paint the can and let it dry completely.
- ADULT STEP: Using the hammer and nail, poke 5 holes into the bottom of the can (1 in the center and 4 around the outside). The holes will have sharp edges on the inside. Be careful!
- Cut 5 strands of twine, roughly 3-4 times as long as the can.
- Tie a knot at the end of each strand, making one strand with a loop. This will be for the center hole and how it is hung up. Thread 1 strand through each of the holes in the can from outside to in.
- Bead up each strand, leaving enough room to tie off. We did double and triple knots so our beads wouldn’t fall off.
- Trim up twine and hang!
Notes
Join our kids' crafts community on Facebook - Super Awesome Crafts for Kids!


