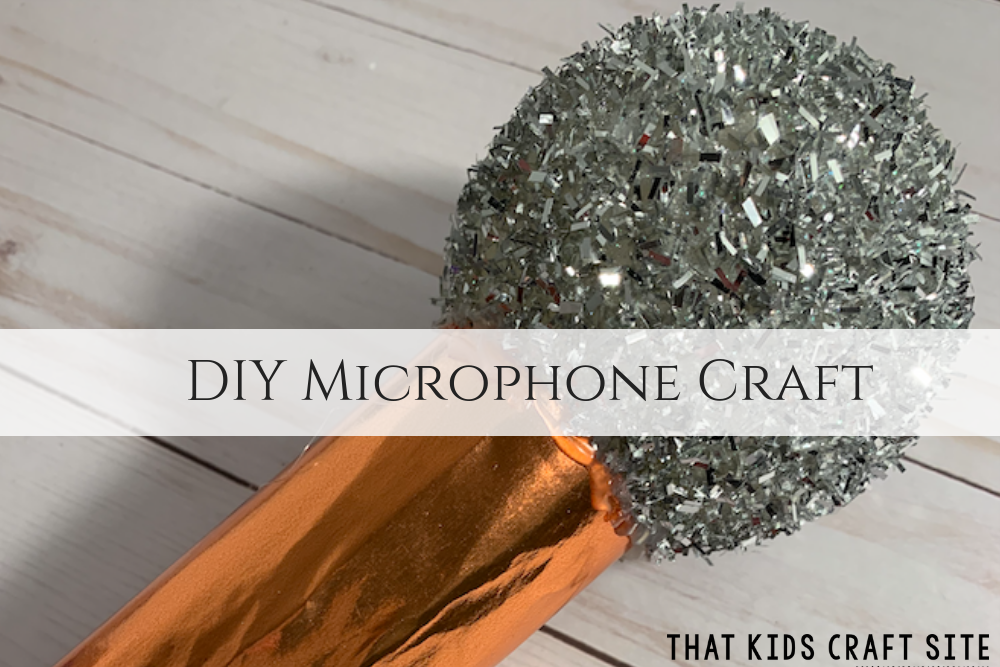
Microphone Craft
Let your little one sing it out with this easy DIY microphone craft for kids!
My youngest has always been a singer. When she was little, she’d make up her own songs and sing them at the top of her lungs all the time. It was precious, and I’m so glad I have a video reminding me of those sweet times.
Now she pretends she’s doing a homeschool podcast with her mic.
One of her favorite things during that time was a microphone craft that we did so she could have her own microphone whenever she was going to perform.
This version of the craft is slightly different but in her opinion (and mine!), it’s a lot more fun and sparkly. Instead of using a piece of balled up tinfoil like we did before, this year we used a sparkly silver ornament we found in the clearance section of our favorite store. It works perfectly!
If you can’t find a sparkly ornament to serve as your microphone head, just ball up a large piece of tinfoil and use that as a substitute instead. It may not be as sparkly, but it will work just fine.
This article contains affiliate links to the items that will help you make the craft.
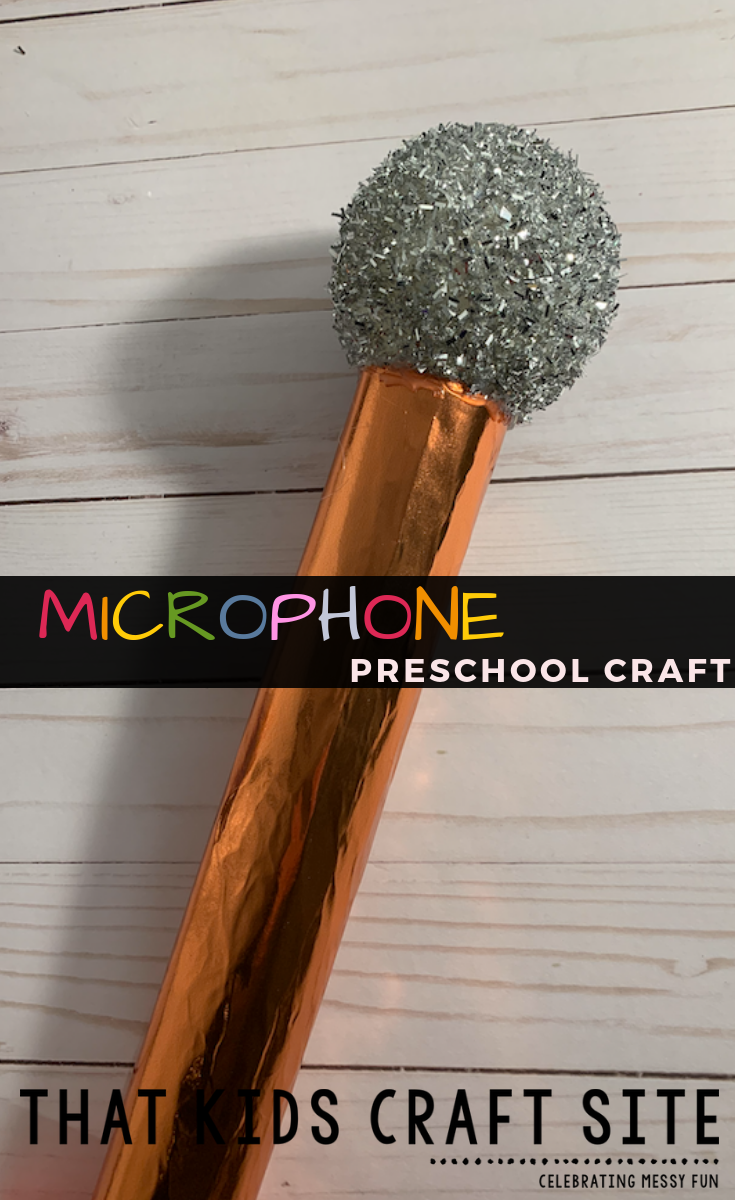
Make Your Own Microphone Craft
Age: 3+ (adult assistance required!)
Time: 20 minutes
Materials:
- Paper towel tube
- Toilet paper tube
- Sparkly silver ornament
- Piece of metallic paper
- Construction paper in any color
- Yarn
- Stickers
- Clear glue
- Hot glue gun (adult use only!)
- Scissors

Directions:
- Glue the metallic paper onto the paper towel tube with
the clear glue. If it has a difficult time sticking, an adult should glue it with the hot glue gun. CHILDREN SHOULD NEVER USE THE HOT GLUE GUN. - Cover the toilet paper roll in the construction paper. Cut to fit.
- Cut a piece of yarn twice the length of the paper towel roll plus six inches. Thread the yarn through the hook area on the ornament pulling until both sides of the yarn are even.
- Drop the yarn through the paper towel roll so that the ornament is sitting atop it.
- ADULT STEP: Hot glue around the edge of the ornament and the paper towel tube to hold the ornament onto the tube.
- Place the toilet paper roll at the base of the paper towel tube with the ends of the yarn on either side.
- ADULT STEP: Hot glue the toilet paper roll to the bottom of the paper towel tube.
- Tie the yarn around the toilet paper tube, to keep the ornament secure.
- Place stickers on the microphone as desired.
- Sing and interview away!

Tips for Making the Microphone Craft
- If you’re adept at hot gluing and you feel like your microphone head (the ornament) will stay put, you can skip threading the yarn through the hook area and attaching the toilet paper roll to the bottom. We were concerned that the hot glue might not stay, so we added the yarn and extra tube as a back-up. Just to note, the hot glue has held up amazingly and I probably wouldn’t add the smaller tube at the bottom the next time.
- Use caution with the hot glue gun!
- If you don’t have metallic paper, any construction or scrapbooking paper would work just as well.
Show Us Your Microphone!
Did you try your hand at making one? We’d love to see how it turned out! Snap a photo and tag us on Instagram @ThatKidsCraftSite! We can’t wait to celebrate your creativity!
Microphone Craft Directions to Go!
Simply click the print button below to print out the complete directions (minus all of the other things in this article), so that you can take them to school, scouts, your friend’s house, or the kitchen table! Happy crafting!
Microphone Craft
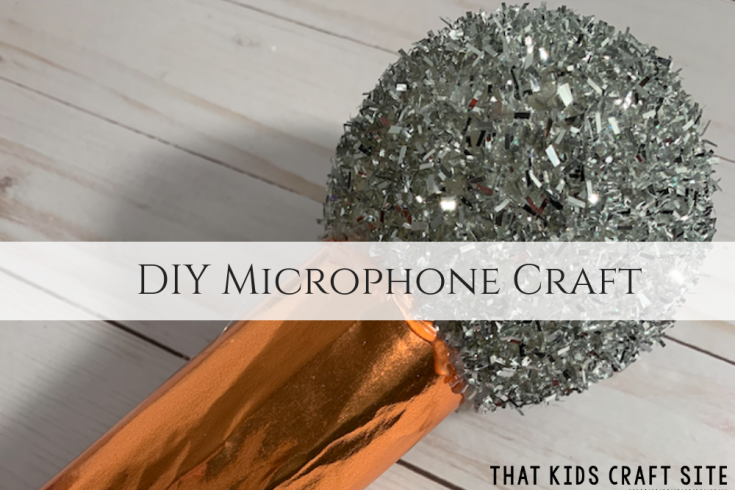
This easy DIY microphone craft is perfect for dramatic play or for a photo booth prop for your next party!
Materials
- Paper towel tube
- Toilet paper tube
- Sparkly silver ornament
- Piece of metallic paper
- Construction paper in any color
- Yarn
- Stickers
- Clear glue
Tools
- Scissors
- Hot Glue Gun (ADULT USE ONLY)
Instructions
- Glue the metallic paper onto the paper towel tube with the clear glue. If it has a difficult time sticking, an adult should glue it with the hot glue gun. CHILDREN SHOULD NEVER USE THE HOT GLUE GUN.
- Cover the toilet paper roll in the construction paper. Cut to fit.
- Cut a piece of yarn twice the length of the paper towel roll plus six inches. Thread the yarn through the hook area on the ornament pulling until both sides of the yarn are even.
- Drop the yarn through the paper towel roll so that the ornament is sitting atop it.
- ADULT STEP: Hot glue around the edge of the ornament and the paper towel tube to hold the ornament onto the tube.
- Place the toilet paper roll at the base of the paper towel tube with the ends of the yarn on either side.
- ADULT STEP: Hot glue the toilet paper roll to the bottom of the paper towel tube.
- Tie the yarn around the toilet paper tube, to keep the ornament secure.
- Place stickers on the microphone as desired.
- Sing and interview away!
Notes
- If you're adept at hot gluing and you feel like your microphone head (the ornament) will stay put, you can skip threading the yarn through the hook area and attaching the toilet paper roll to the bottom. We were concerned that the hot glue might not stay, so we added the yarn and extra tube as a back-up. Just to note, the hot glue has held up amazingly and I probably wouldn't add the smaller tube at the bottom the next time.
- Use caution with the hot glue gun!
- If you don't have metallic paper, any construction or scrapbooking paper would work just as well.