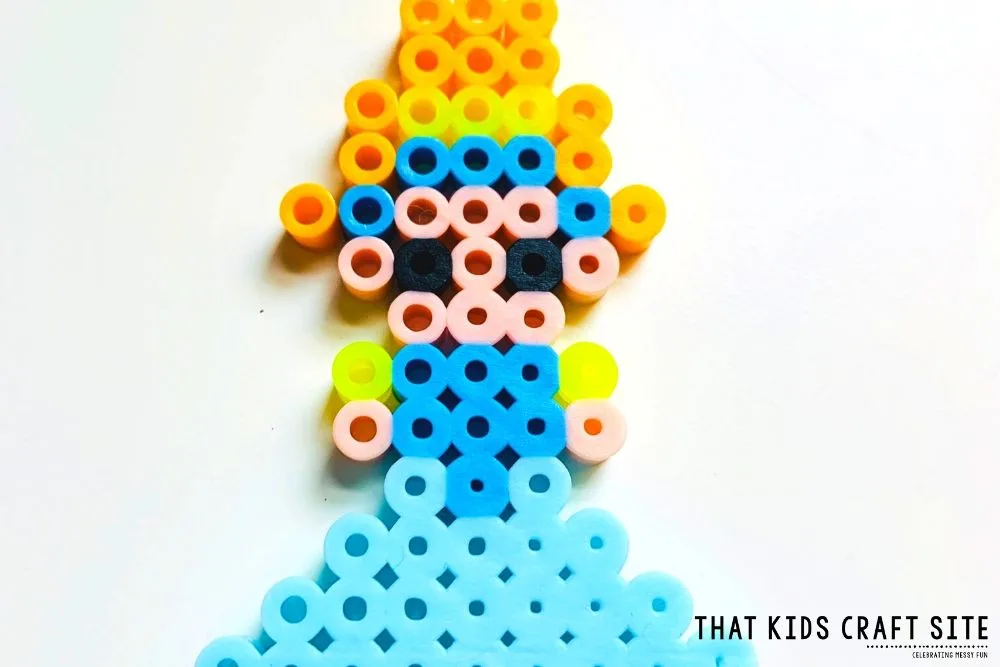
With this adorable, easy and fun beading craft, you will end up with your own Cinderella Princess Perler Bead Craft!
This article contains affiliate links to items that will help you make the craft.
Cinderella Perler Bead Craft
We recently watched the movie Cinderella and loved it! My daughter had never seen it before and thought Cinderella was so pretty. She immediately wanted to come up with a craft to make that was Cinderella-themed.
Our eyes peeked over to our bucket of Perler beads and instantly knew just what to do. We decided to make a Cinderella out of Perler beads to share with all of you!
We made this craft together and it was so fun! It was a great way to have a mother-daughter bonding experience while making something adorable! From her pretty blue dress to her cute headband, this princess craft is adorable.
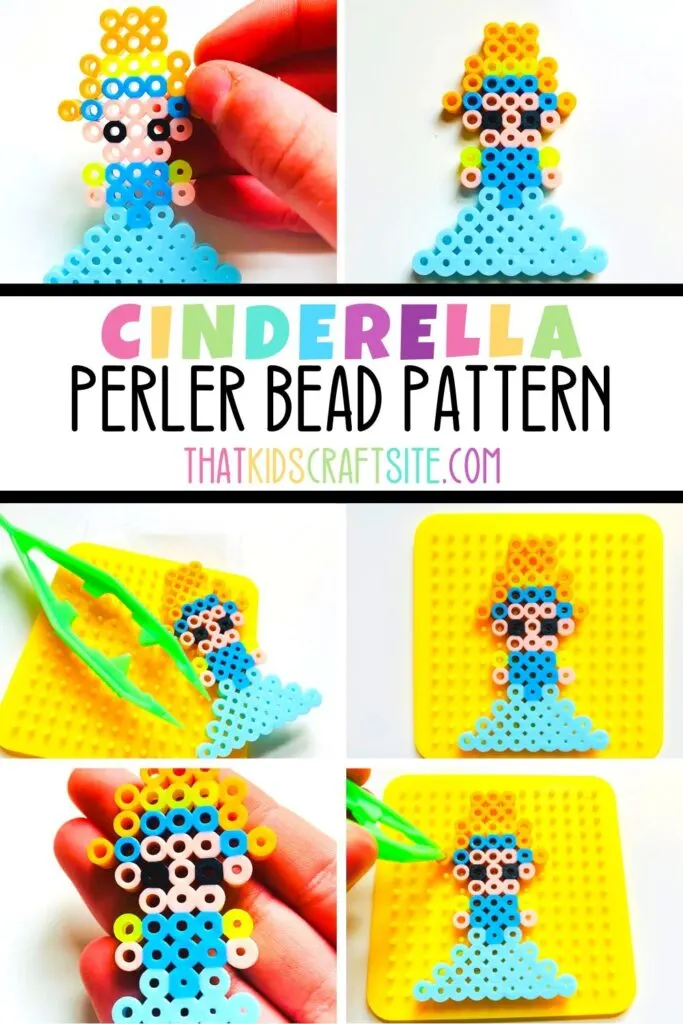
Create Your Own Cinderella
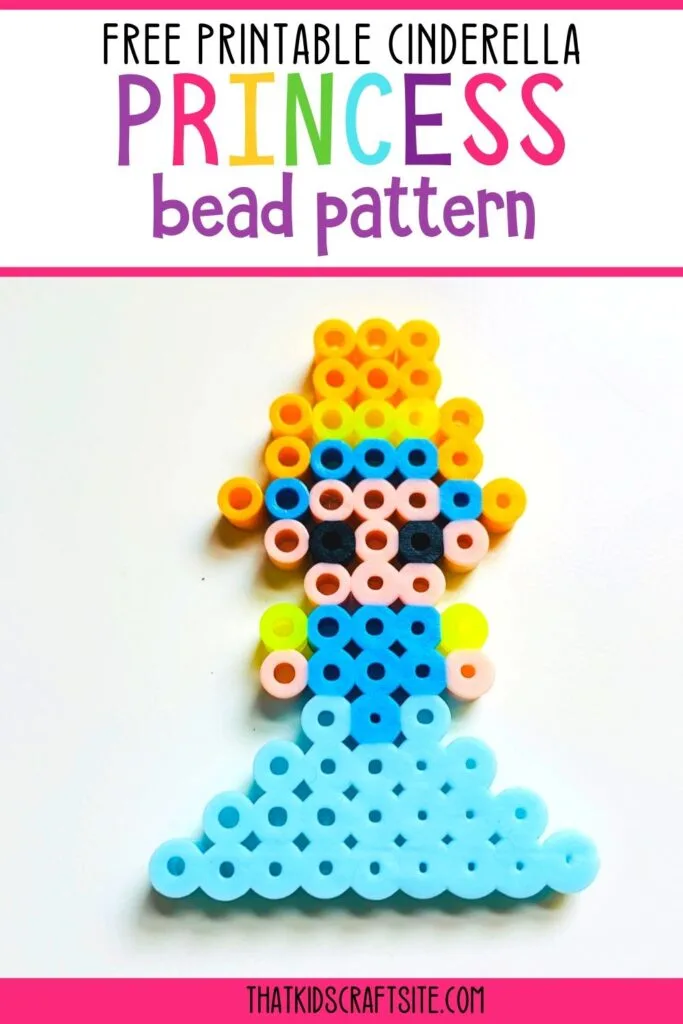
Perler bead crafts can sometimes be tricky to follow if you’re new to beading type crafts. That is why we created an easy to follow printable/download that is easy enough for anyone to follow!
All you need to do is download the printable of the Cinderella Princess Perler Bead pattern, print it out, grab your supplies, and begin beading! This is a super cute and easy way to make an adorable craft!
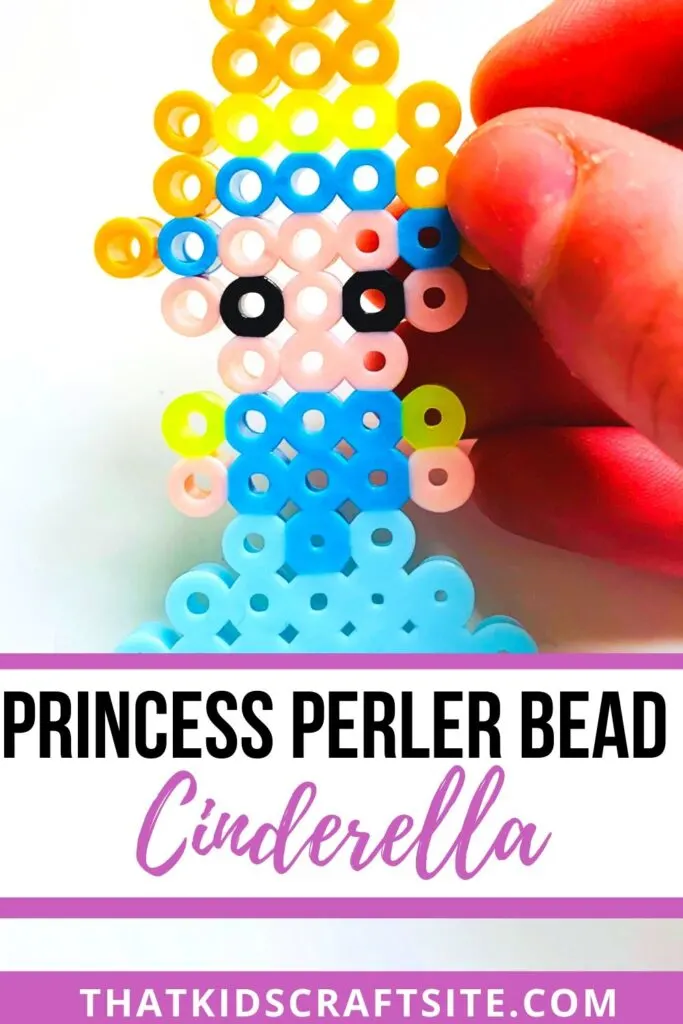
To Create A Cute Cinderella Beaded Craft The Supplies You Will Need Include:
- Our Easy-To-Follow Printable/Download —–> Find it in the Freebies Library! Sign-up at the end of the article!
- Wax Paper
- Square Pegboard Tray (at least 14×14 pegs)
- Light Blue Perler Beads
- Light Teal Perler Beads
- Yellow Perler Beads
- Orange Perler Beads
- Black Perler Beads
- Tan/Light Peach Perler Beads
- Tweezers (optional but highly recommended)
- Iron (for adult use only)
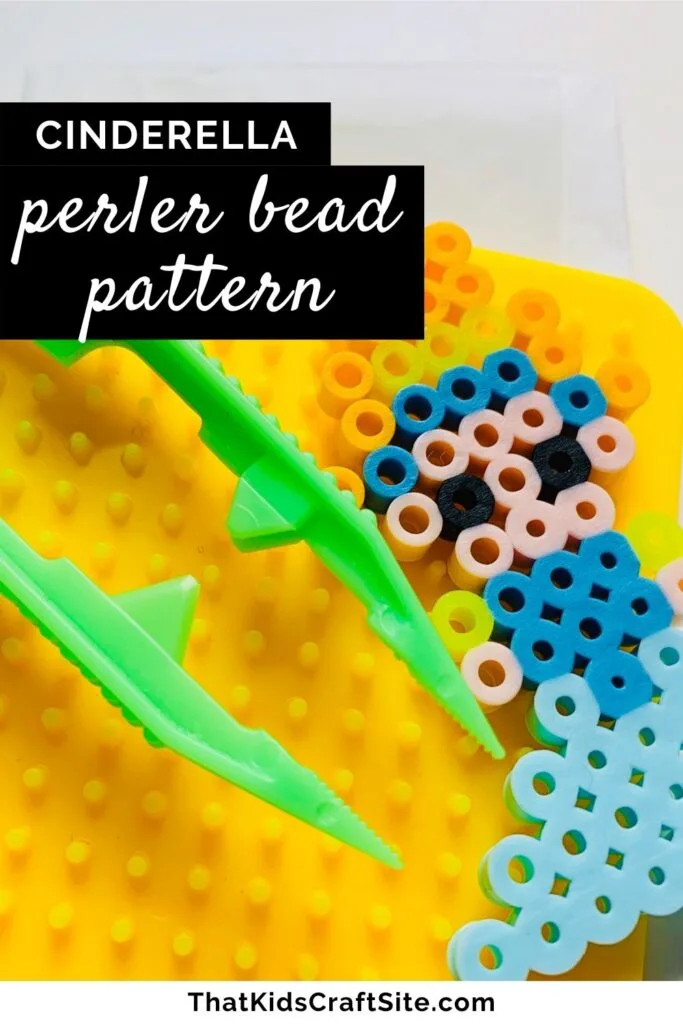
How To Make Your Own Beaded Cinderella
Once you have gathered all of your supplies, you can start beading! First print out our easy-to-follow printable and begin following the colors on the grid.
Place the coordinating beads for the colors on the grid to begin your craft. It doesn’t matter where you start on your pegboard just as long as you do what works best for you.
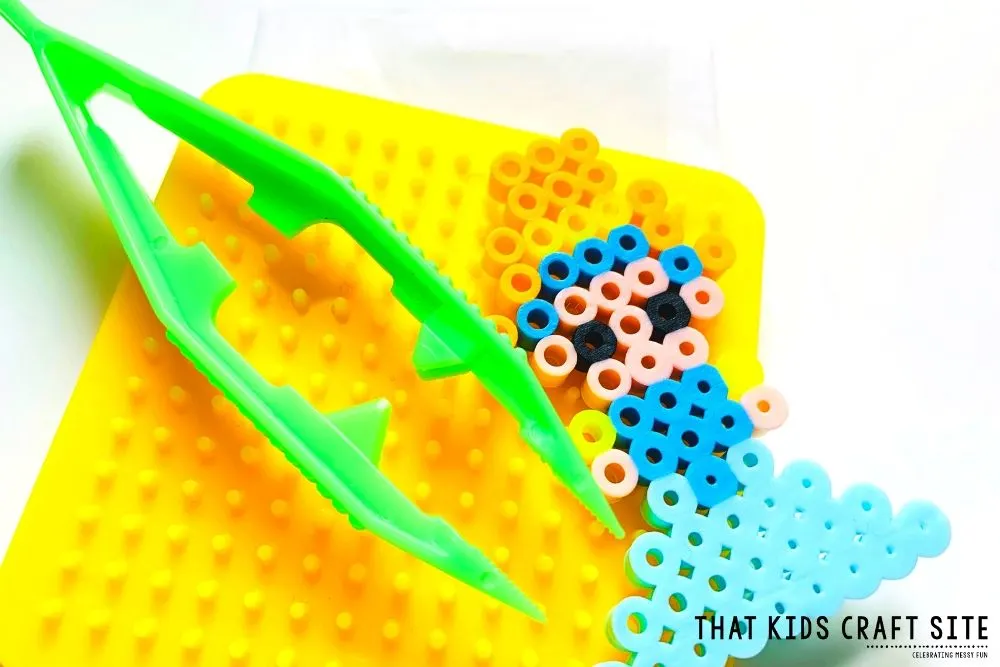
To place your beads, it can be tricky so if you have tweezers on hand, we recommend using them.
If you don’t like certain colors that Cinderella has, you can always change them! It’s your princess, therefore you should do what you want with it!
After your beads have been placed in the correct order on your grid, you can now start the melting process.
Before you begin, ask an adult to help you with the next few steps. Ask an adult to carefully place the sheet of wax paper over-top your design. Do this carefully because the beads are not in place yet and can move with even the slightest touch.
Once the wax paper is covering your design fully, ask an adult to turn your iron on medium heat. Medium heat works best for our beads but be sure to do what works best for you.
After your iron is heated, ask an adult to put the iron on top of your wax paper and lightly press down.
Be sure to not press down too hard because the beads can melt too long and will give your design an overflow effect when finished. Hold your iron over-top the design and wax paper for 15-20 seconds depending on the heat your iron is producing.
Once that side is completely melted together, carefully take your iron and wax paper off.
Then after your design has cooled, take it off of the grid and flip it over to the other side. Place your wax paper over your design and repeat the steps for the other side.
After this side is done melting and cooling, your design is complete!
What Can You Do With Your Finished Cinderella Princess Perler Bead Creation?
Perler beads have a way to make crafts fun and cute while making them and afterwards! There are many things you could do with this craft after you’re done making it! You could use it as a doll to play with while traveling!
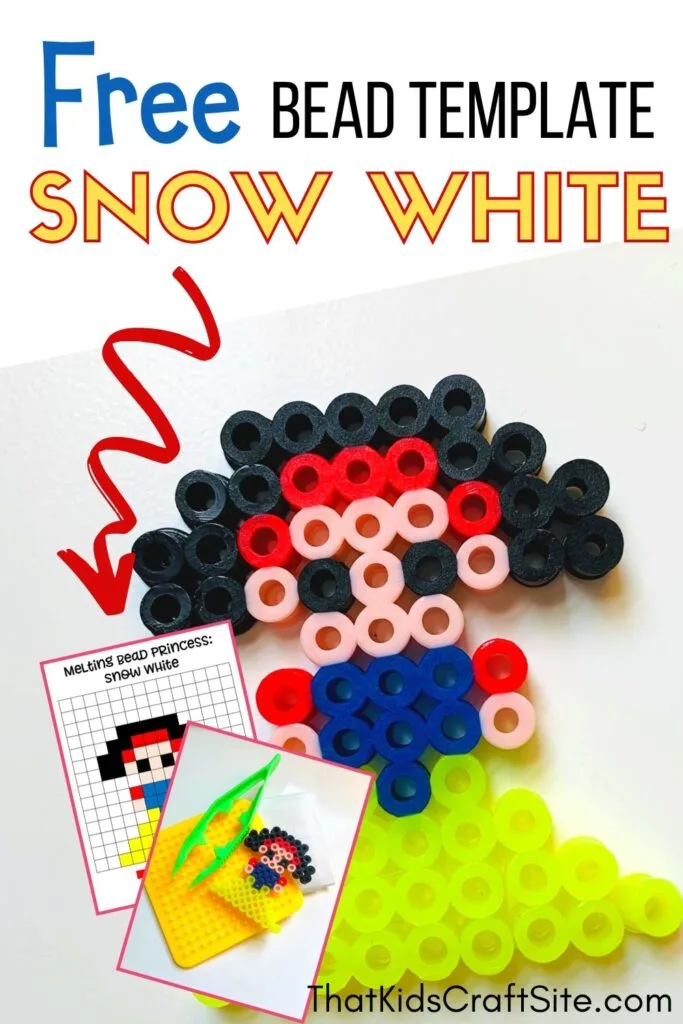
If you wanted to, you could make more princesses like Snow White or Belle and use them as toys together! These small princesses would be perfect to take on car rides, or even plane rides. They would give the kiddos something to enjoy playing with whilst traveling.
If you don’t want to use them as dolls, you could turn it into a keychain! Simply add a keyring to one of the top holes and attach it to a backpack, purse, keys, or anything else you’d like to!
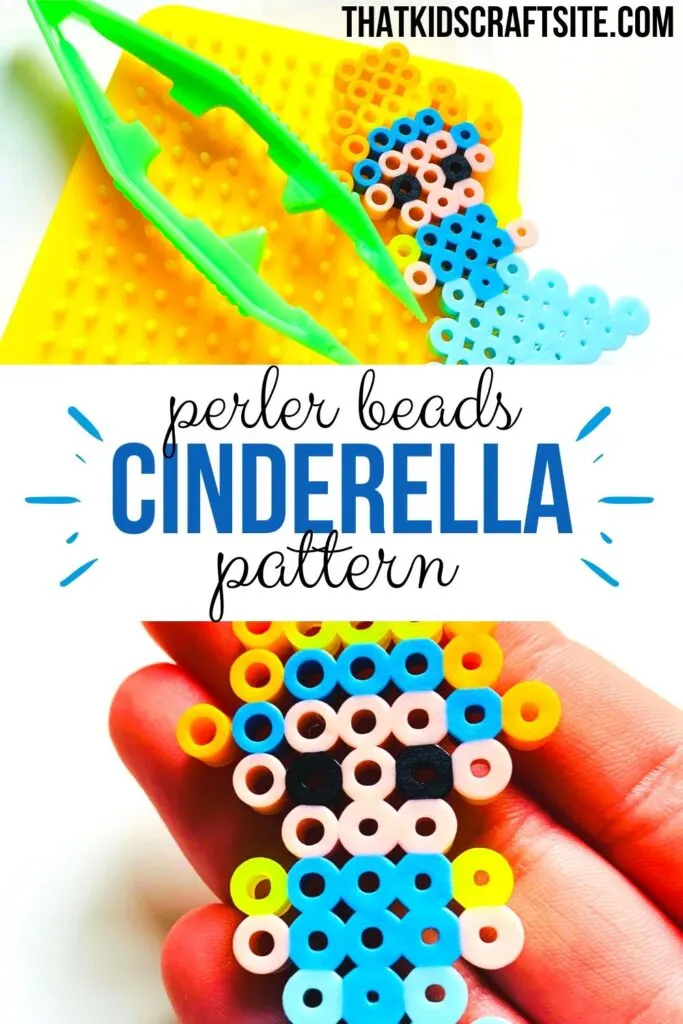
You could also use it as a luggage tag by following the same steps as the keychain! If you have a bag or suitcase that is a common color or design, you could attach Cinderella to it so that you would know which bag is yours!
If you wanted to, you could make an ornament out of it as well! Simply thread a string through one of the top holes, tie it into a loop, and you’re done!
If you like how your design looks but you don’t want to do anything with it, you could just put it on display! There are endless possibilities when creating beaded crafts like Cinderella!
You Might Also Like:

