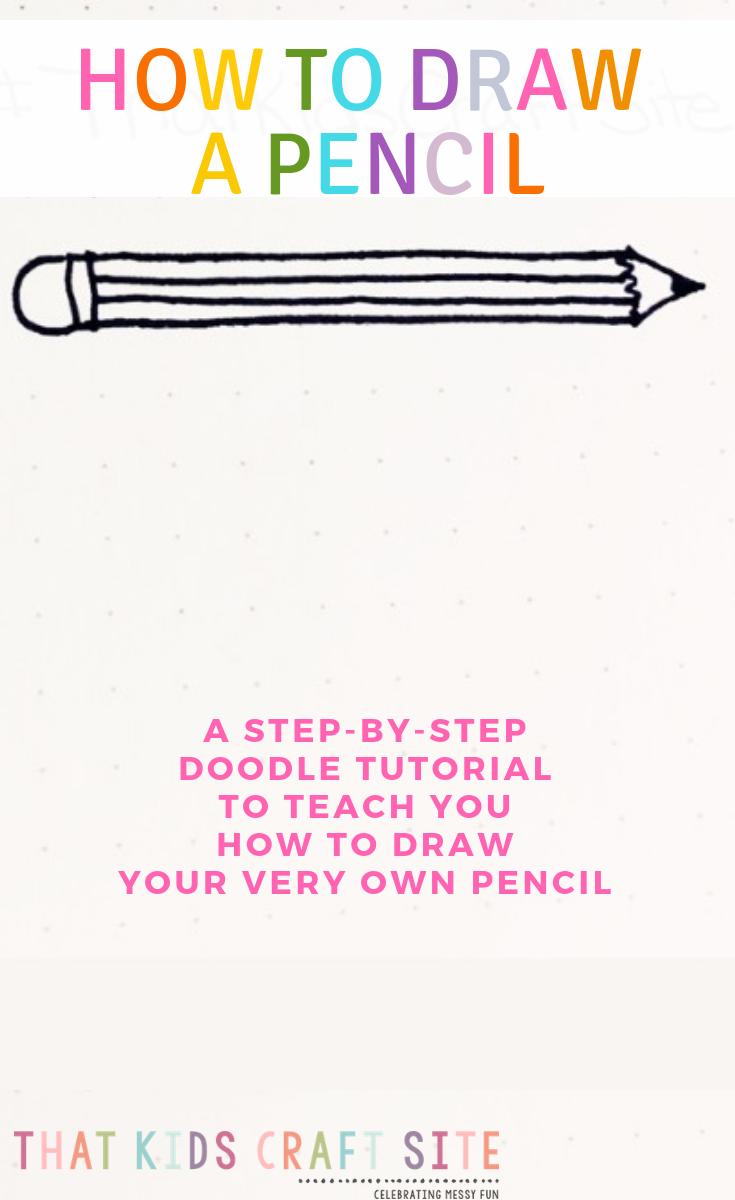
How to Draw a Pencil
Today’s daily doodle is all about how to draw a pencil! Let’s go through it step by step!
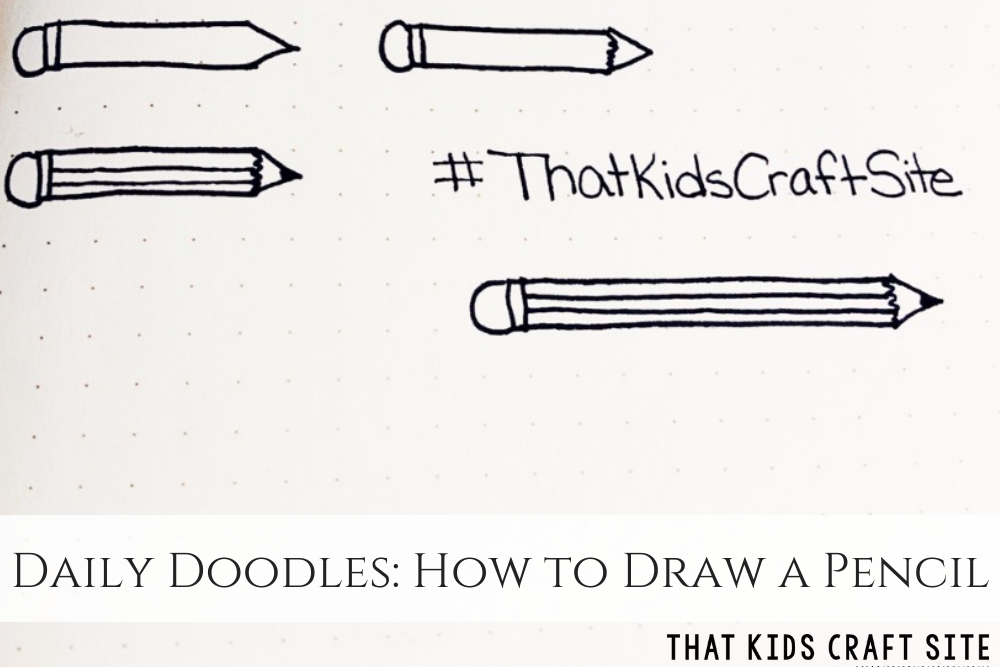
Daily Doodle: How to Draw a Pencil
One of the reasons I love doing daily doodles is that they’re a great way to get out some creativity and release perfectionism. If you’re trying to be perfect when you doodle, it kind of defeats the purpose! Today’s step by step pencil drawing guides you through how to draw a pencil that you might use while in school or at work.
As always, I hope you put your own special twist on it and make it something that reflects your personality and creativity.
The daily doodles are just a guide to help you get the basics down, so that you can make wild, amazing drawings of your own.
Because you ARE amazing and creative and totally awesome! (Don’t forget it!)
Pencil Drawing of a Pencil
To draw your own pencil, ideally you will have paper – either loose or a sketch book – and a pencil or fine tip marker.
If all you have is crayon and a paper bag, go for it anyway! You do you, friend!
Step by Step Instructions for How to Draw a Pencil
How to Draw a Pencil Video Tutorial
If you’re a video kind of person, here’s a short video of how to draw a pencil.
If you’re more of a pictures type of person (like me!), here’s a step-by-step tutorial on drawing your own pencil.
How to Draw a Pencil Step-by-Step Pictures
How to Draw a Pencil – Step 1
Start by gathering paper and a pencil, pen, or fine tipped marker. There is no “wrong kind” of paper or drawing instrument. Remember, you do you.
How to Draw a Pencil – Step 2
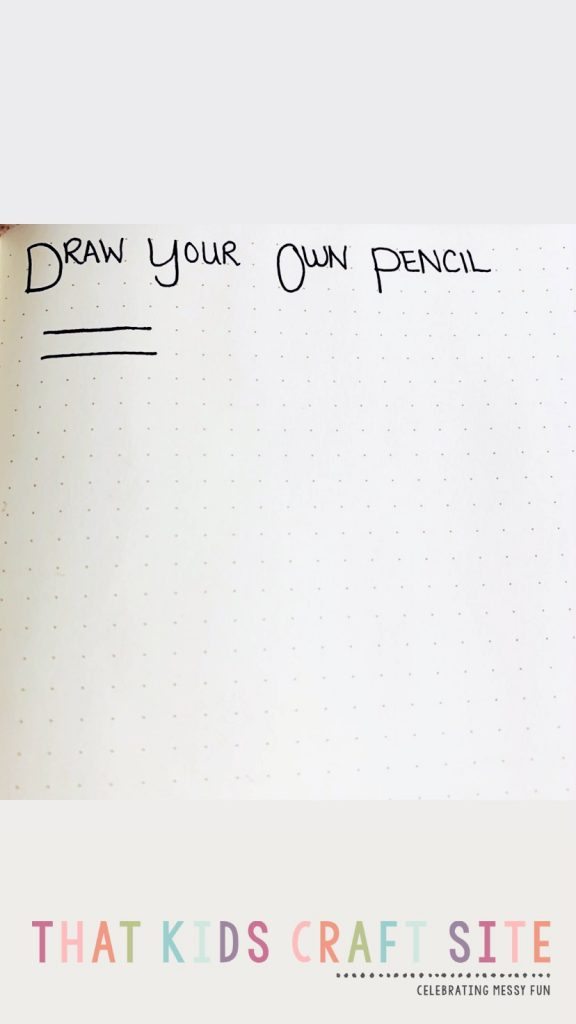
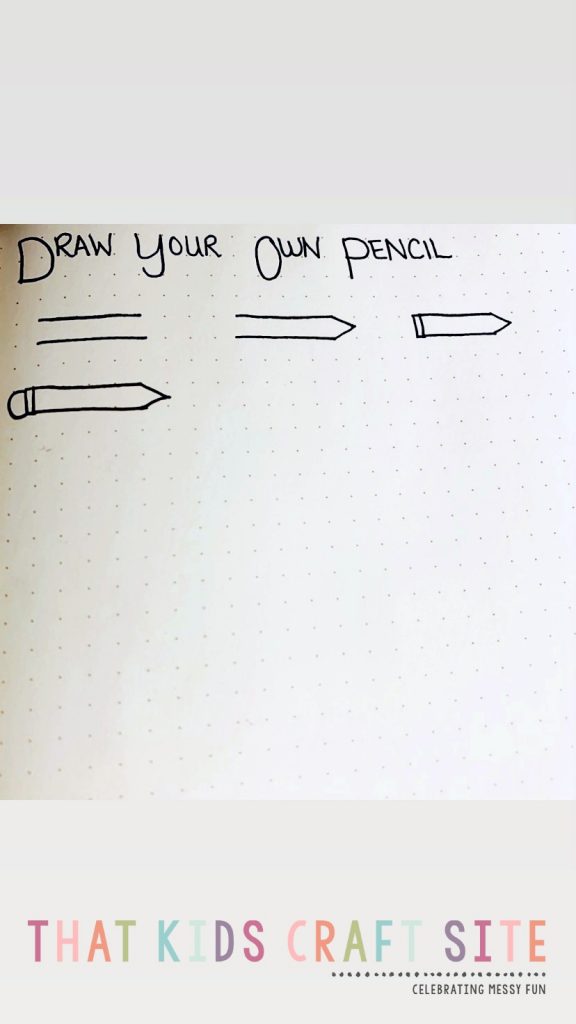
Begin by drawing two parallel lines that are the same length. You can draw them horizontally or vertically – whichever you feel most comfortable doing. I drew mine horizontally, because I liked how it gave me more room at both ends.
How to Draw a Pencil – Step 3
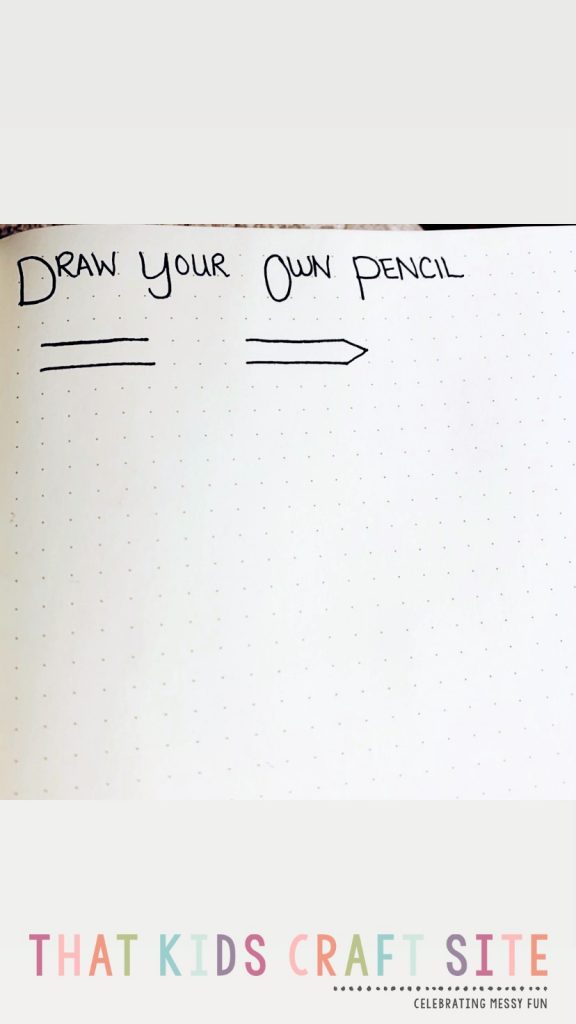
Next, draw a point at one end of the parallel lines.
How to Draw a Pencil – Step 4
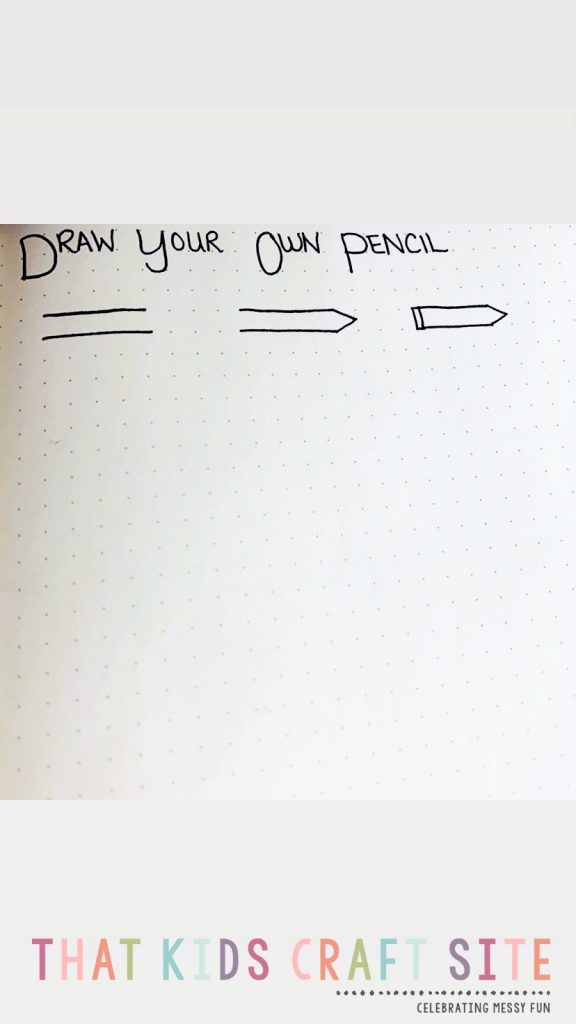
At the opposite end, draw two parallel lines connecting the longer lines. This is going to be the metal part that holds the eraser to the pencil.
You’re doing great! Keep going!
How to Draw a Pencil – Step 5
Let’s add the eraser. You can draw a half-circle like I did at the end of the eraser side or you can draw one that’s more square. It all depends how rounded you want your eraser to be!
How to Draw a Pencil – Step 6
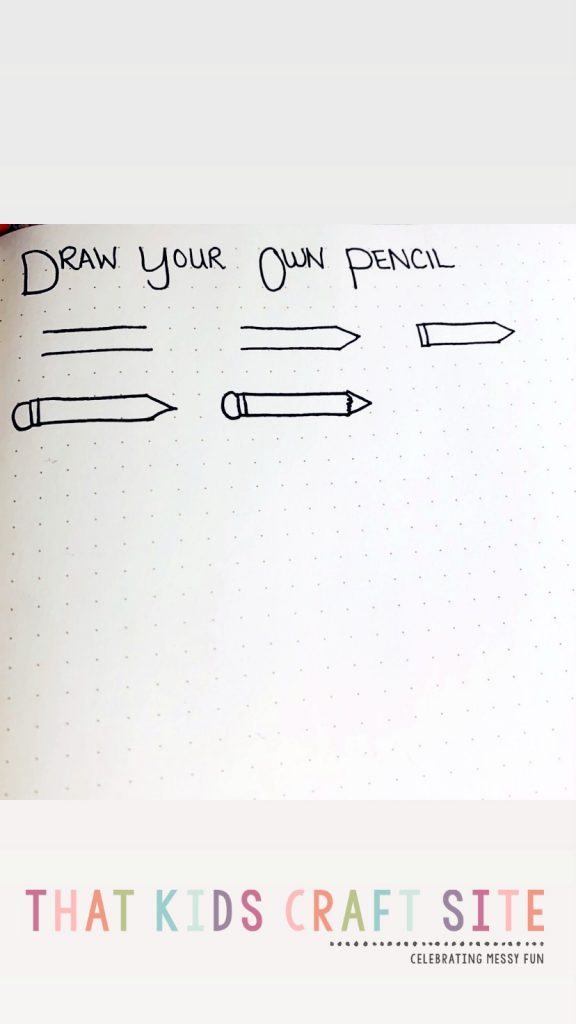
Let’s go back to the pencil tip side of the drawing! It’s time to add the squiggly line to connect the parallel lines at this end. This is where the pencil would transition from the coating to the wooden tip area.
How to Draw a Pencil – Step 7
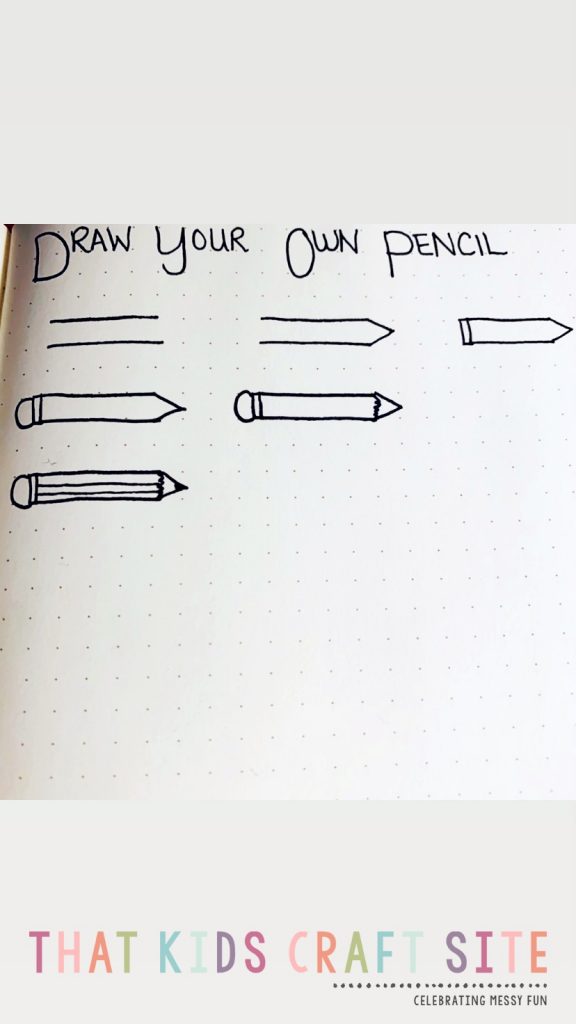
Last step! Color in the very tip of the pencil to indicate where the pencil point would be. Your pencil can be as sharpened or as unsharpened as you’d like!
And finally, add two lines between the main parallel lines that serve as the outside of the pencil, to give the doodle a bit of definition.
You did it! Congratulations on your pencil doodle!
Catch The Daily Doodles!
Remember, you can see new doodles every morning on our Instagram stories @ThatKidsCraftSite. If you miss a doodle, don’t worry! It will be in the story archives and will, eventually, be posted here to the site!
Show Us Your Doodles!
If you decide to try your hand at doodling, we’d love to see how it goes and celebrate your creativity! Snap a picture and tag us on Instagram using the hashtag #ThatKidsCraftSite. We can’t wait to celebrate YOU!