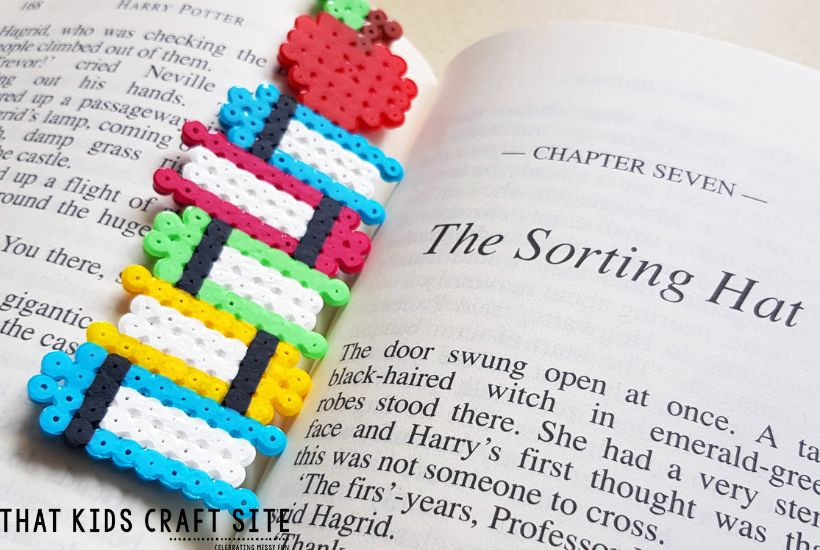
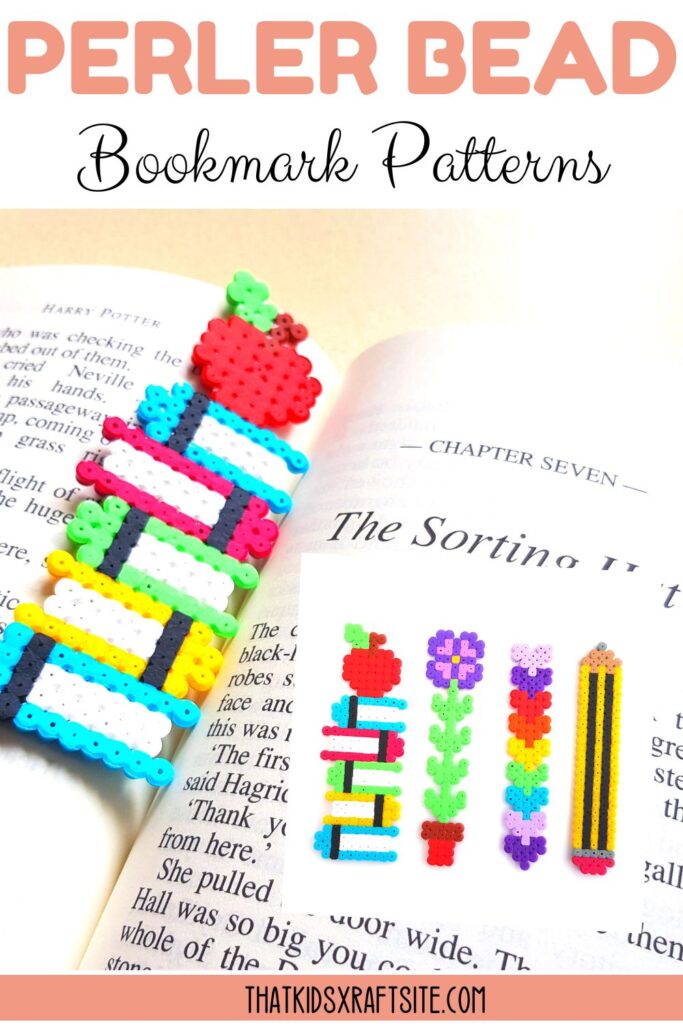
Perler Bead Bookmark Patterns
Make reading even more fun with these adorable Perler bead bookmark patterns!
Perler beads are a popular craft material loved by both kids and adults.
They offer endless possibilities for creative expression.
One of the many things you can create with these brightly colored beads are bookmarks.
Perler bead bookmarks not only personalize your reading experience but also make great gifts.
Below, we’ll take you through the simple steps of making your own Perler bead bookmarks.
Let’s go!
Using Perler Bead Bookmark Patterns
Using Perler bead bookmark patterns is super simple.
Best of all, you can find really great patterns for free in our Freebies Library!
Keep reading to learn all about making Perler bead bookmarks with our free-to-use patterns.
This article contains affiliate links to products that you might like.
Collect All the Materials
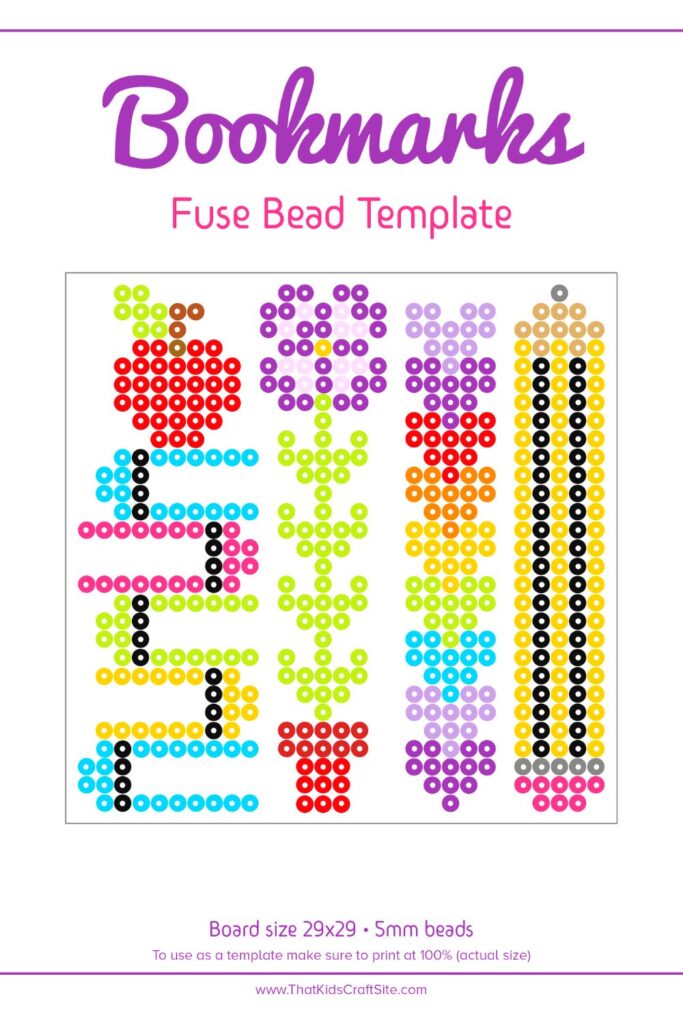
- FREE Perler bead bookmark patterns
- Perler beads in assorted colors
- Perler bead pegboards
- Ironing paper or parchment paper
- An iron
- Scissors
- Tweezers (optional)
- Ribbon or yarn (optional)
- Marker pens or acrylic paint pens (optional)
Design the Bookmark
Before you begin, it’s a good idea to first pick out your design from our Freebies Library.
Perler beads come in a wide range of colors, so let your imagination run wild.
Consider mixing and matching colors or even altering the design slightly to make it your own.

Arrange the Beads on the Pegboard
Using your chosen design as a model, carefully place the Perler beads onto the pegboard.
Make sure that the beads fit snugly together and that there are no gaps.
Tiny hands may find it helpful to use big tweezers to handle the beads more easily.
Fuse the Beads Together
Preheat your iron to a medium setting (no steam).
Place a sheet of ironing paper or parchment paper over your design on the pegboard.
Gently iron in a circular motion for about 10-20 seconds, allowing the heat to melt the beads.
Take care not to press too hard or melt the beads excessively.
You can choose to repeat the process on the other side for extra strength, but it’s not necessary.
Cooling and Removing the Beads
After ironing, let the melted beads cool down for a few minutes.
Once they are cool to the touch, carefully remove the design from the pegboard.
The beads should hold their shape and be fused together.
If any beads come loose, place them back into the pegboard and repeat the ironing process.
Add Decoration (optional)
Once your Perler bead bookmark has cooled off, you can add extra decorations if you like.
Use marker pens or acrylic paint to bring your design to life.
Be sure to let any added details dry completely before moving on to the next step.
Securing a Ribbon (optional)
Cut a length of ribbon or yarn, approximately 6-8 inches long.
Fold it in half and thread the looped end through the top beads of your design.
Pull the ribbon through, and tie a knot to secure it to the Perler bookmark.
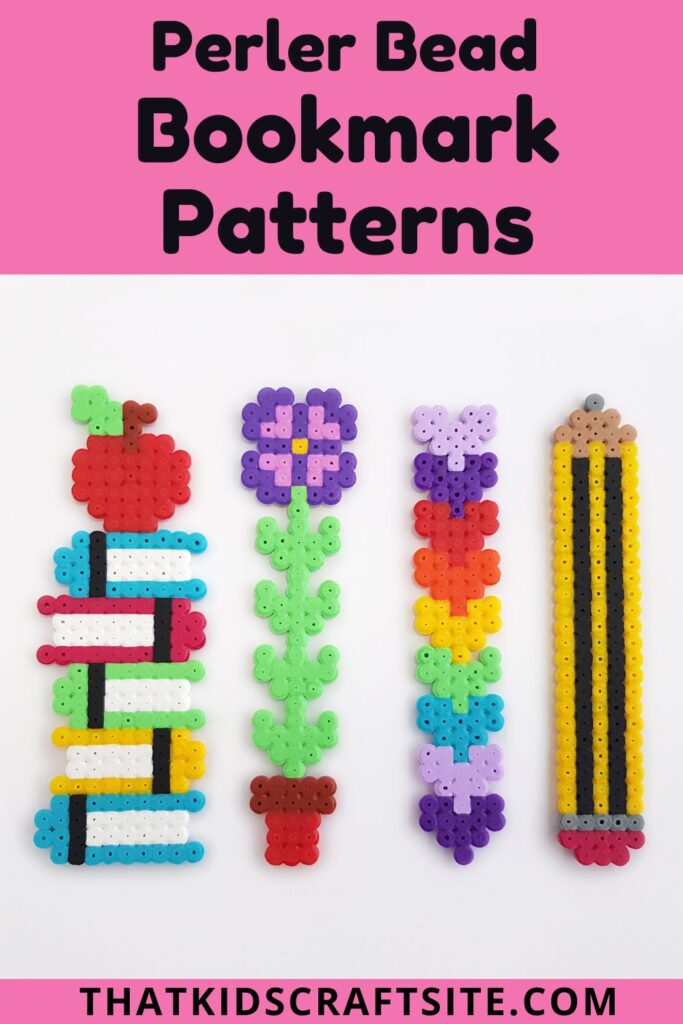
Perler Bead Bookmark Patterns for Kids
Perler bead patterns offer a creative and enjoyable way to make unique bookmarks.
The different colors and sizes of Perler beads allow for endless design possibilities.
Perler bead bookmarks make a fantastic choice for a fun and exciting craft.
They not only serve as functional placeholders but also showcase creativity.
These Perler bead bookmark patterns add an extra touch of charm to any reading experience.