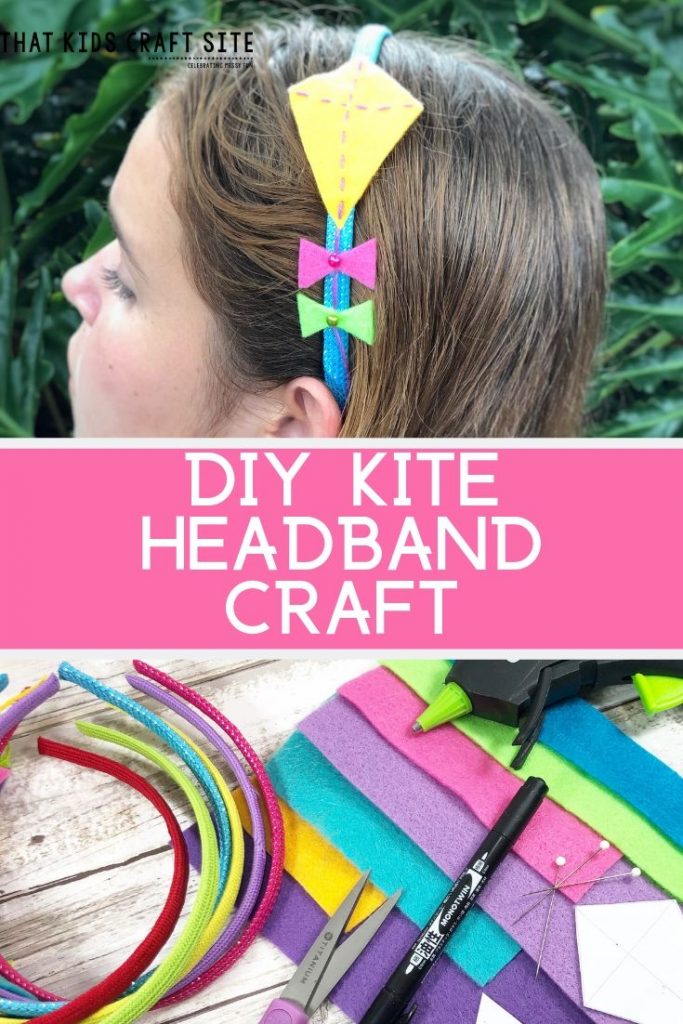
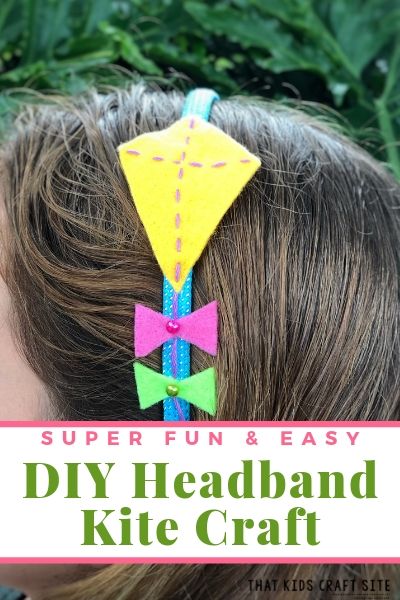
DIY Headband: Kite
Hold back those bangs and whisps with this easy DIY headband that features an adorable kite!

If you like kite crafts or DIY headbands, this fun craft is perfect for you!
My daughter has been in a headband phase where they’ve become a staple of her daily outfit. All headbands, all the time. That’s our motto these days!
So, when I was thinking about what to put on the newest DIY headband, it seemed only natural that I embrace the windy days we’ve had and include a kite.
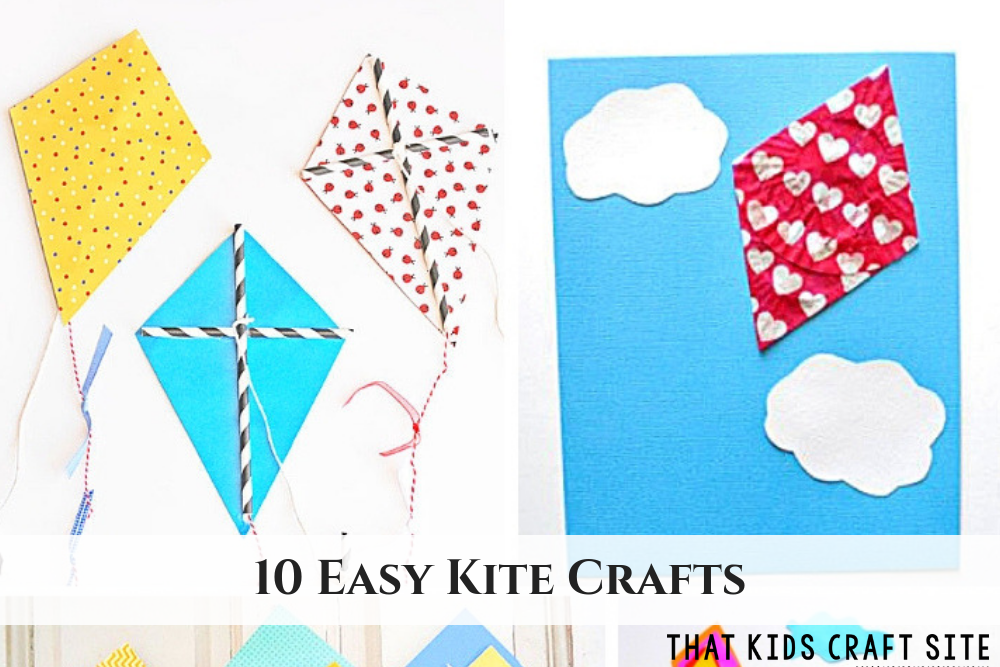
You Might Also Like: Kite Crafts for Kids
Easy Kite DIY Headband
As far as kite crafts go, this easy homemade headband is one of the cutest and most fun to make.
All you need are a few key supplies and you’ll have your easy headband done in no time at all!
You Might Also Like: DIY Diffuser Bracelets for Tweens
These headbands are perfect for tween crafters or to do with your Girl Scout troop.
Get started making some today by following the directions below!
How to Make a Kite Headband Craft for Kids
Before you begin, make sure you have felt in different, complementary colors, embroidery floss that matches, and some sharp scissors.
We’ve found that round edge scissors tend to be too dull to cut through the felt cleanly.
Print out the kite pattern and then cut the pieces out of the felt.
The craft will require a glue gun so make sure that an adult completes that part with child supervision.
Easy Kite DIY Headband Craft
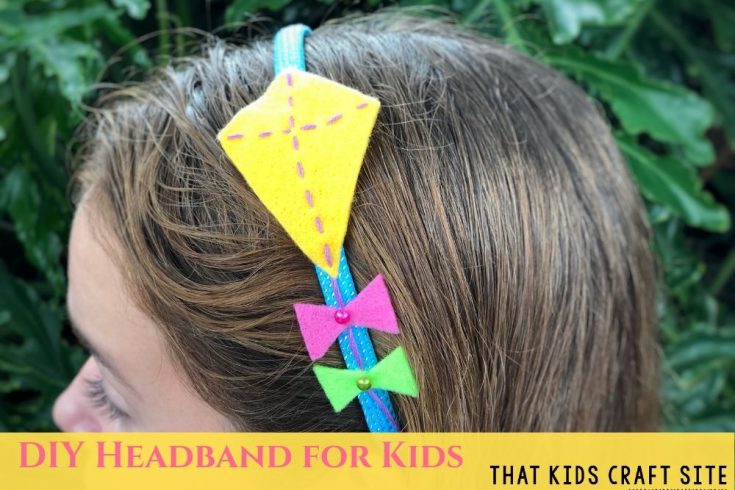
This fun kite DIY headband is a great project for tweens and troops!
Materials
- Dollar Store Headband
- Craft Felt in assorted colors
- Embroidery Floss
- Embroidery Needle
- Half Pearls
- Glue Gun and Glue Sticks
- Glue
- Straight Pins
- Scissors
- Kite Pattern
Instructions
- Download Kite Patterns HERE, print on plain paper and cut out. Pin Kite pattern to craft felt and then cut out with scissors.
- Pin Bow patterns to two different but coordinating colors of craft felt and cut out with scissors.
- Thread an embroidery needle with six strands of embroidery floss and sew a running stitch from top to bottom. Loop the floss through a center stitch on the back and then stitch from side to side. Knot the floss on the back to finish. Leave a 3” to 4” length of floss at the bottom for the Kite Tail.
- Attach the craft felt Kite and Bows to the headband with the glue gun. Attach half pearls to the center of each bow with liquid glue.
How to Use Your Kite DIY Headband
Your kite headband craft is perfect for a Mary Poppins-themed party or any time you want to celebrate summer fun!
It’s also great to make as a craft to sell at local craft and holiday fairs to make some extra money. Looking for a fundraiser for your Girl Scout troop? This could be the craft!