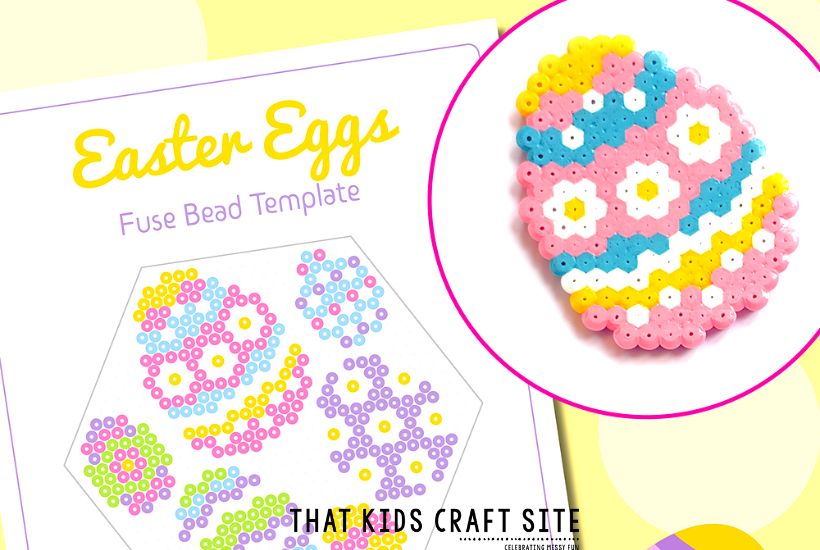
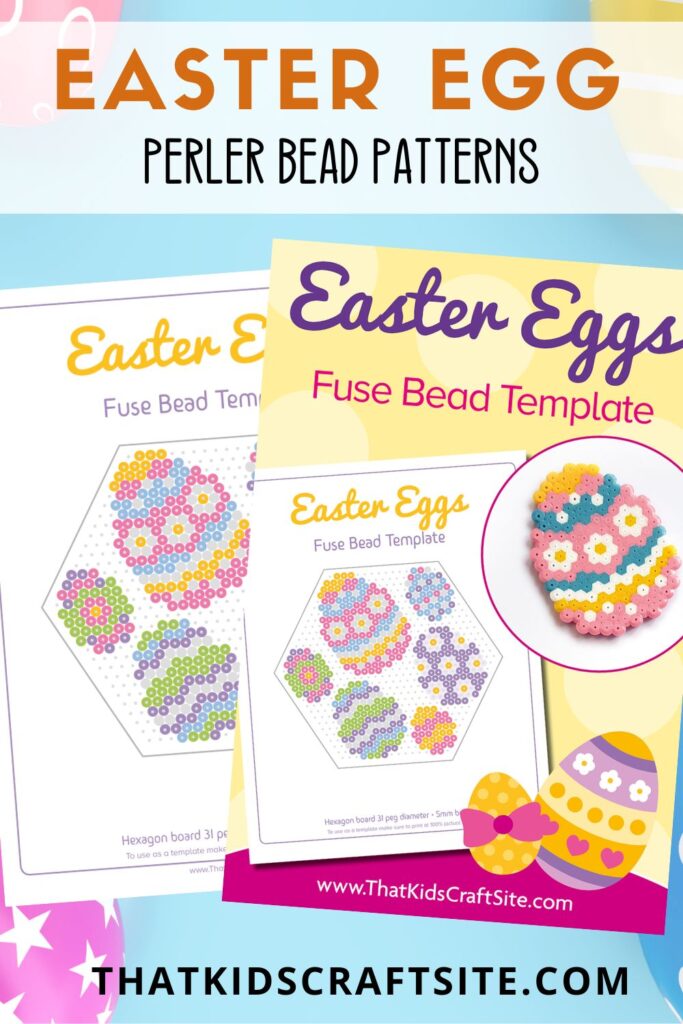
Easter Egg Perler Bead Patterns
Celebrate the Easter holiday with colorful Easter egg Perler bead patterns!
Easter is on its way, and there’s nothing more fun than dying eggs. At least, that’s what the kiddos think!
Rather than spending time getting messy with egg dying, we have a really great alternative that is just as egg-citing and a whole lot cleaner. Yup, you heard right!
Easter egg Perler bead patterns are an egg-cellent Easter activity that the whole family can enjoy!
Making Easter egg Perler bead patterns is so much fun! Kids will love designing their eggs, matching the patterns, and fusing the beads together.
It’s a wonderful activity that will have little ones super excited to celebrate the Easter holiday.
Check out our Freebies Library to find some egg-cellent Easter egg fuse bead patterns!
Perler Bead Easter Egg Projects
Have fun creating and making colorful Perler bead Easter eggs! With only a few materials, your little ones can make a variety of exciting bead eggs for the holiday!
Let’s take a look below at some of the supplies needed to make a Perler bead Easter egg.
Materials:
- Perler Beads
- Iron
- Ironing Board
- Parchment Paper
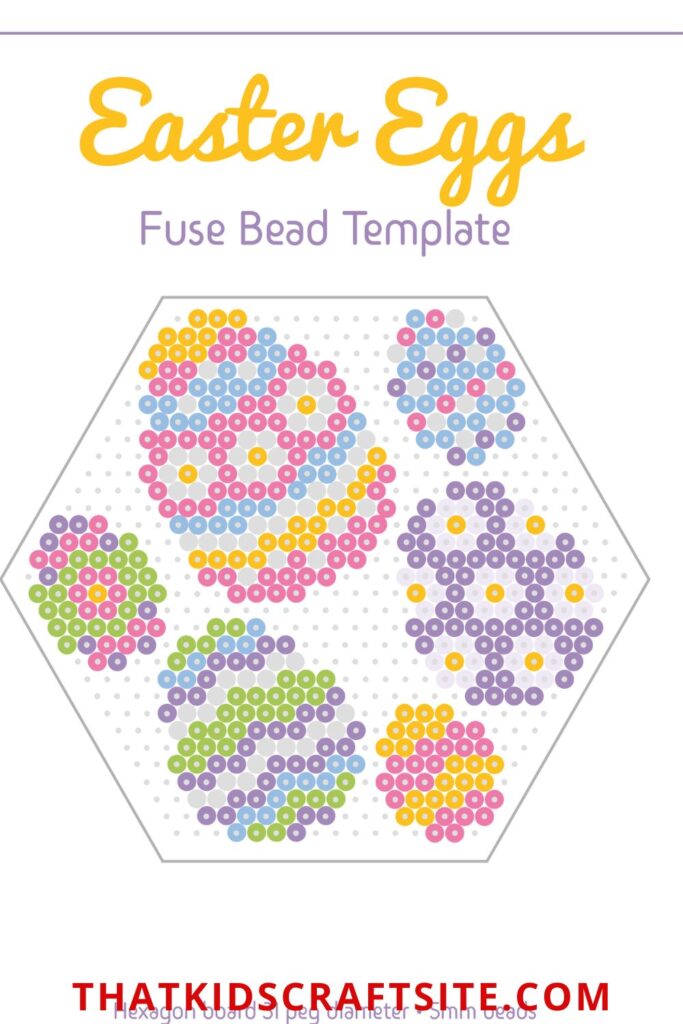
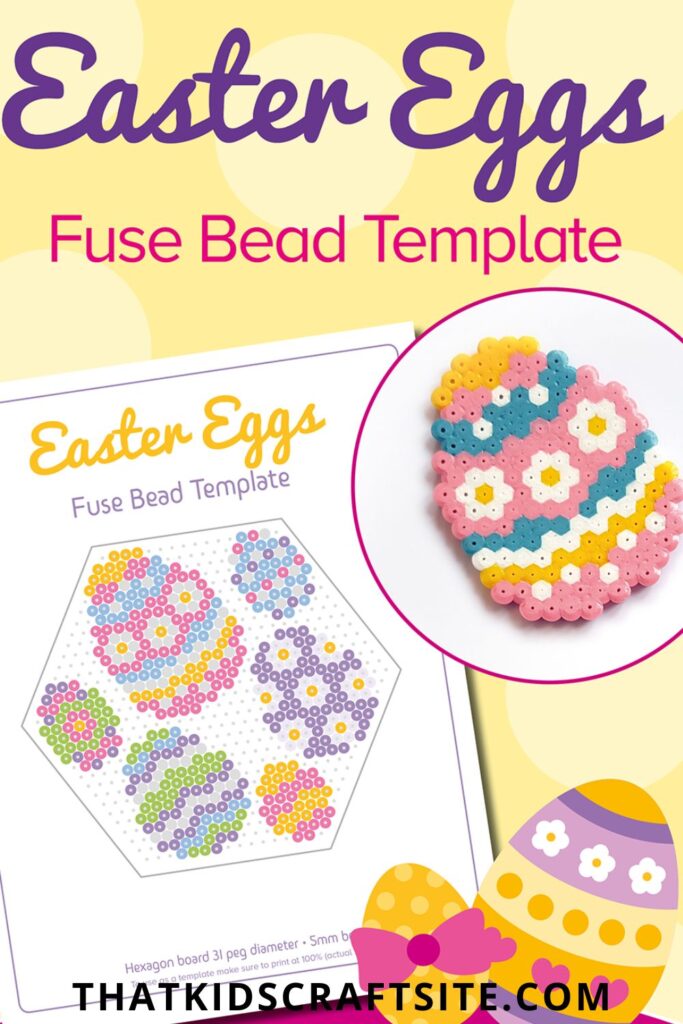
- Free Easter Egg Fuse Bead Template
- Perler Bead Pen Dispenser (optional)
- Perler Bead Pegboard (optional)
- Perler Bead Sweeper (optional for a quick clean-up)
After all of the necessary materials are gathered, all that’s left to do is follow the steps below!
Instructions:
- Print out the FREE Easter egg fuse bead templates on your printer.
- Take your Perler bead pegboard (or use a flat surface) and arrange the beads to look like the pattern. Feel free to use the optional Perler bead pen dispenser, which will help to place the beads in the correct pattern.
- Once the beads match the template (or your child’s vision), gently cover the design with a piece of parchment paper.
- Adults: Set the iron to medium. Once it is warm, use it to firmly (but gently) press down on the bead pattern. This will melt the beads together. It can help to slowly move the iron in a circular motion as you press down for about 10-15 seconds.
Note: Once one side is melted together, your Perler bead pattern is complete. However, you can choose to fuse both sides of your project. This is not required, but according to your preference!
For the pattern to stay together, only one side needs to be melted.
- Your egg-citing Easter egg Perler bead project is complete! Keep it as is, add a piece of yarn to hang it up, or turn it into a holiday necklace!
Fused Perler bead Easter eggs are so much fun to make! Feel free to follow our patterns exactly or use your imagination to make each egg unique.
Try using assorted colors or different design patterns and bring some individuality to the project. The options are unlimited and totally up to you!
Some of our most loved Perler bead Easter egg designs use a variety of colorful beads.
For example, our eggs feature stripes and pearls, shades of pink, and glow-in-the-dark beads to make our unique fuse bead patterns!

Children’s Fuse Bead Easter Egg Patterns
Celebrating Easter is really fun when you have a variety of egg Perler beads patterns to make!
Simply head on over to our Freebies Library to find egg-actly what you are looking for. There you will discover a number of Perler bead patterns for the Easter holiday and more!
They are an egg-citing activity that kids of all ages will enjoy.
Happy Bead Fusing!


