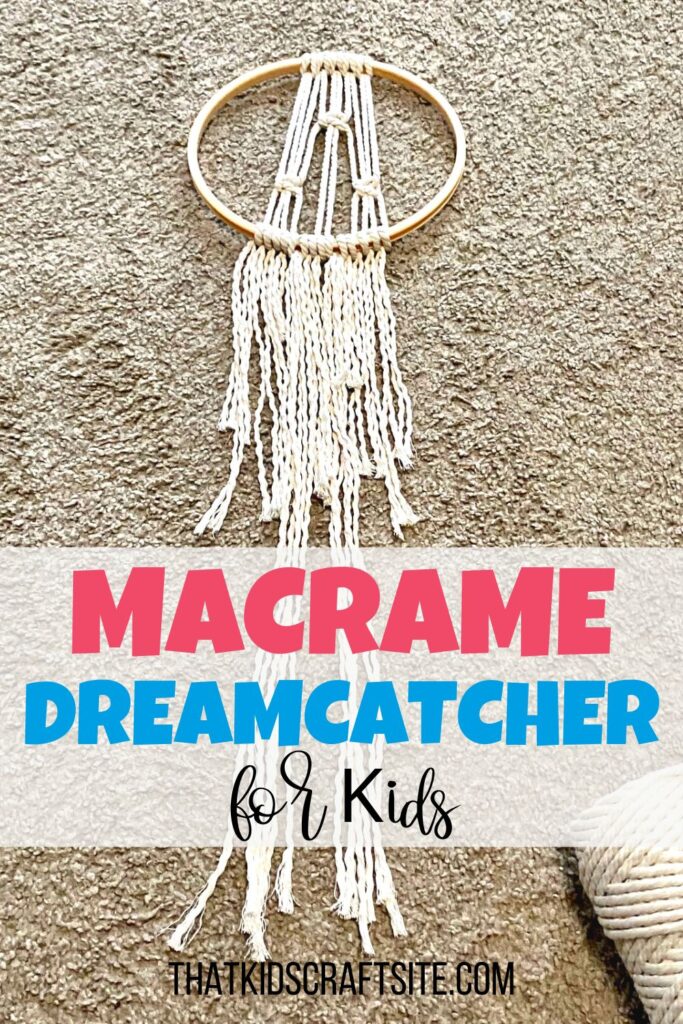
Macrame Dreamcatcher for Kids
Sweet dreams are made of these with this macrame dreamcatcher for kids!
Create a simple dreamcatcher with your favorite little one using the art of macrame. Popular in the seventies, this knotting technique was a common art among crafters of all ages. Using natural fibers, macrame projects give off a bohemian carefree vibe that is both beautiful and practical. Items such as plant hangers, coasters, baskets, and more have all been made with this handicraft.
Let’s take this magical macrame art and make a stunning dreamcatcher for you and your little ones to have the sweetest of dreams! By using only two simple knots, you can create this most amazing macrame dreamcatcher. If you are new to macrame, that’s okay. Below are step-by-step instructions that will walk you through the process.
Bring sweet dreams to your little loves with a marvelous macrame dreamcatcher!
How to Make a Macrame Dreamcatcher
Materials:
- Macrame Cord
- 8” Ring (or Embroidery Hoop)
- Scissors
- Ruler
- Beads and/or feathers (optional)
Instructions:
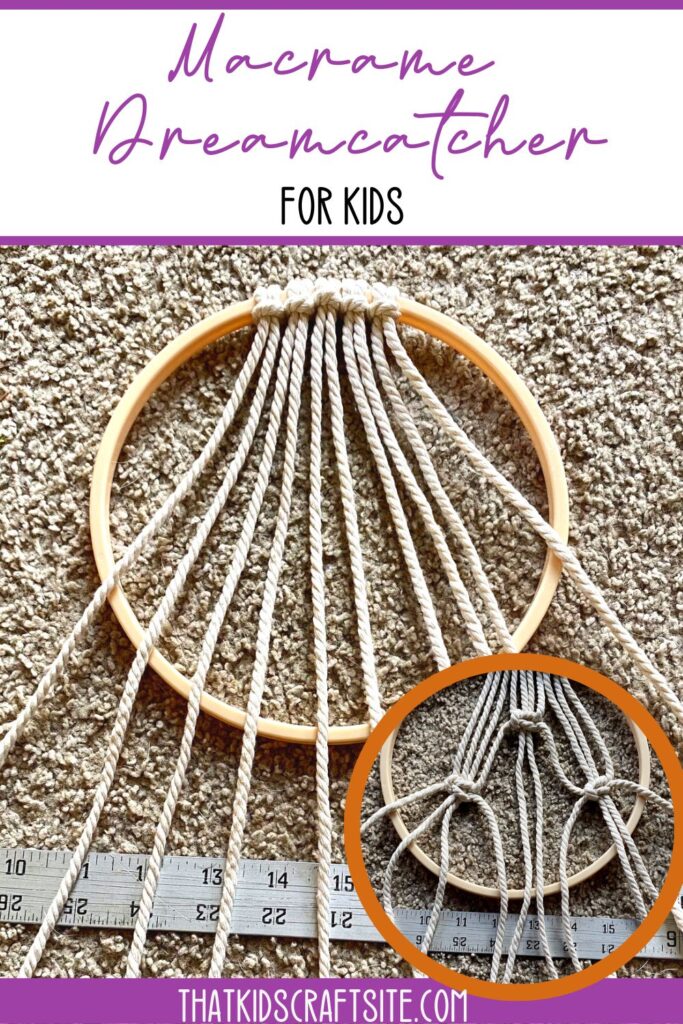
- Cut 8 pieces of 3 foot (36 inch) long cord.
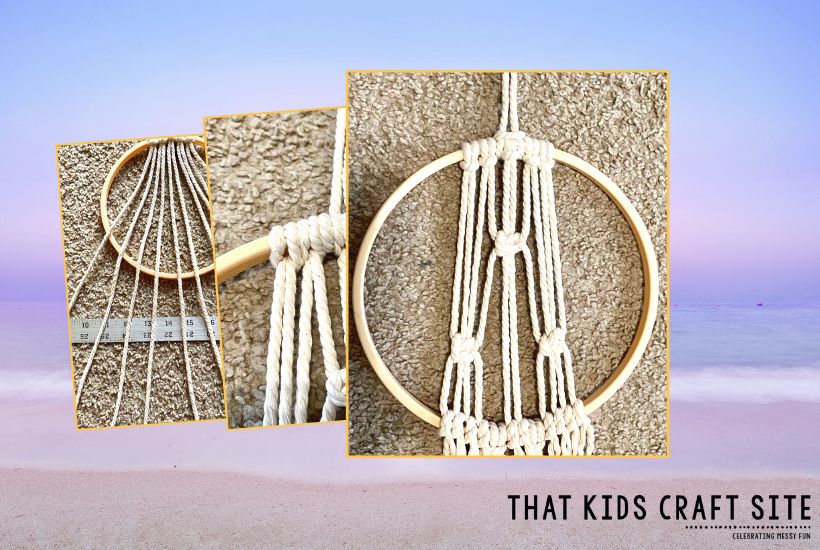
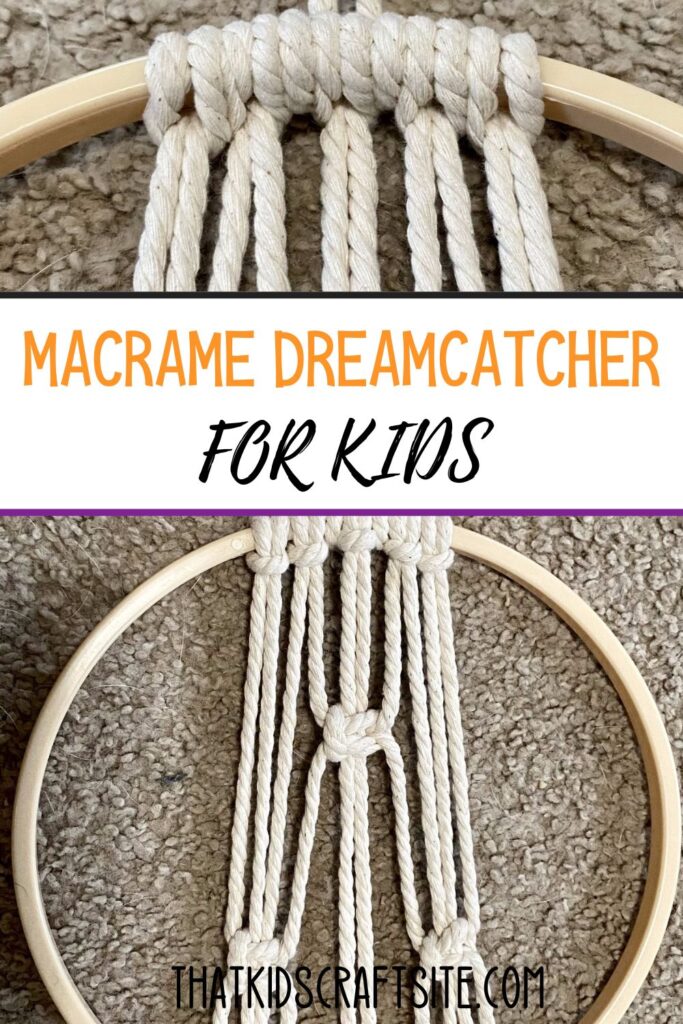
- Attach 5 of the 3 foot pieces to the 8” hoop using a Lark’s Head knot.
Note: Make a Lark’s Head knot by folding the piece of cord in half and placing it over the hoop. Pull the loop down behind it, and then pull the loose ends of the cord through the loop. Pull the loose cords so it makes a knot around the hoop.
- Push them all together so that all 5 Lark’s Head knots are at the top of the hoop.
- Line up each piece of cord so that they are not overlapping as they head down towards the bottom of the hoop. You should have 10 pieces of cord. We’ll number them in order to (hopefully) make it easier to complete the next steps.
- Take cords 4 and 7, make a square knot around cords 5 and 6 about 2 inches from the top of the hoop.
Note: Make a square knot using 4 pieces of cord. In this case, the first square knot will use cords 4,5,6, and 7. Starting with those four cords, bring cord 4 over cords 5 and 6 (5 and 6 are your ‘anchor’ cords). Place cord 7 over cord 4. Bring 7 under both anchors and through the loop formed by cord 4. Pull taught to complete the first half of the square knot. Next, bring cord 7 over anchor cords 5 and 6. Place cord 4 over 7 and bring it under the anchors and through the loop formed by cord 7. Pull the cords taught to complete the square knot.
- Make a second square knot using cords 1, 2, 3 and 4 about 2” below the first square knot.
- Make a third square knot using cords 7, 8, 9 and 10, also about 2” below the first square knot.
- Tie each piece of cord to the bottom of the hoop, spacing them out as you see fit. Do this by making a single knot around the hoop to attach the cord directly to the hoop.
- With 2 of the remaining pieces of 3 foot cord, attach them to the bottom of the hoop with a Lark’s Head knot. One piece will go between cords 4 and 5. The second piece will go between cords 6 and 7.
- Trim the ends of cords if you so desire. We like ours at different lengths so we left them as is.
- Untwist the hanging macrame cord at the bottom to create a crimped effect. We love this as we think it gives it a more whimsical feel.
- You can add a few beads and/or feathers if you so desire to the bottom of your dreamcatcher.
- Using the last piece of macrame cord, you can hang your dreamcatcher in a way that works best for you and your space. We attached it to the hoop using a Lark’s Head knot around the middle two cords (5 and 6) at the top of the hoop! We then tied a knot at the top to hang on a hook!
WoW! You have just completed a magical macrame dreamcatcher! Pat yourself on the back!
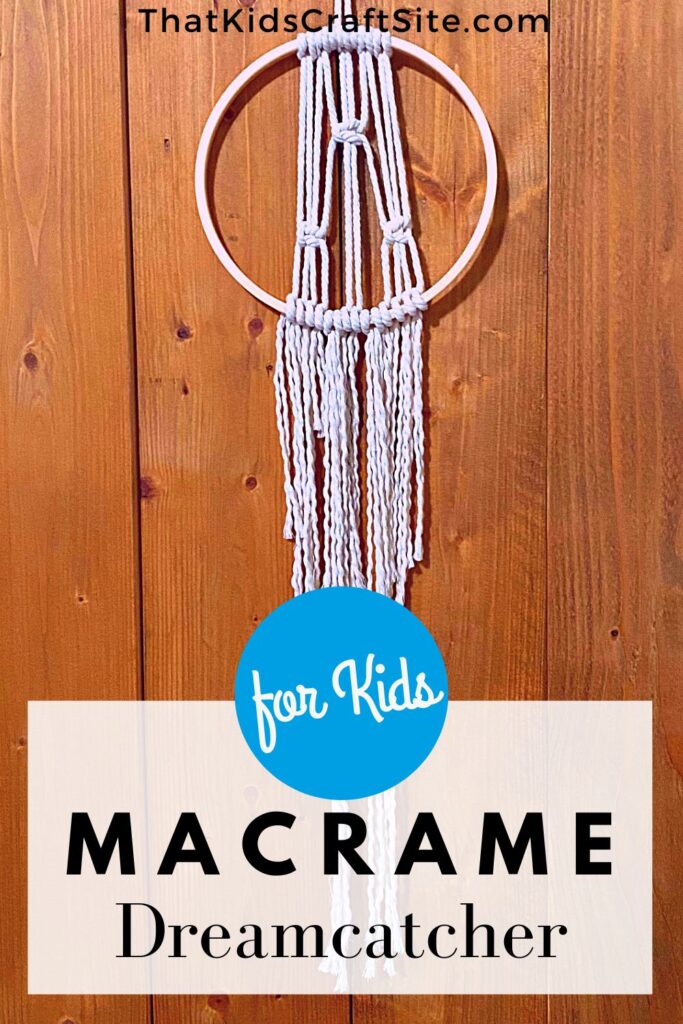
Children’s DIY Macrame Dreamcatcher
If you’re looking for an easy beginner macrame project, try this DIY dreamcatcher! It is a beautiful macrame design that requires just a few materials and it’s easy to make! The best part is all of the sweet dreams that it will bring to those who sleep near it.
Happy knotting!