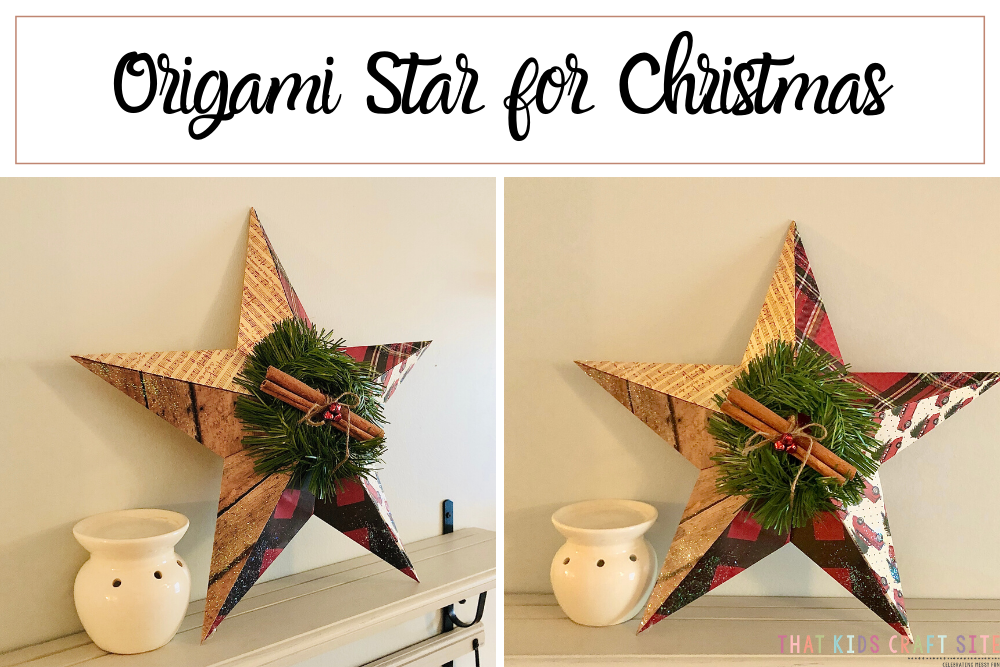
Origami Star for Christmas
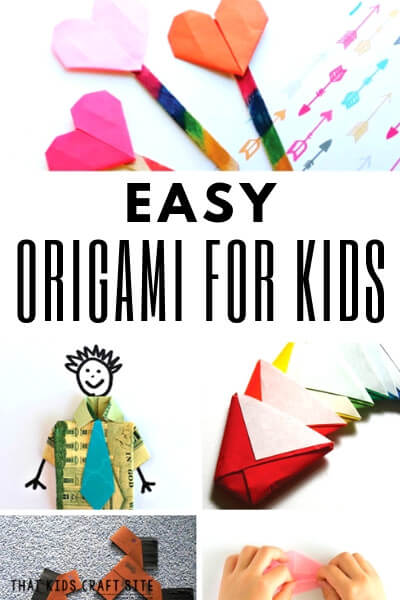
This origami star is a great tween and teen craft. It’s a bit more challenging than our easy origami crafts for kids and it does use hot glue, so we definitely recommend it more for older kids and adults.
That being said, if your child loves making origami crafts, there’s no reason why he or she couldn’t give this pattern a try and then you could hot glue it for him!
It makes a great gift for tweens and teens to make and give for the holidays or sell for some extra money at craft shows or fairs.
Why We Love This Origami Star
Our favorite holiday here at That Kids Craft Site is Christmas and we’re always on the lookout for ways to decorate on a budget. With three kids, it’s important to save money any way we can!
This origami star uses just a few pieces of large craft paper, some adhesives, and some decorative Christmas elements that you can pick up on clearance or at the dollar store. Watch the sales around Christmas because there are usually sales on large scrapbooking paper and that’s what you’ll need. Typical small origami paper squares are great, but they’re going to be too tiny for this project.
The star is great for hanging on the front door or on an interior door or wall. We definitely recommend that it’s in a sheltered location though, because it’s made of paper and if it gets wet it will become a soggy mess. Ask us how we know about that unfortunate result!
We also love this origami star because it can be used as a decoration for the classroom (think about hanging a bunch of them from the ceiling). Just use whatever color paper matches your classroom decor or the holiday you’re making it for. It’s not just great for Christmas decorations!
Origami Star Directions
Alrighty, these directions can be a bit tricky, so we recommend that you follow the visual directions as well. Sometimes seeing how paper is folded makes it a lot easier to understand than simply reading the words.
If you have any questions about which folds to make and when just ask! We’re happy to help you create your own origami star!
How to Make an Origami Star
Start by gathering all of your supplies. You will need the following materials to make your star:
- 5 pieces of 12” x 12” scrapbooking paper
- Hot glue gun and hot glue sticks (for adult use only!)
- Spray adhesive (for adult use only!)
- Glitter
- Greenery
- 3 jingle bells
- 2 cinnamon sticks
- Green floral wire
- Jute twine
- Hole punch (optional)
To make the large barn star, you will need to make five of the smaller origami pieces. They then get put together to make one large star. It’s magnificent! Ready?
Here are the visual directions:
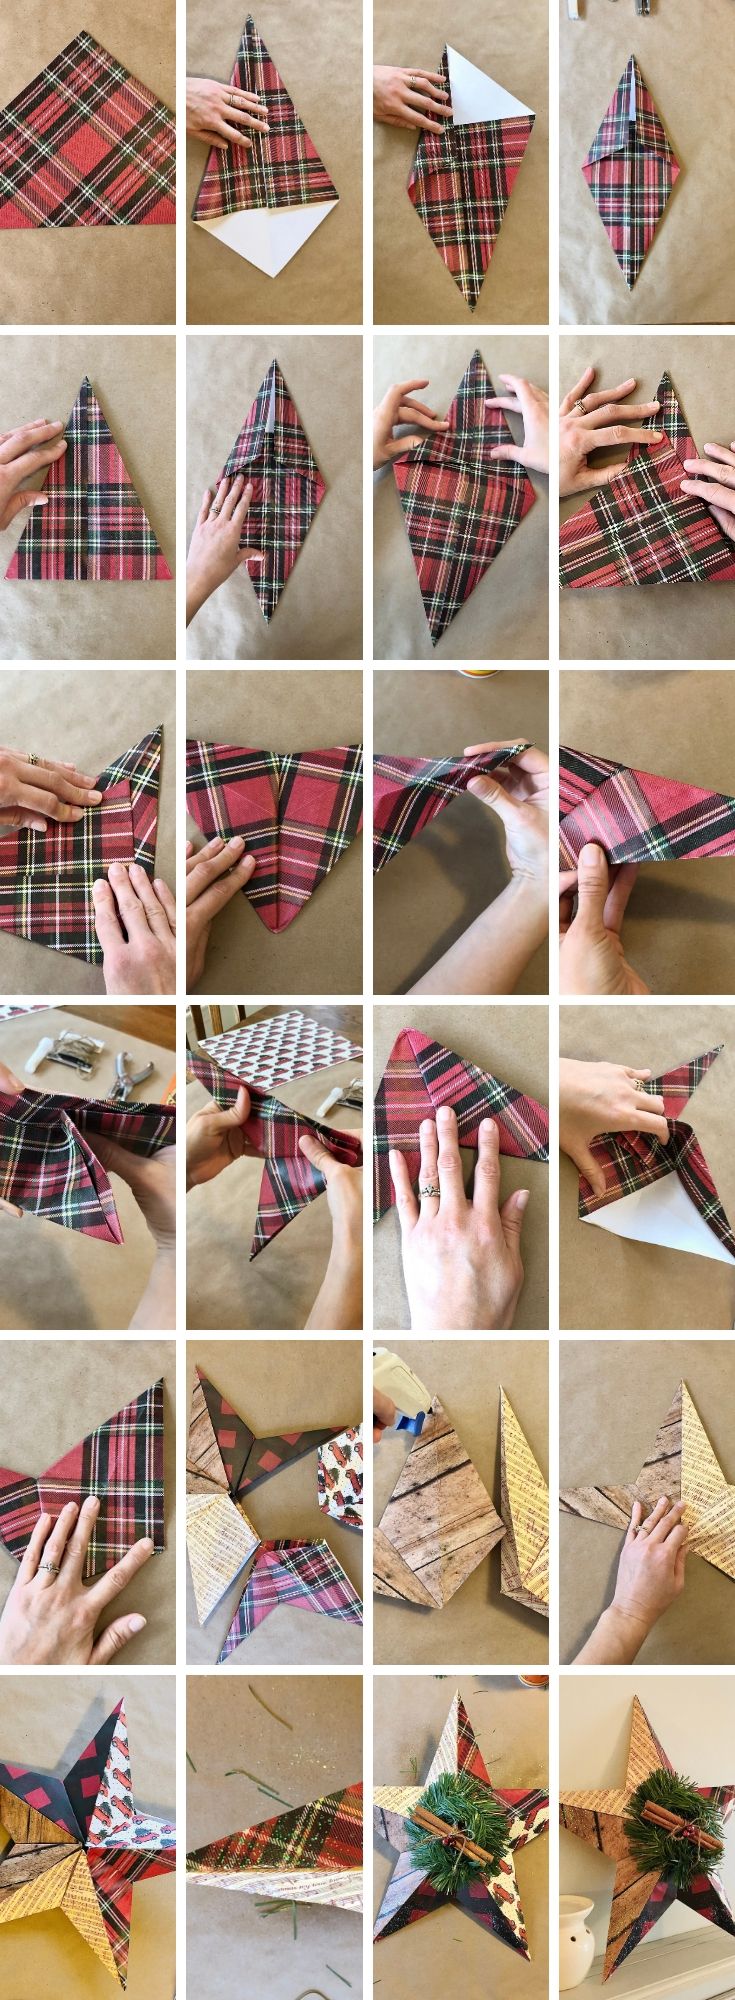
And here are the written directions:
- Start with one piece of 12×12 inch craft paper and lay it blank side up.
- Match corners and fold into a triangle. (fig. 1)
- Open the paper and fold sides in to meet the first crease, like a paper airplane. (fig. 2)
- Next, turn “paper airplane” around and fold down the top 2 corners to meet lower flaps. (fig. 3) You will have an elongated diamond shape. (fig. 4)
- Fold the bottom corner up to meet the top corner and press down the crease. (fig. 5)
- Re-open and lay flat, with open flaps face up. (fig. 6)
- Pinch left side between thumb and middle finger while stabilizing right side with thumb and middle finger (fig. 7). With the left hand, bring the left corner up and to the middle of the top triangle. (fig. 8 & 9) Press down crease firmly.
- Then open large flaps and lay flat. (fig. 10)
- With the left hand, hold “left-wing”, and with the right hand slightly bend at “right-wing” crease and press flat (fig. 11 & 12).
- With the right hand, hold “right-wing” and open the left side and see inside, it will open like a “boat” shape. (fig. 13). Close and fold this boat shape (fig. 14), and press flat. Lay flat and it will now look like a boomerang (fig. 15).
- Open the right side of “boomerang” (fig. 16) and pull inside flaps outward and fold flat (fig. 17).
- Repeat steps 1-12 with the remaining 4 pieces of craft paper. (5 total)
- After all the pieces are finished, you’ll arrange them like (fig. 18).
- Next pick which two pieces you’d like to glue together first.
- As pictured in (fig. 19), glue a line down center of the first piece (on the left that looks like a diamond), and place right piece over to match up with the middle over the glue. Press down (fig. 20). Flip over and repeat with the back side of the star. Turn back to front. Continue with the next piece and glue a line down the middle of the “diamond” and attach the next star piece over to meet the middle line of glue and press down. Continue this front and back until all 5 pieces are connected. The finished product will be as barn star pictured in (fig. 21).
- Apply spray adhesive to ends of each star point, and sprinkle glitter onto the spray adhesive (fig. 22).
- Gather greenery, cinnamon sticks, and jingle bells, and thin floral wire.
- Make a small wreath with approx. 6-8in of greenery, hot glue it to secure ends and glue onto the middle of origami barn star.
- String jingle bells onto thing floral wire and wrap around 2 cinnamon sticks. Cut a piece of jute twine approx. 8-10in. Wrap around cinnamon and tie in a bow.
- Hot glue cinnamon sticks to the wreath in the middle of the star.
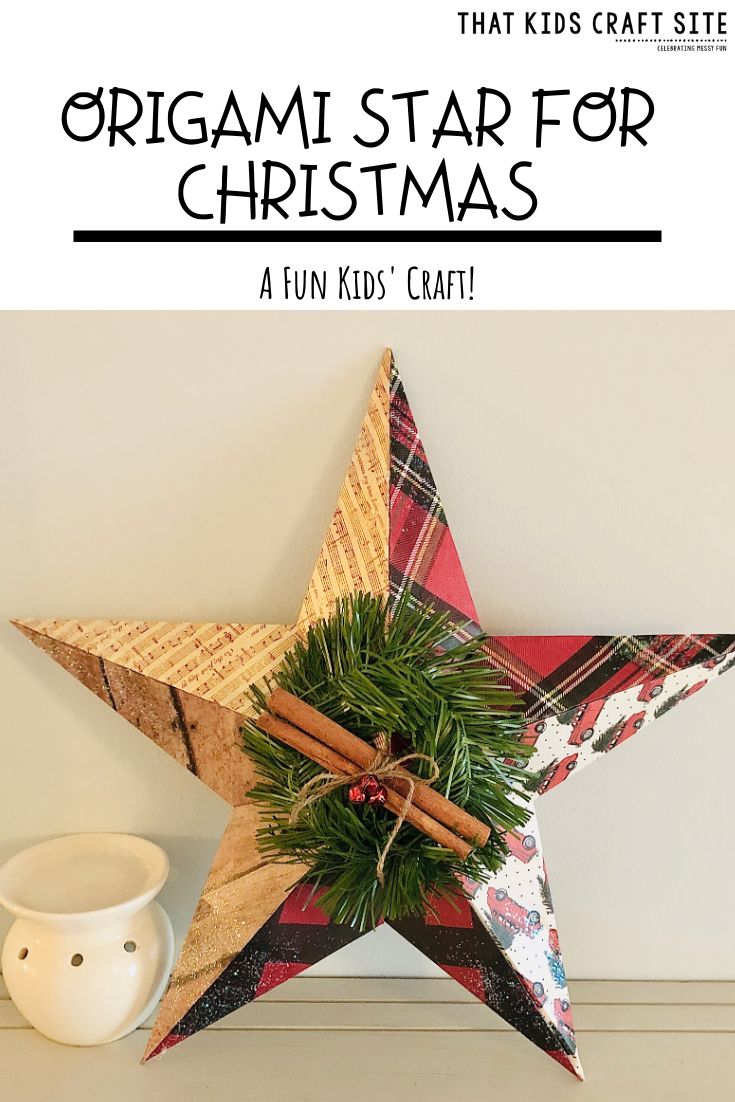
Optional: Punch a hole in top point and thread through a sturdy ribbon and hang as a large wall piece or on a tree.
Without thread, place wherever you desire in your home for Christmas or give as a gift! ENJOY!
If you’re looking for other Christmas crafts for older kids, try these:
You Might Also Like These Other Origami Crafts for Kids: